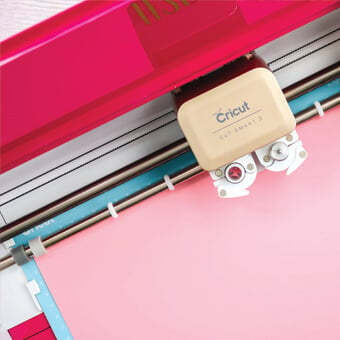
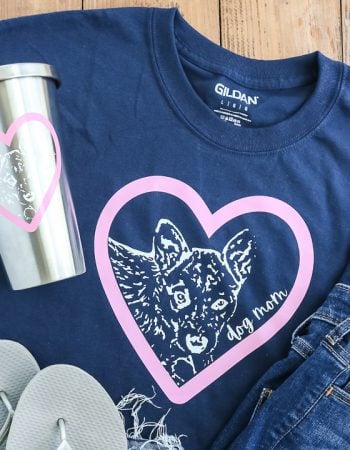
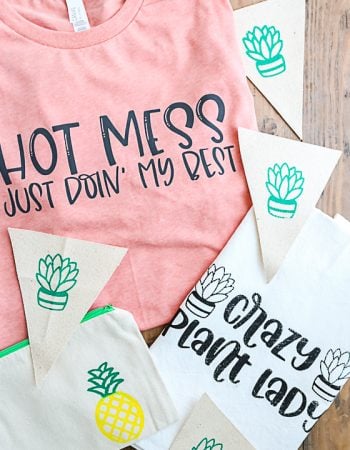
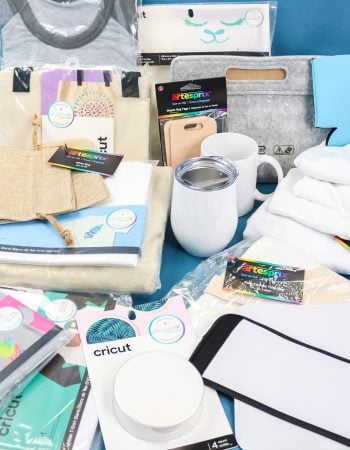
Cricut For Beginners
Not sure where to start? Let us help! Browse below to find your starting point.
Shop my cut files, e-books, printables + more!
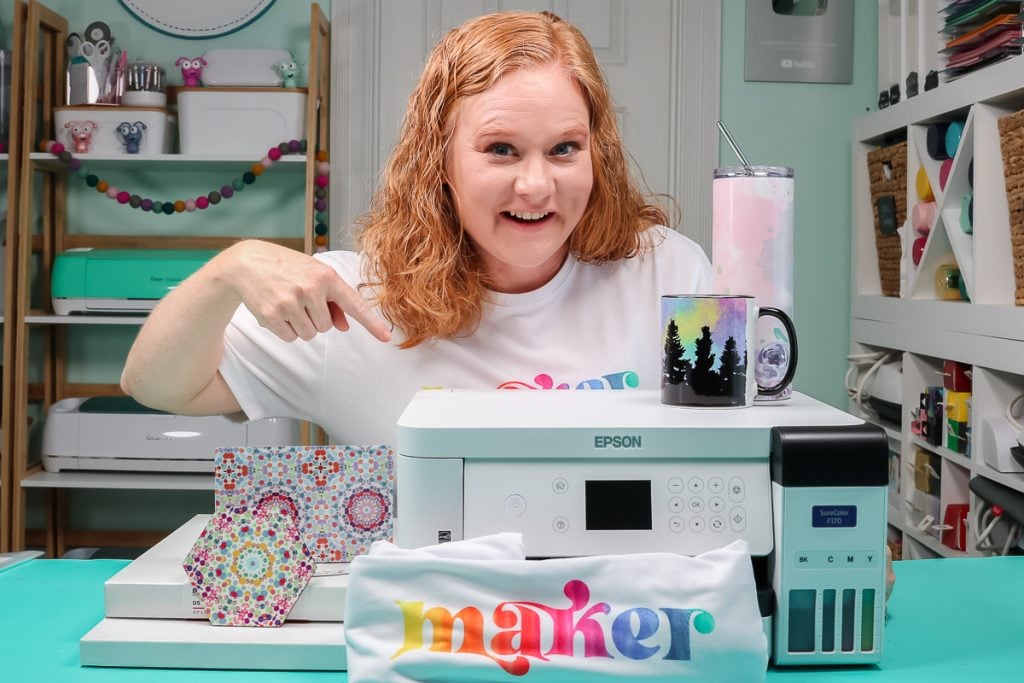
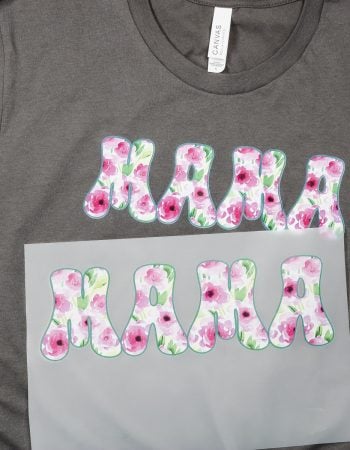
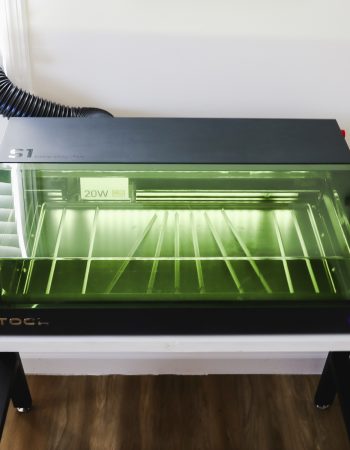
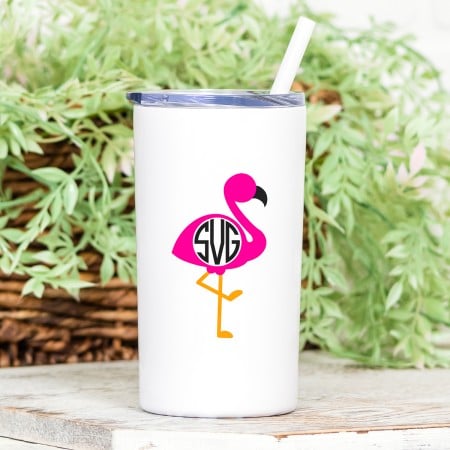
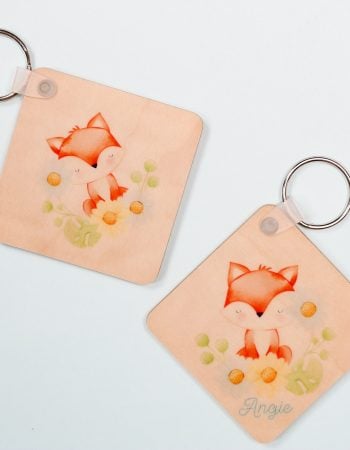
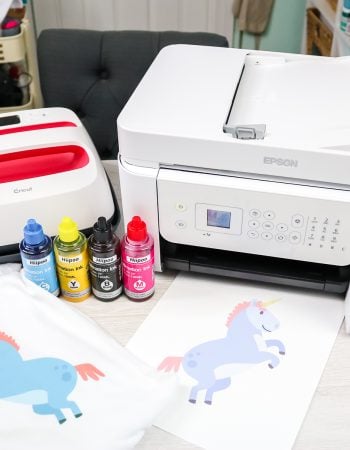
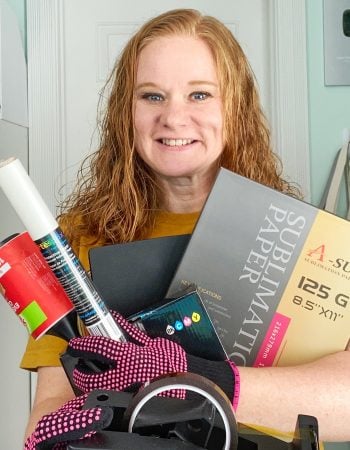
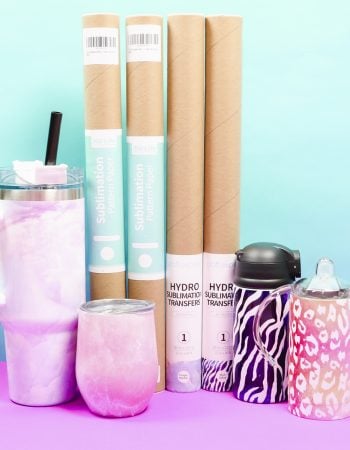
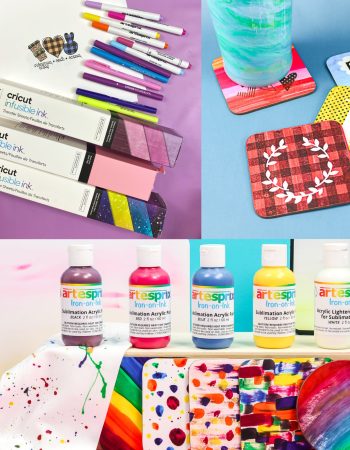
Sublimation For Beginners
Ready to get started with sublimation? We can help you get it right from the start!

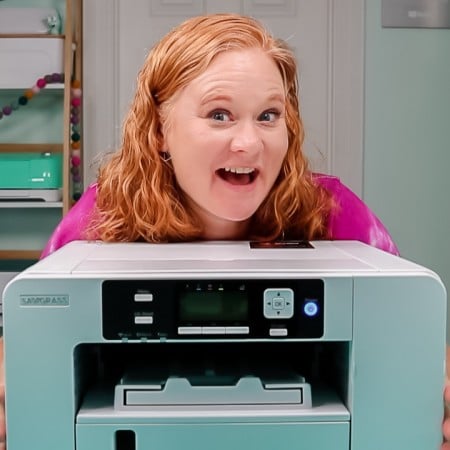
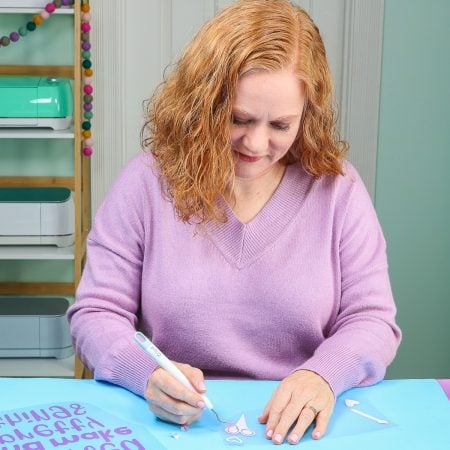
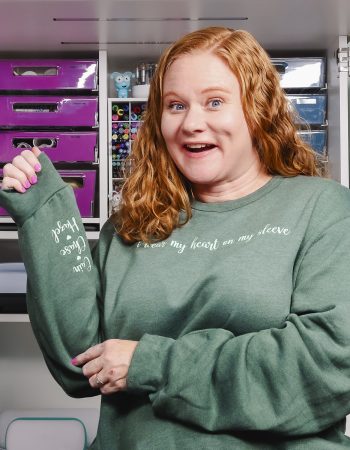
I’m Angie Holden
Blogger and creator behind The Country Chic Cottage. For over a decade, I have been sharing Cricut tutorials, sublimation crafts, and other creative ideas here as well as on my YouTube channel. My passions include teaching others and learning as many new things as possible. Follow along as I know that you will learn a new skill and have a ton of fun doing it!