
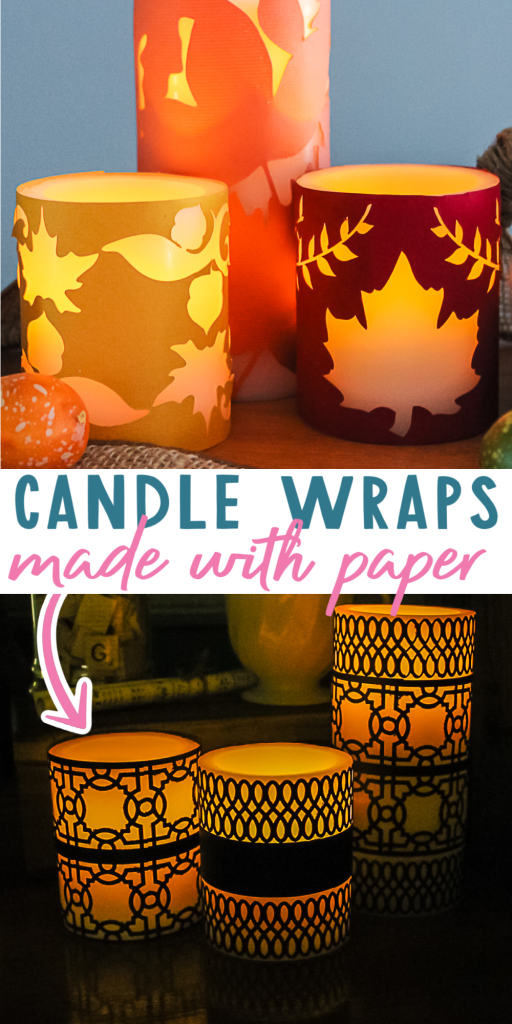
Over the past few months, I have been infatuated with paper candle wraps! I have made a few different versions and I am going to combine them here in one post for y’all just in case you missed either of them. I am in love with this idea because it is so easy yet has a large impact on your home’s decor. Don’t you just love those kinds of projects? So let’s make some DIY paper candle wraps TWO ways to add to your farmhouse fall decor!
This was first published on October 25, 2012, however, I am reposting with more information.
Candle Wraps
I am going to give you two options for making these below. One uses a Cricut machine and the other uses paper punches. Either way, you can make some gorgeous candle wraps for your decor any time of the year.
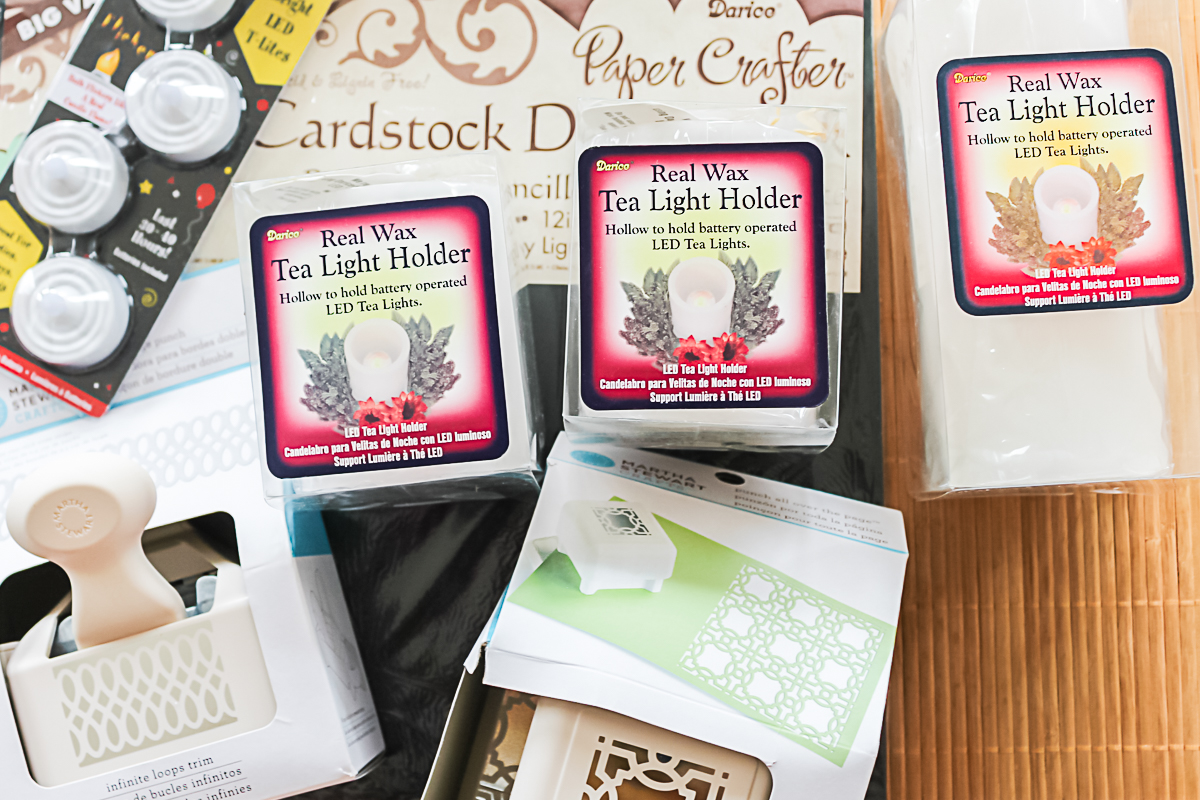
Supplies Needed:
- Punches or Cricut machine (NOTE: Both punches I used were Martha Stewart but any craft punch would work for this project. The all over punches are perfect for these wraps as you can punch anywhere on the page.)
- LED Tea Lights
- 6 inch Candle Sleeves (NOTE: These are real wax candle sleeves that your LED tea lights will just slip down into and they come in various sizes. You can also get battery-operated candles in this size.)
- 3 1/2 inch Candle Sleeves
- Cardstock in the color of your choice
- Double stick tape or spray adhesive
Please note that real candles are NOT recommended for this project! You can also purchase battery-operated candles that are one piece for this project.
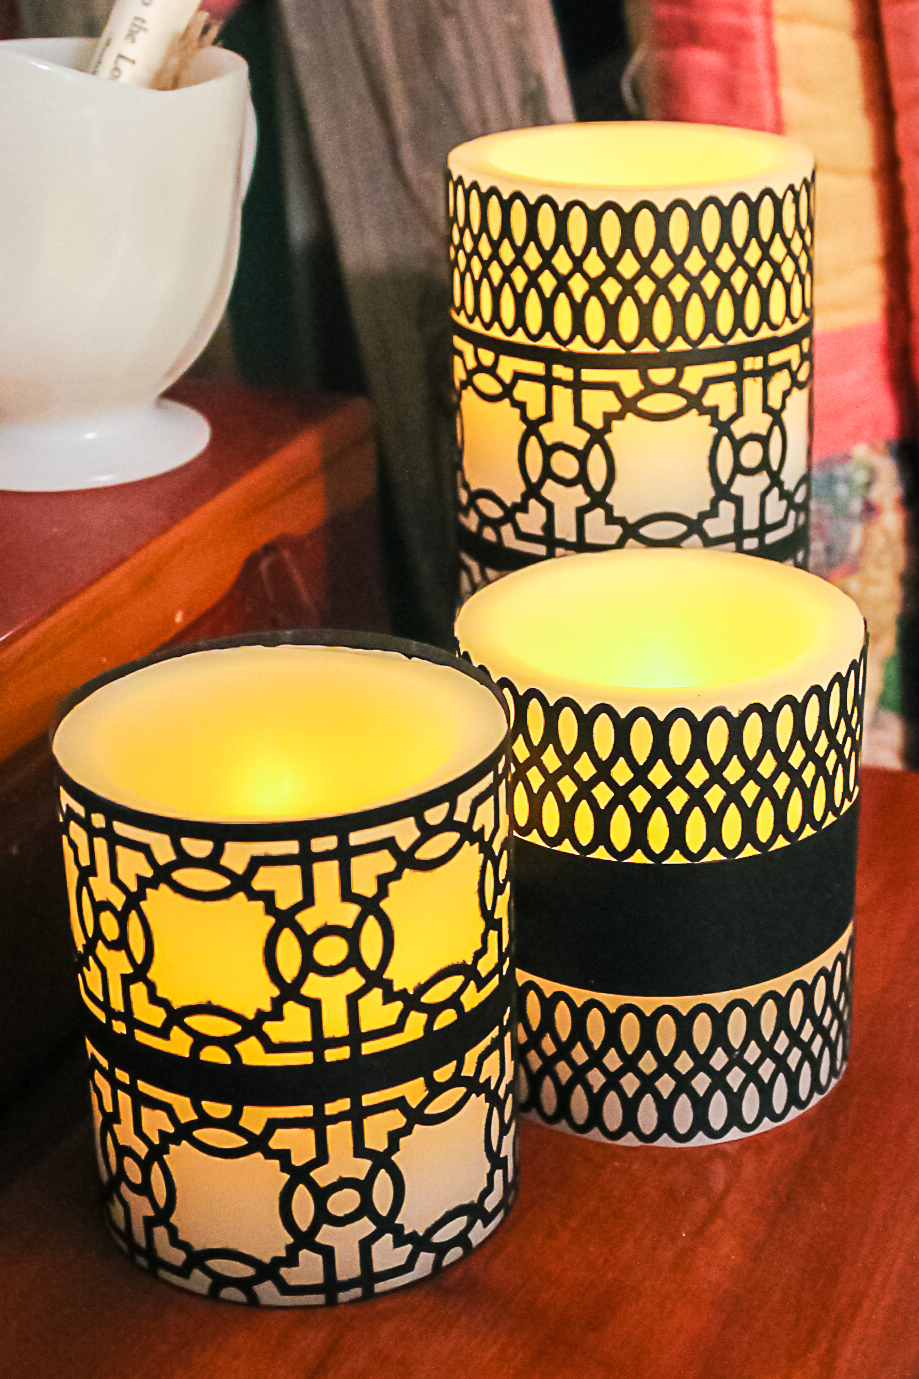
How to Make Wraps for Candles with Punches:
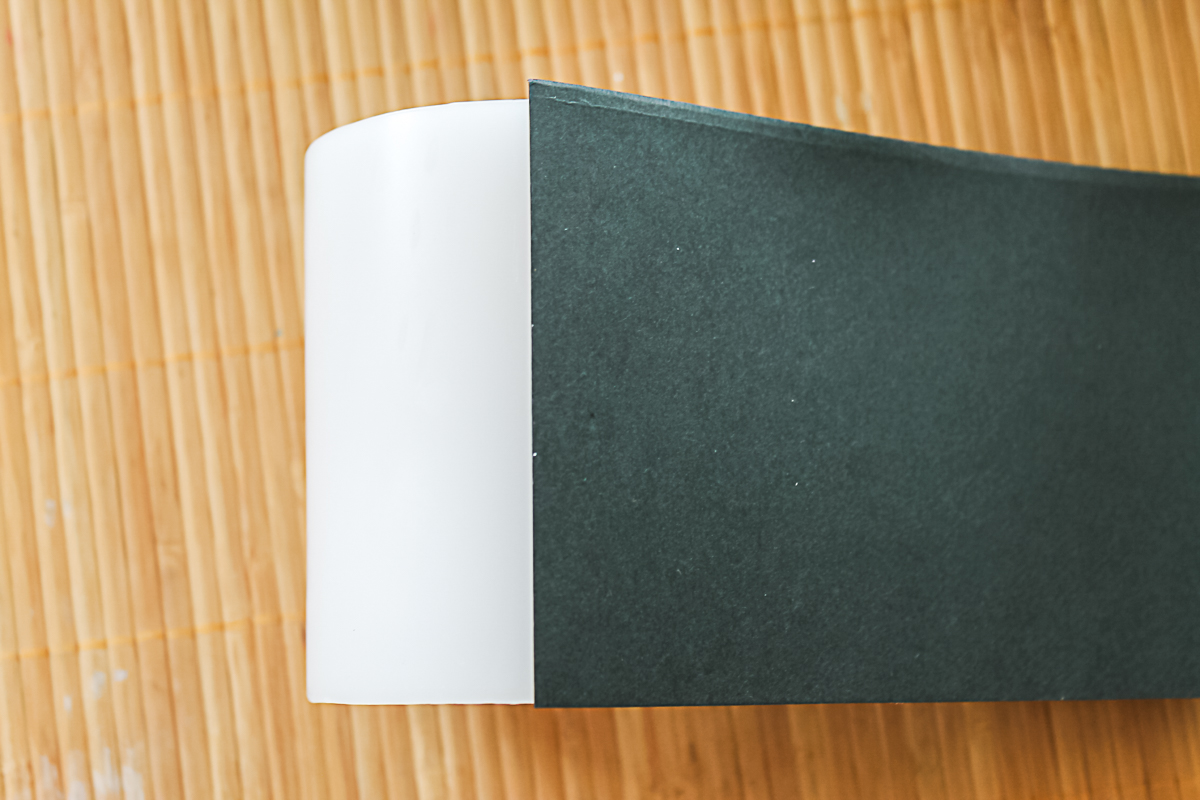
First let’s make the version with paper punches. Keep scrolling if you want to use a Cricut machine to make candle wraps. Cut your card stock to the height of your candle sleeve. Then cut it to size with just a slight overlap where it will meet in the back.
On the first version, I used an edge punch down both edges of one wrap. Please note I left a small area on each end to use for the double-stick tape and so the punched piece would not detach.

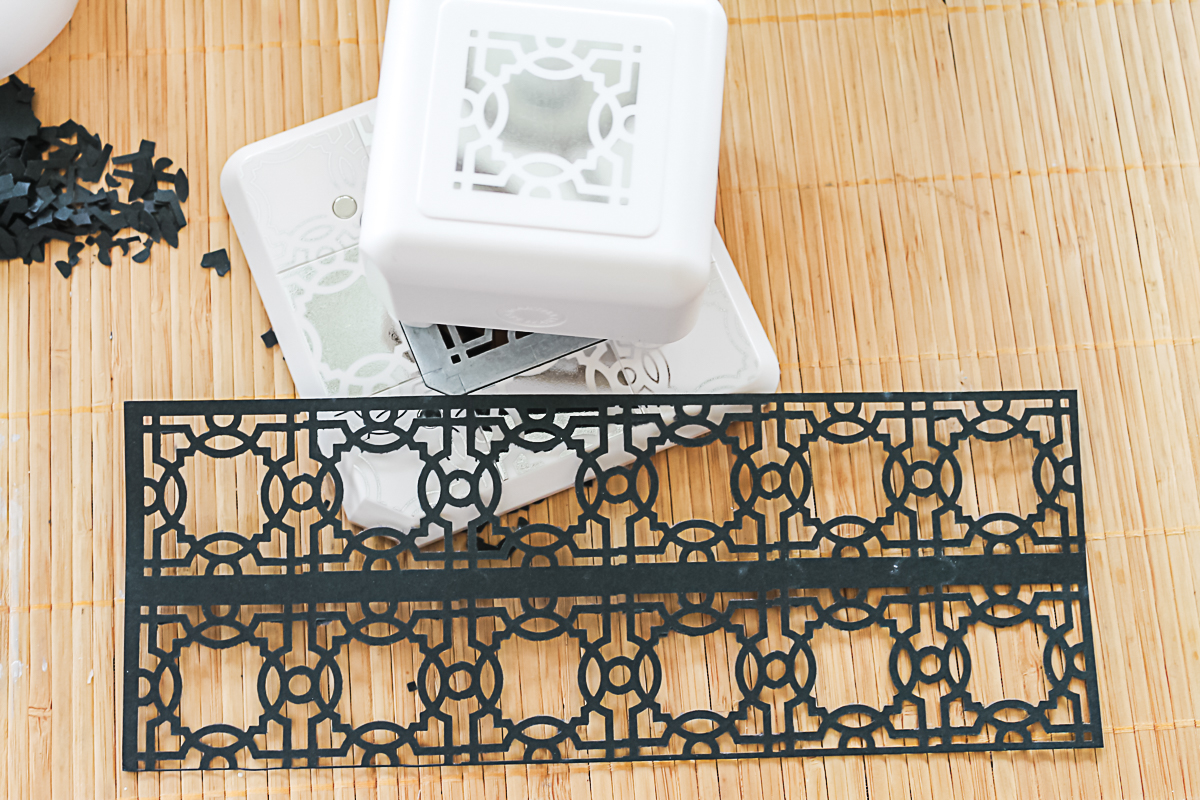
The second version below uses the all-over punch which is perfect for this project.
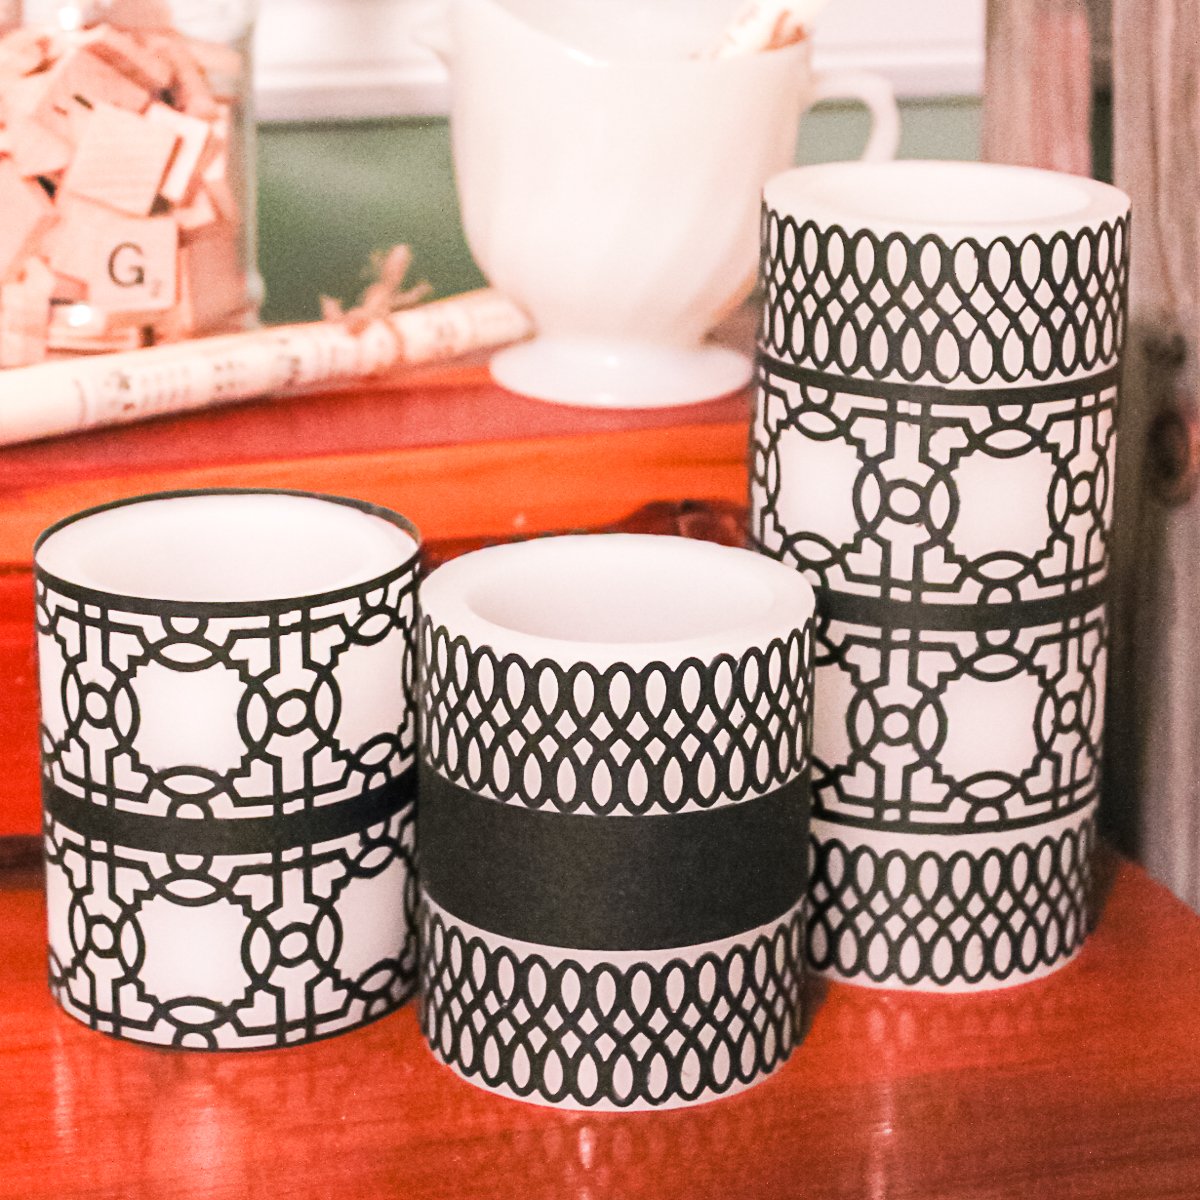
I also made a third version that combined the two punches. These designs worked fine being held on the back with double-sided tape. Here they are with the candles turned off.
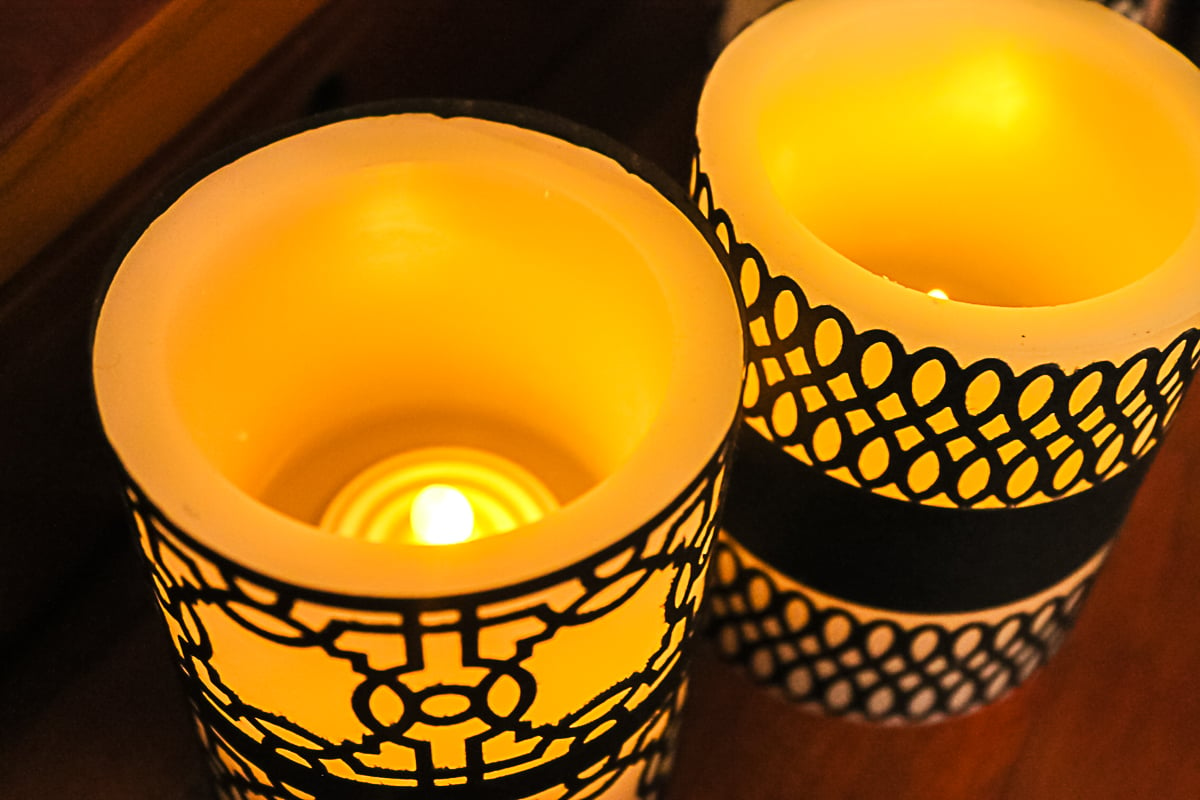
And with the candles on. I adore how the light comes through these wraps.
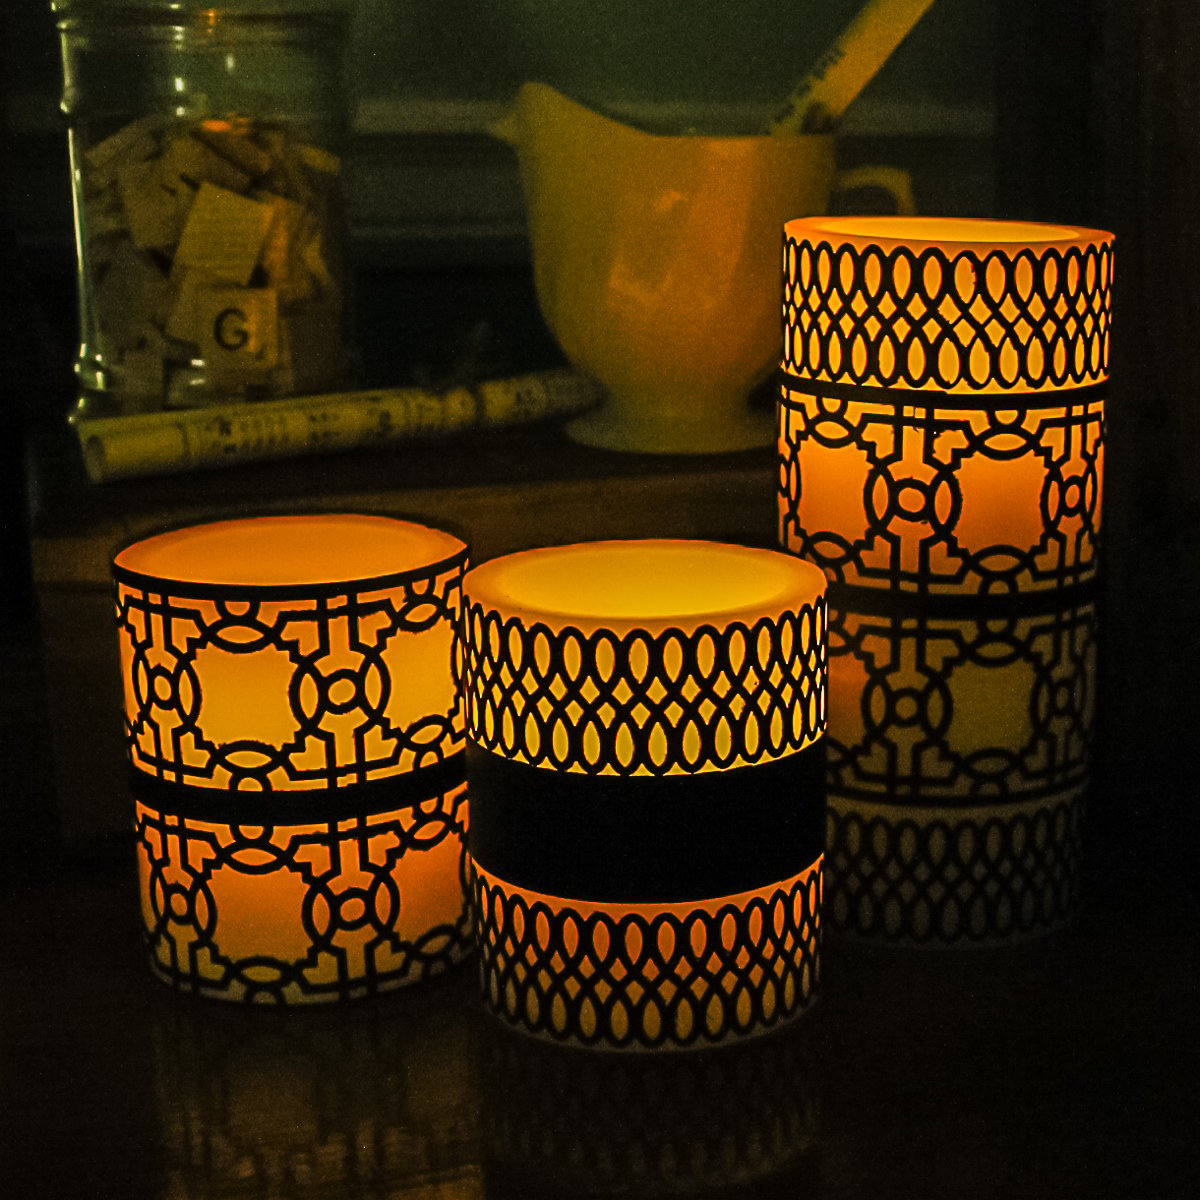
Just so you know the LED tea lights look so real inside these wax sleeves. Your guests will never know. You can also find battery-operated candles that are similar to these that are one piece. Either way, I know you will love how these look in your home.
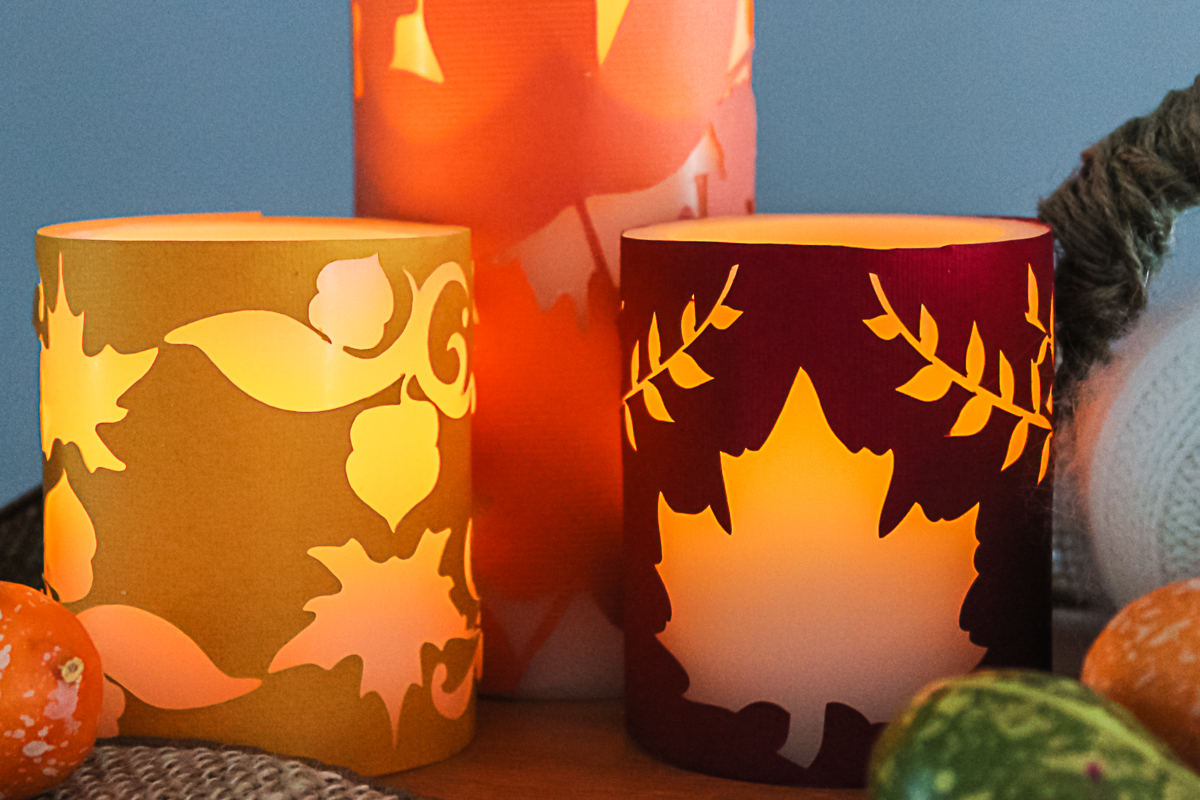
How to Make Cricut Candle Wraps
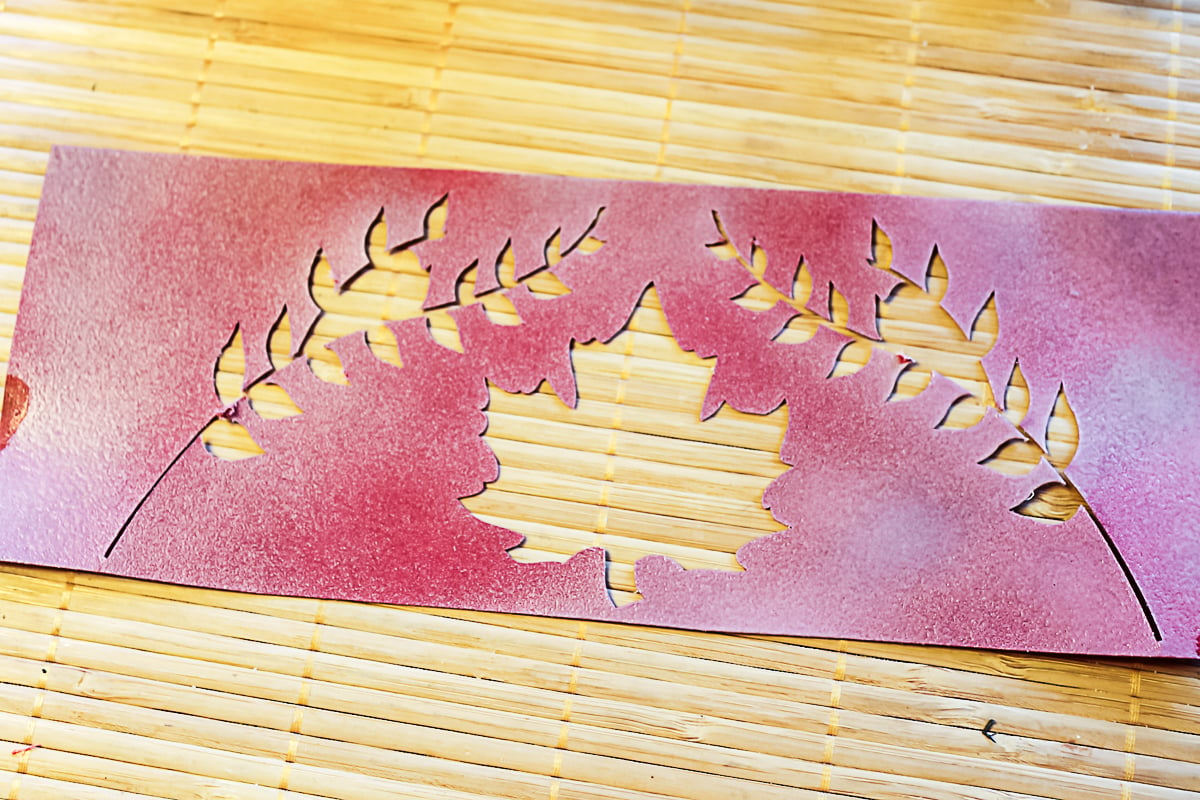
Don’t have any paper punches? If you have a Cricut this project is just as easy! I designed some fall wraps in Cricut Design Space and cut them out of card stock. Just add random leaves to a rectangle shape the size you need for your candles then use the attach function to cut them from the rectangle. I found that due to the way I laid out the designs, the wraps did not look as well with just the double-sided tape. So for these, I used spray adhesive.
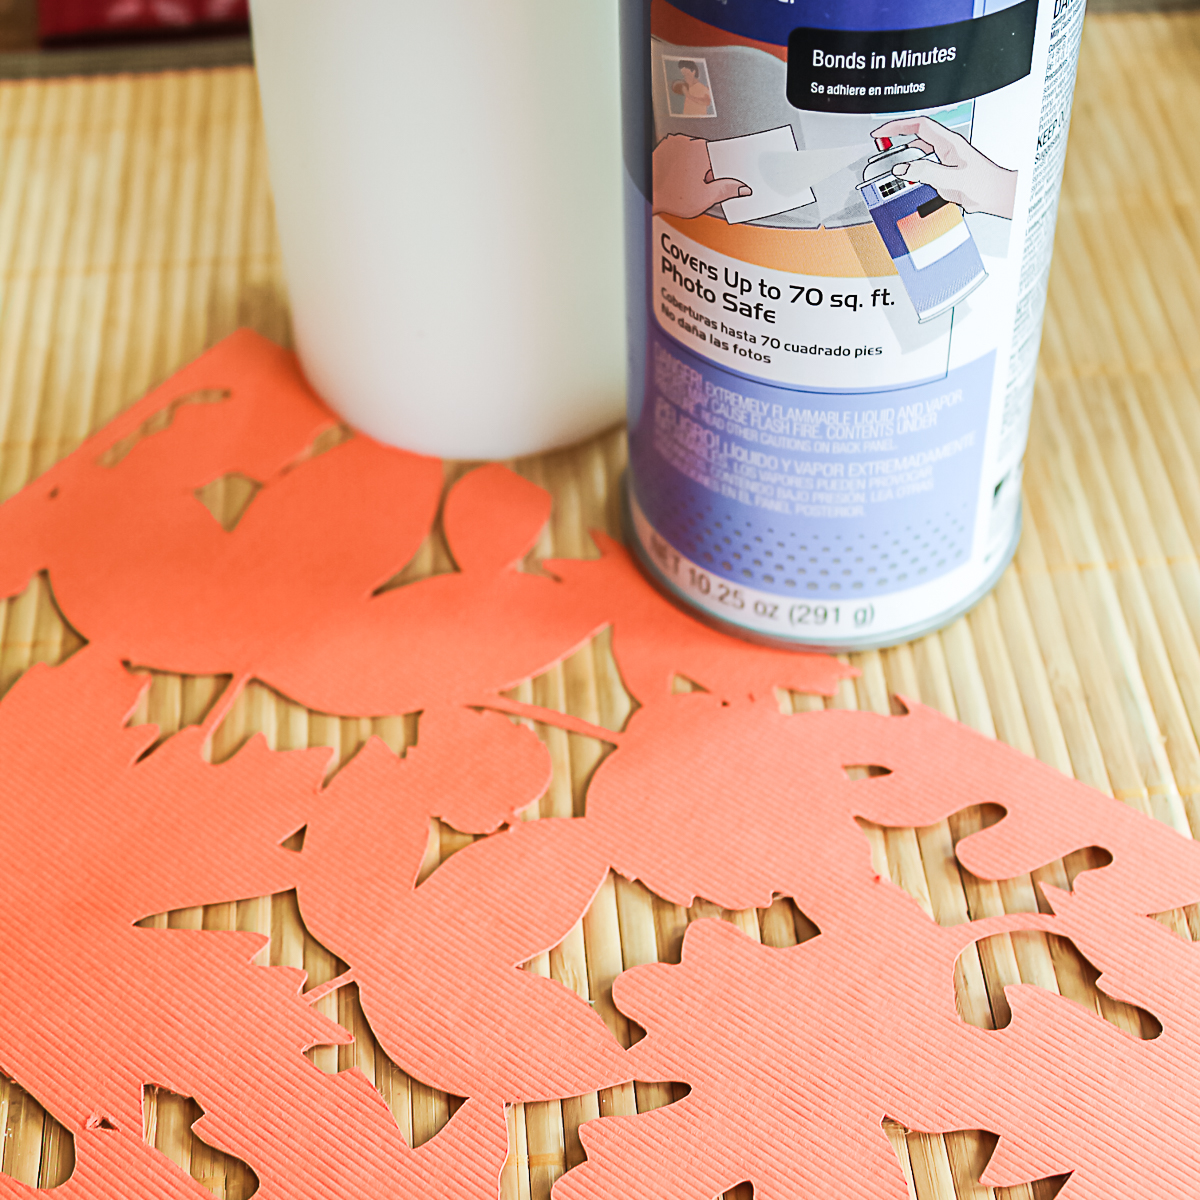
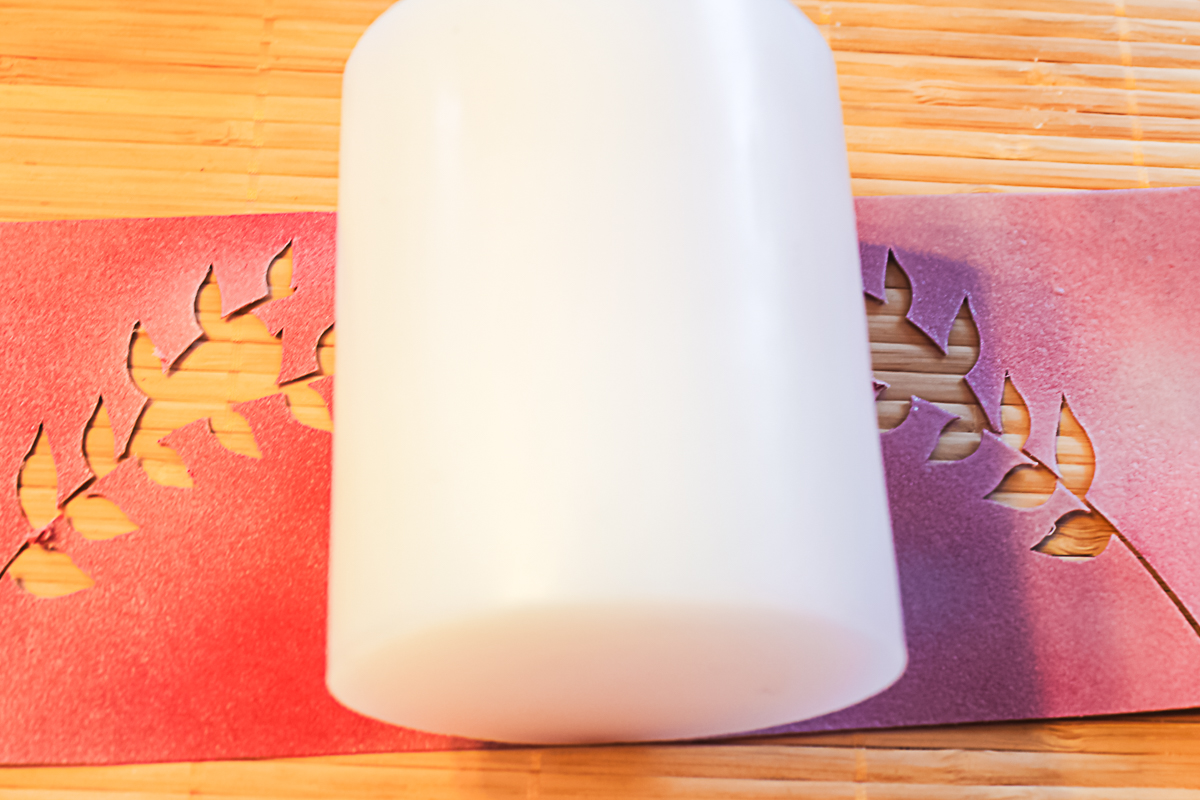
Just spray on a generous amount (please spray your paper OUTSIDE as this makes a mess).
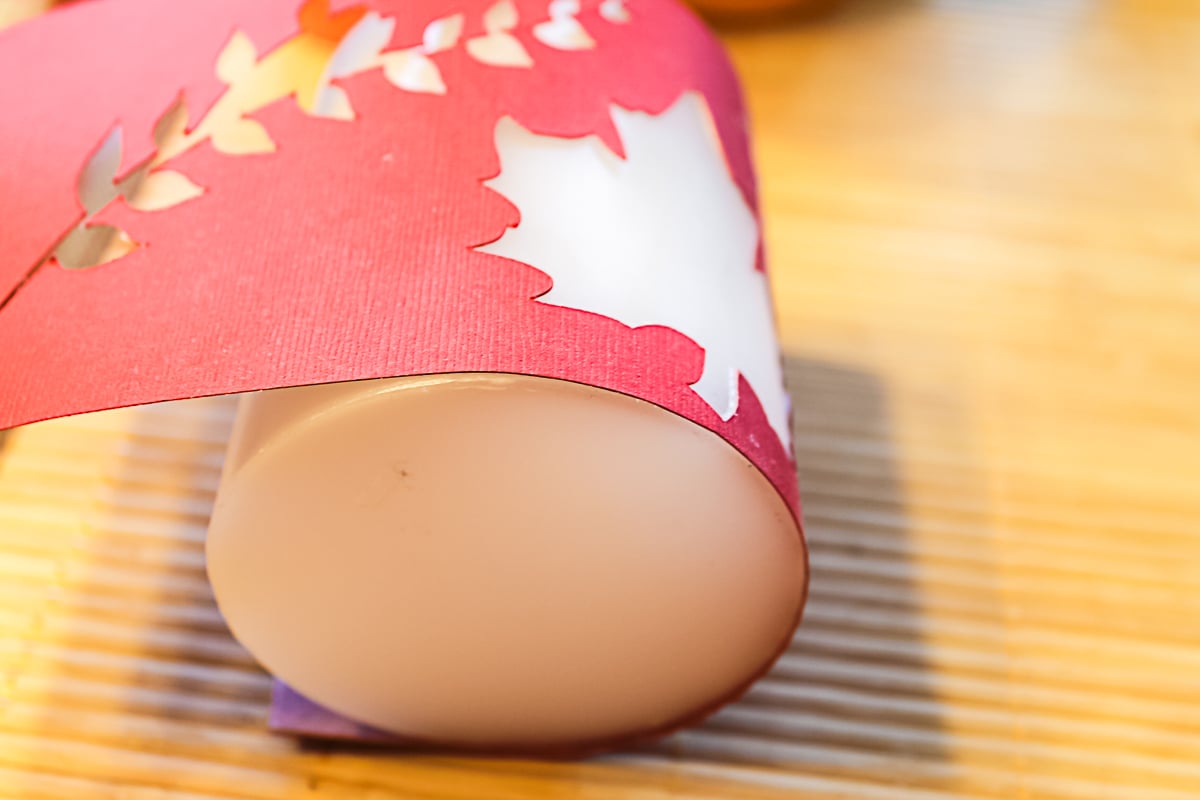
Lay your candle on the wrap.
Then just roll to adhere.
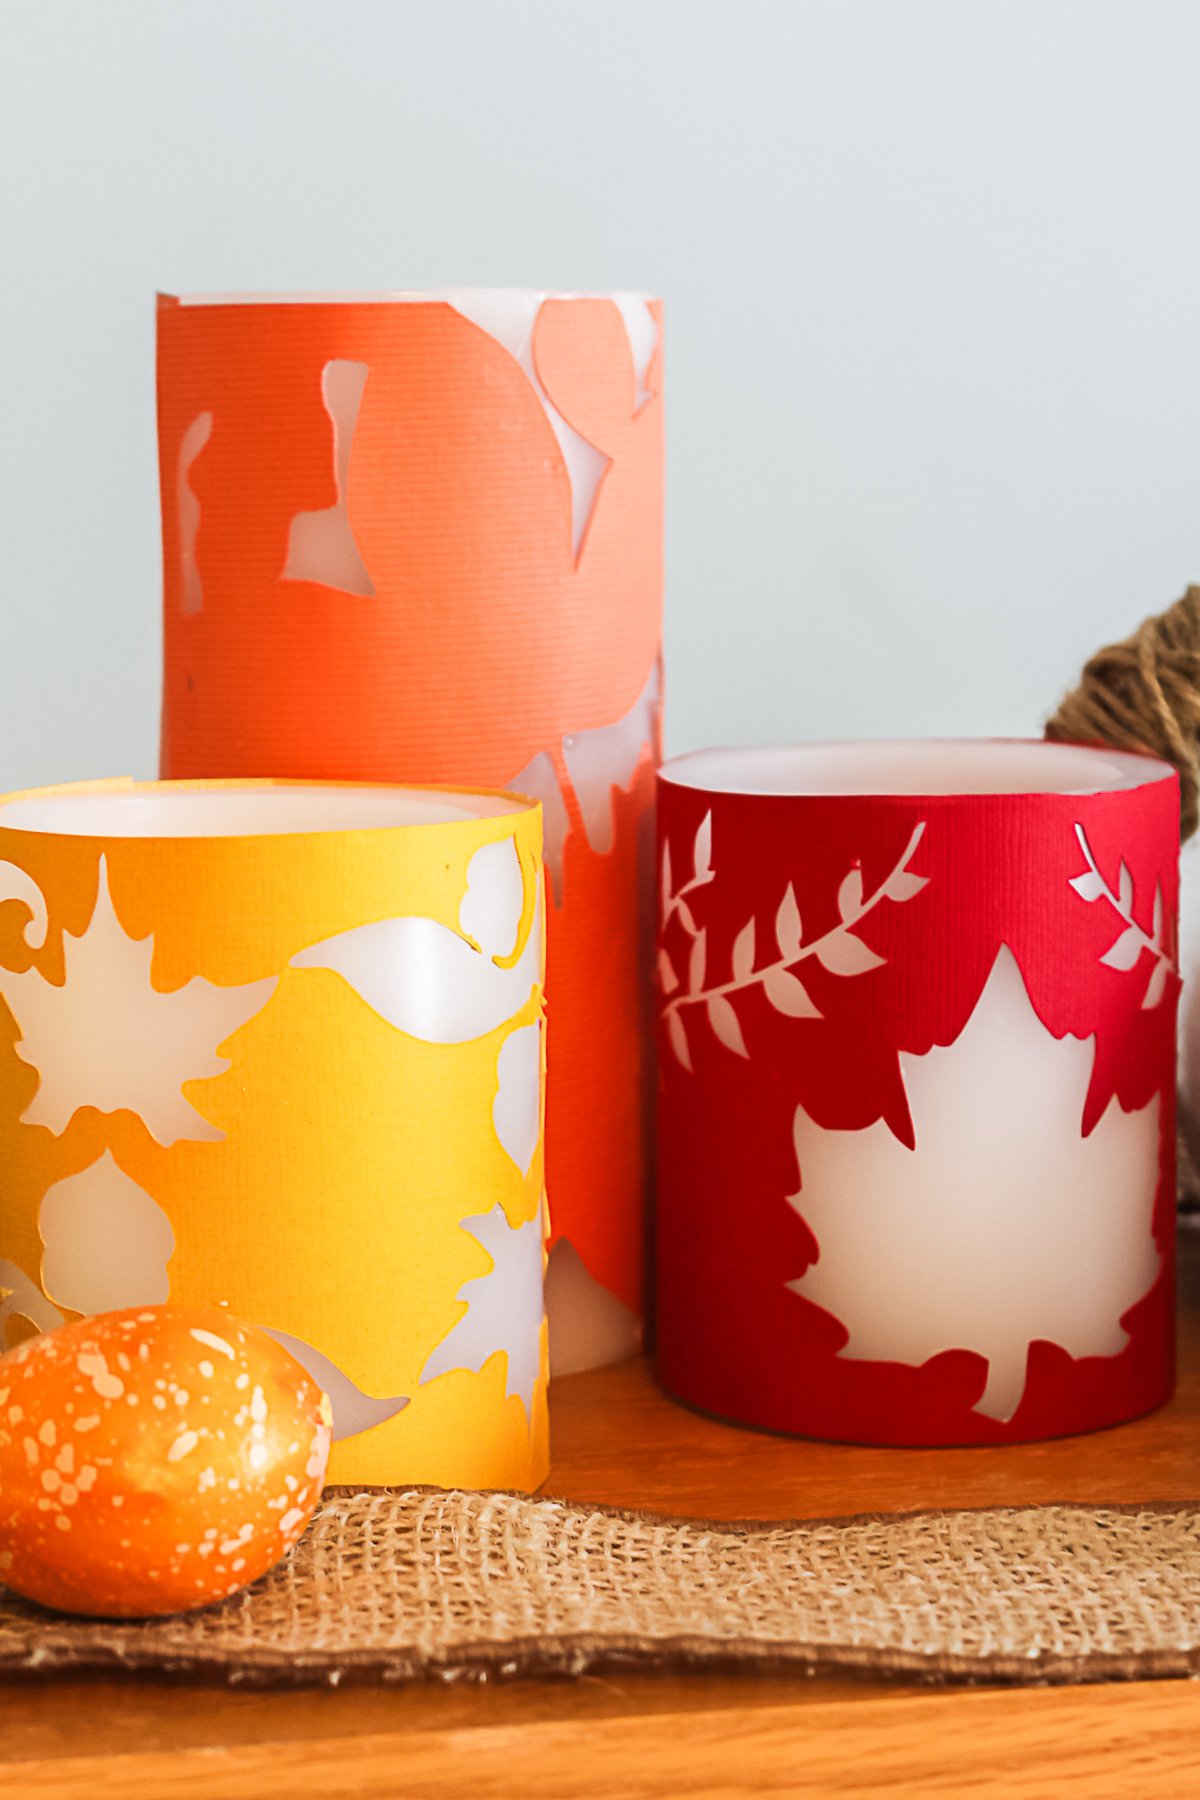
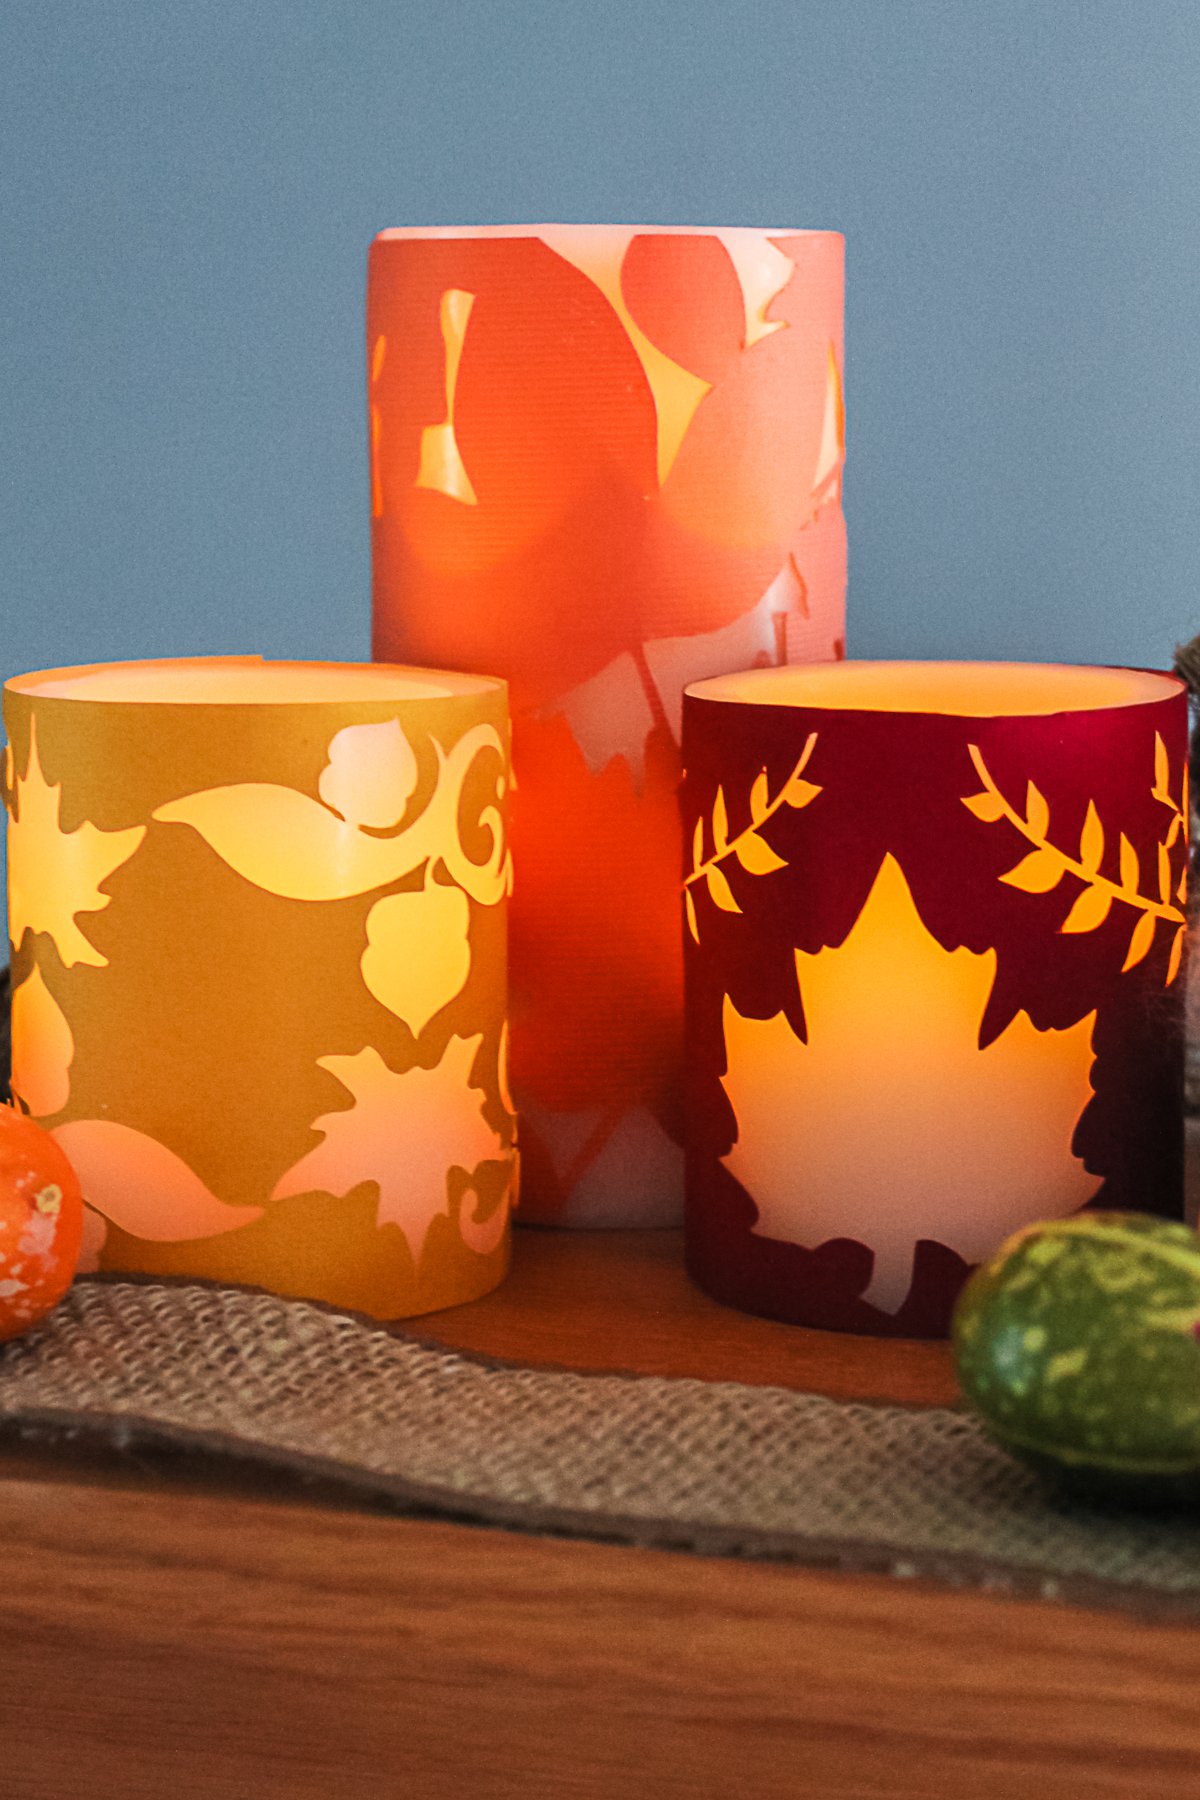
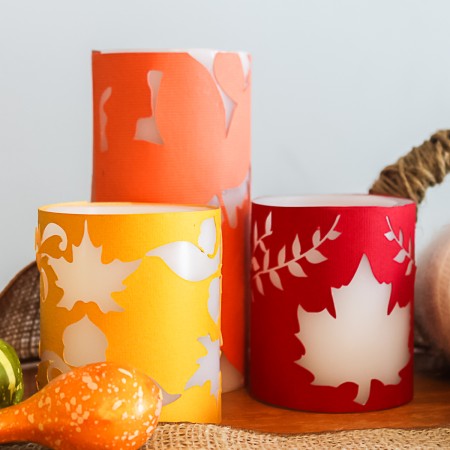
I made three of these as well all with different designs. Here are these wraps with the candles off.
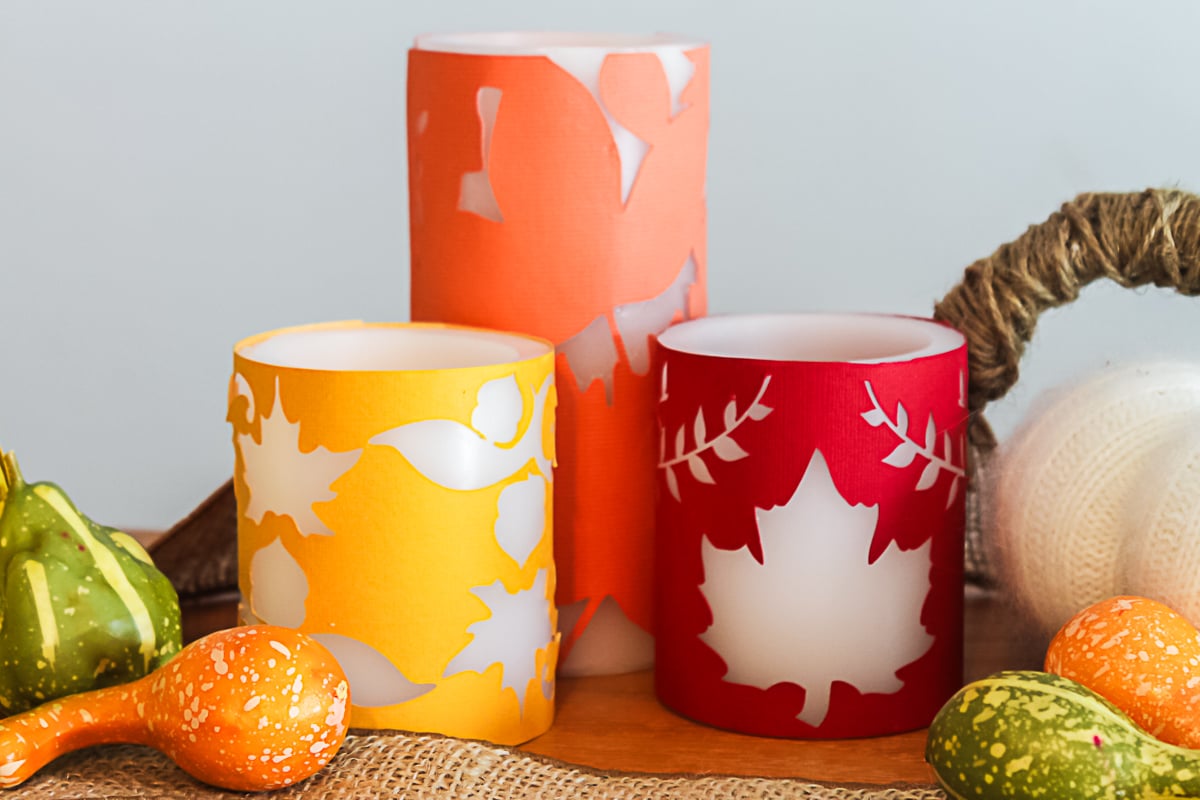
And then again with the candles on. Gorgeous how the light shines through, don’t you think?
Y’all enjoy both of these paper candle wraps. I am thinking there might be a seasonal paper candle wrap post around here. The possibilities are endless! I love the way both of these look. The black version can be left out all year long.
The leaves version is perfect for your fall decor or even as a centerpiece for Thanksgiving. Make several of these and add to a tray in the center of your table.
So, pick your favorite design and start making paper candle wraps for your home. You can even come up with your own design on the Cricut machine for a different season or occasion. It really is an idea that you can use over and over again for your home’s decor.
Love this fall craft idea and want more? Try the links below as well!
- Pumpkin Planter for Fall with Your Cricut
- Burlap Fall Wreath in a Pumpkin Shape
- Welcome Fall With This Porch Decor
- Fall Candles: Make These for Fall Scents
- Happy Fall Y’all Doormat
Want to print the instructions for making these candle wraps with your Cricut? Try the card below!
Supplies
- Punches or Cricut machine NOTE: Both punches I used were Martha Stewart but any craft punch would work for this project. The all over punches are perfect for these wraps as you can punch anywhere on the page.
- LED Tea Lights
- 6 inch Candle Sleeves NOTE: These are real wax candle sleeves that your LED tea lights will just slip down into and they come in various sizes. You can also get battery-operated candles in this size.
- 3 1/2 inch Candle Sleeves
- Cardstock in the color of your choice
- Double stick tape or spray adhesive
Instructions
How to Make Wraps for Candles with Punches:
- First let’s make the version with paper punches. Keep scrolling if you want to use a Cricut machine to make candle wraps. Cut your card stock to the height of your candle sleeve. Then cut it to size with just a slight overlap where it will meet in the back.
- On the first version, I used an edge punch down both edges of one wrap. Please note I left a small area on each end to use for the double-stick tape and so the punched piece would not detach.
- The second version below uses the all-over punch which is perfect for this project.
- I also made a third version that combined the two punches. These designs worked fine being held on the back with double-sided tape. Here they are with the candles turned off.
- And with the candles on. I adore how the light comes through these wraps.
- Just so you know the LED tea lights look so real inside these wax sleeves. Your guests will never know. You can also find battery-operated candles that are similar to these that are one piece. Either way, I know you will love how these look in your home.
How to Make Cricut Candle Wraps
- Don’t have any paper punches? If you have a Cricut this project is just as easy! I designed some fall wraps in Cricut Design Space and cut them out of card stock. Just add random leaves to a rectangle shape the size you need for your candles then use the attach function to cut them from the rectangle. I found that due to the way I laid out the designs, the wraps did not look as well with just the double-sided tape. So for these, I used spray adhesive.
- Just spray on a generous amount (please spray your paper OUTSIDE as this makes a mess).
- Lay your candle on the wrap.
- Then just roll to adhere.
Notes
New to Cricut?

Sign up for our email list to download the Beginner's Guide to Cricut Design Space for FREE today!
Sign up to get the guide emailed to you!


WHERE CAN CANDLE SLEEVES BE PURCHASED? THANKS
Sorry I do not sell them. I only provide the instructions for making them yourself.
This is really creative!!!