
Making your own DIY canvas art has never been easier! Trust me, once you learn how to make a reverse canvas you will be adding art to every room of your home. Here we added a quote to a canvas with iron-on but you can do anything you would like with this technique. Make the DIY canvas art of your dreams!

Once you get this process down, you’ll be adding a canvas to every room in your house. I love using this technique.
What is the reverse canvas technique?
The reverse canvas technique transforms an inexpensive canvas into a rustic and beautiful way to display a design without spending a lot of cash on a frame. By removing the canvas material from the wood frame, you are left with the cheap wood frame underneath. Then, you can stain or paint the wood according to your style.
While this sounds like a lot of steps, it’s so easy to add vinyl on a canvas! All you need is a downloadable cut file, a Cricut machine, and a canvas.
I love this project because you can give it any style you like. You can even transfer a photo to the canvas. Here’s another project where I used the same reverse canvas technique.
How to Make Reverse Canvas Art
Supplies needed to make this DIY canvas art:
- Canvas (I used this Squangles version)
- Screwdriver
- Pliers
- Wood Stain
- Paint Brush
- Rag
- Free Downloadable Cut File (click here to access)
- Cricut Machine (You can see the difference between the Cricut Explore and the Maker here.)
- Iron-on in Black
- Iron or Cricut EasyPress (see more about the differences between the two here)
- Staple Gun
- Craft Knife
- Weeding tools (optional)

To begin, you will need to remove the canvas from the frame. Flip your canvas over to the back and use a screwdriver and pliers to remove any staples holding it into place.

In this case, there was also a cord that held it down. I just pulled it out.
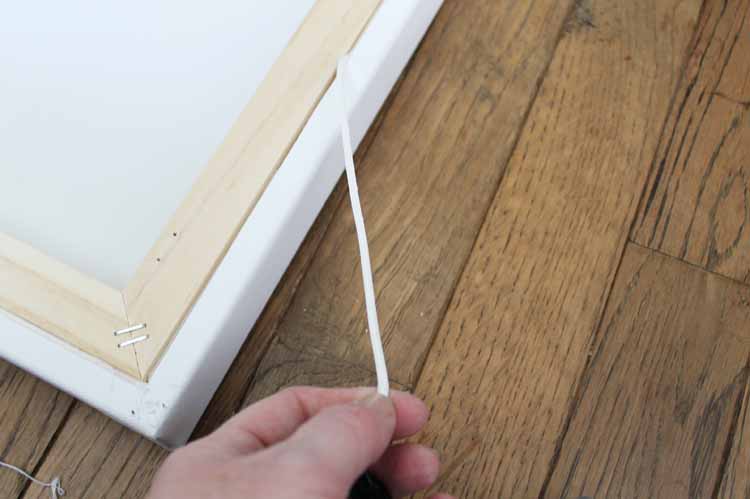
The frame was then loose from the canvas.
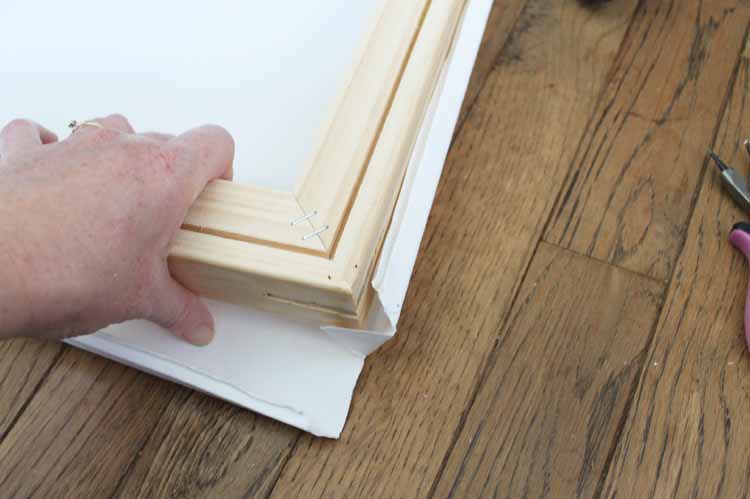
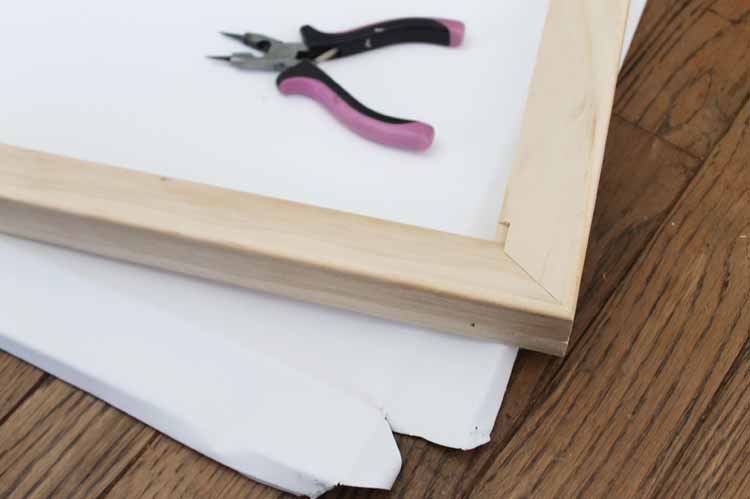
Just look at that gorgeous frame that was hiding under there! This is the frame flipped over to the front. I put a coat of stain on my version. Just paint on the stain, allow to sit a few seconds, and wipe away excess with a rag. Set aside to dry completely.
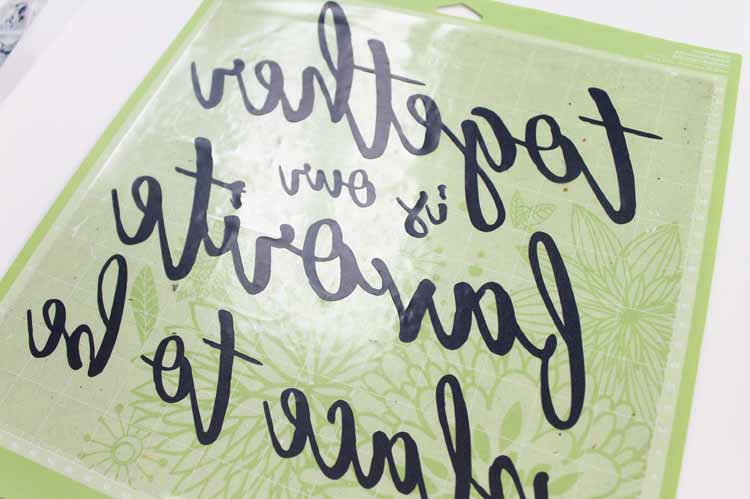
In the meantime, you can start on your DIY canvas art. Download the cut file here. Upload it to Cricut Design Space (you can click here to get more information on how to do so). Be sure to mirror the image and place the iron-on shiny side down on the mat. Then cut the image.
Confused about Cricut Design Space? Click here to download our free beginner’s guide!
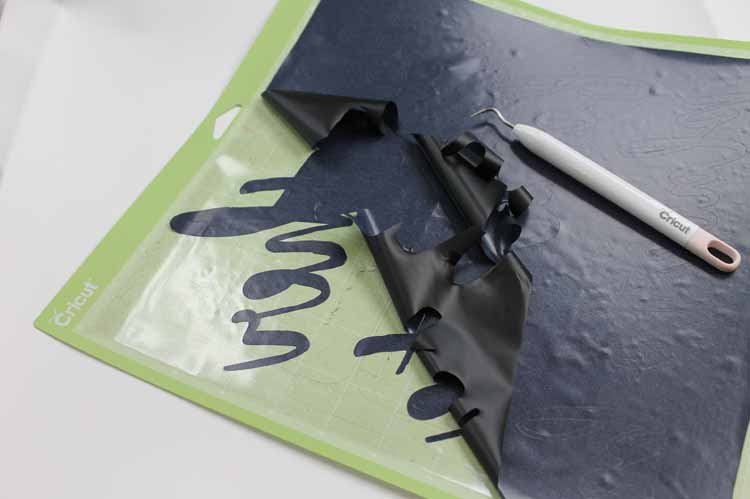
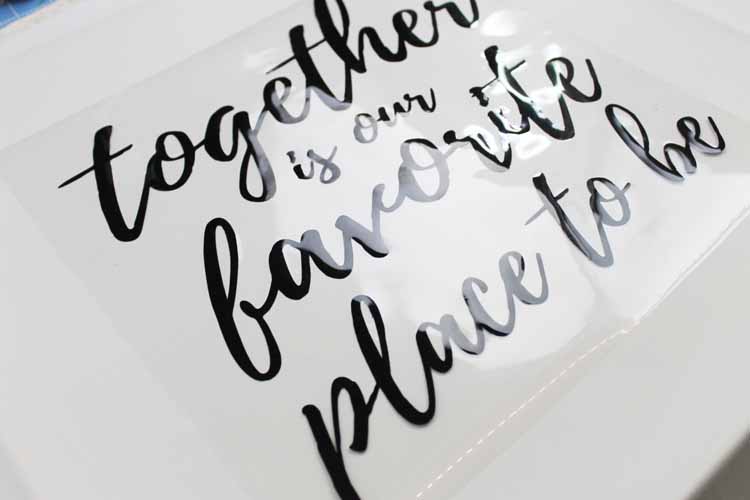
Remove all excess iron-on from around the words as well as the centers of any letters. Weeding tools do make this easier but they are optional.
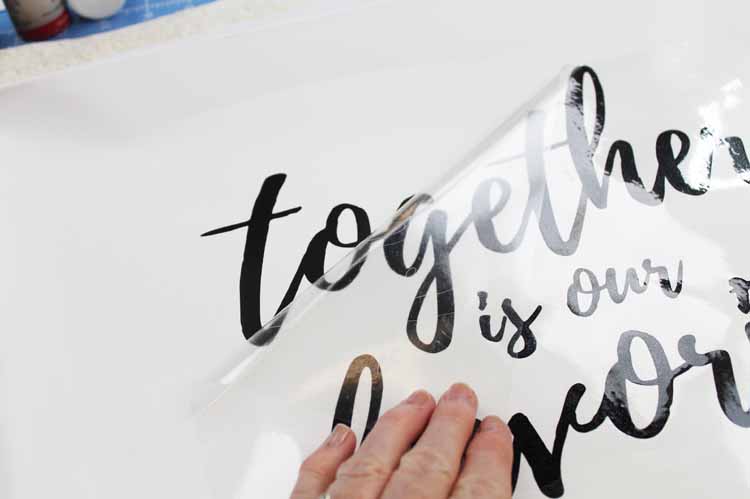
Put the weeded design on the front of your canvas. Iron according to the package directions or use the Cricut EasyPress.
Remove the protective sheet to reveal your design which is perfectly adhered to the canvas.
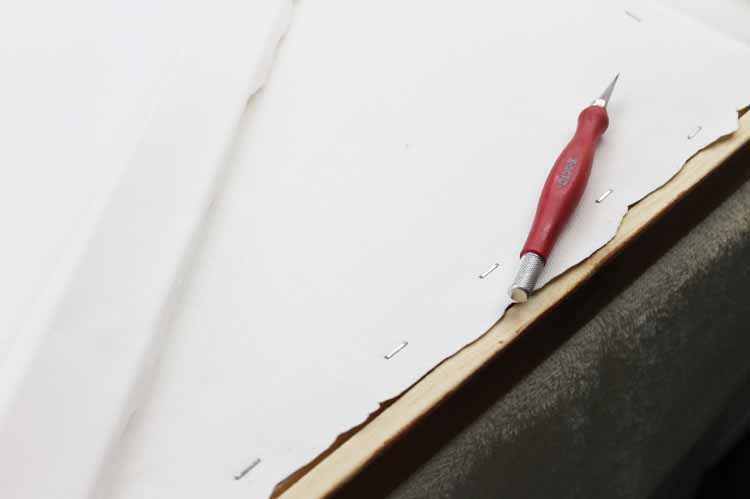
Now it is time to add that canvas back to the frame. Center the art in the stained frame and then flip over. Use a staple gun to secure the canvas to the back of the frame in several locations.
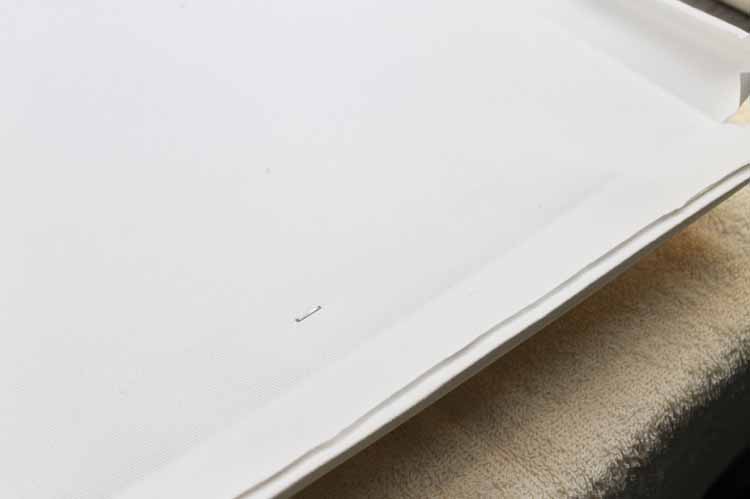
Then just use your craft knife to trim away all of that excess canvas.
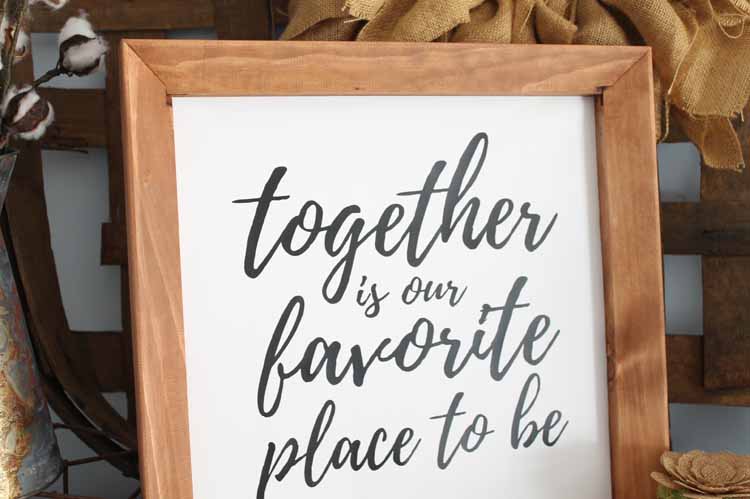
Flip over your DIY canvas art and add it to any room in your home.

I told you this technique for creating a reverse canvas was super easy. Now what will you add to your version?
Grab your supplies and make a bunch of these. They are perfect for your own home as well as make great gift ideas. You will be making your own DIY canvas art for every single room of your home.

Love this DIY canvas art and want more ideas? Try the links below!
- Reverse Canvas with Chalk Couture
- Custom Mats for Frames Using the Cricut Maker
- Our Farm Kitchen Reveal
- Clothespin Picture Frame
- Farmhouse Window Frame Wreath
- More DIY Wall Art Ideas

Supplies
- Canvas I used this Squangles version
- Screwdriver
- Pliers
- Wood Stain
- Paint Brush
- Rag
- Free Downloadable Cut File
- Cricut Machine
- Iron-on in Black
- Iron or Cricut EasyPress
- Staple Gun
- Craft Knife
- Weeding tools optional
Instructions
- To begin, you will need to remove the canvas from the frame. Flip your canvas over to the back and use a screwdriver and pliers to remove any staples holding it into place. In this case, there was also a cord that held it down. I just pulled it out.
- The frame was then loose from the canvas.
- Just look at that gorgeous frame that was hiding under there! This is the frame flipped over to the front. I put a coat of stain on my version. Just paint on the stain, allow to sit a few seconds, and wipe away excess with a rag. Set aside to dry completely.
- In the meantime, you can start on your DIY canvas art. Download the cut file here. Upload it to Cricut Design Space (you can click here to get more information on how to do so). Be sure to mirror the image and place the iron-on shiny side down on the mat. Then cut the image.
- Remove all excess iron-on from around the words as well as the centers of any letters. Weeding tools do make this easier but they are optional.
- Put the weeded design on the front of your canvas. Iron according to the package directions or use the Cricut EasyPress.
- Remove the protective sheet to reveal your design which is perfectly adhered to the canvas.
- Now it is time to add that canvas back to the frame. Center the art in the stained frame and then flip over. Use a staple gun to secure the canvas to the back of the frame in several locations.
- Then just use your craft knife to trim away all of that excess canvas.
- Flip over your DIY canvas art and add it to any room in your home.
New to Cricut?

Sign up for our email list to download the Beginner's Guide to Cricut Design Space for FREE today!
Sign up to get the guide emailed to you!


I wanted to let you know that the Instagram page https://www.instagram.com/bloomcustomdesignco is using your work and passing it off as their own.
Thanks Sam! I am on it!