Angie Holden The Country Chic Cottage
Learn about your Cricut machine, sublimation printer, or any other craft you can imagine! Angie Holden shares her crafting tips so you can craft like a pro!
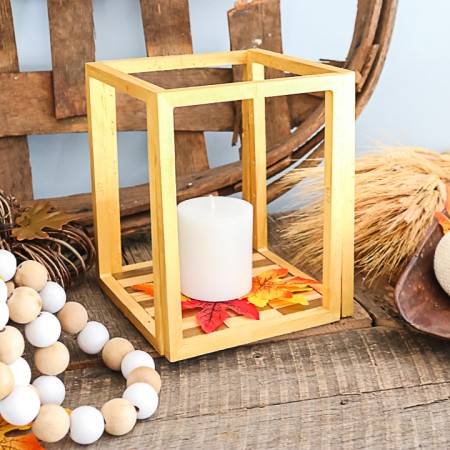
Want to craft but don't have a ton of money? No problem! We are sharing our best budget-friendly crafts that you can make. These DIY projects are perfect for those that want to be creative on a budget. Start with our collection of DIY scrap wood crafts for a way to create something from trash. Another way to craft on a budget is to make some of these pallet projects from leftover pallets.
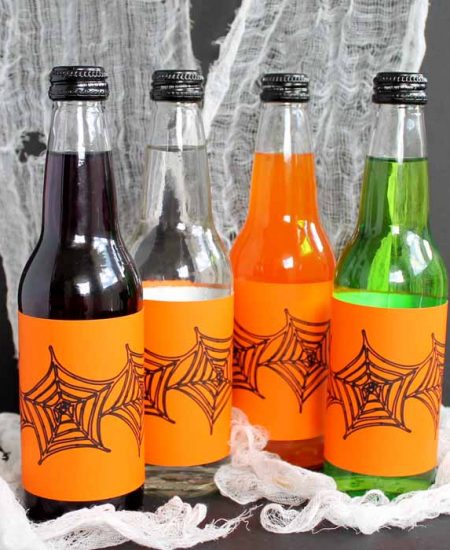
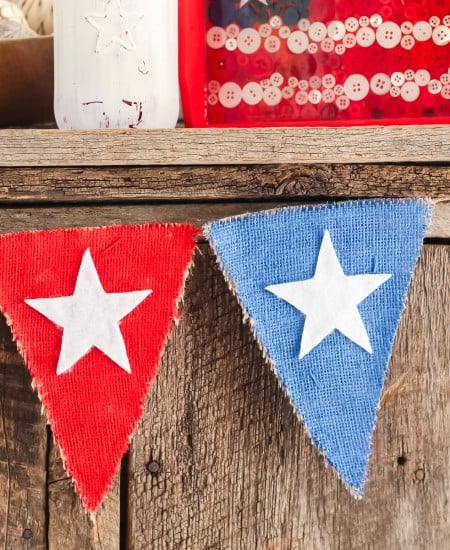
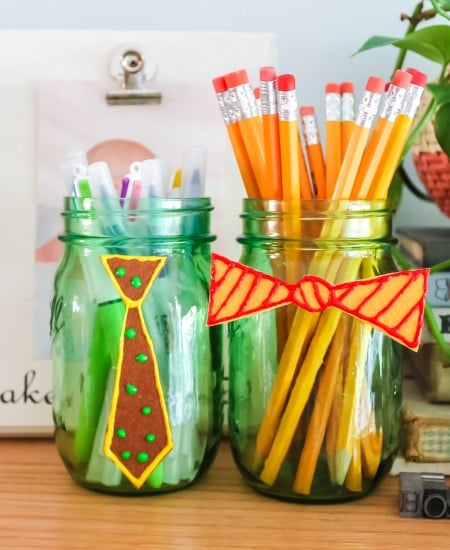
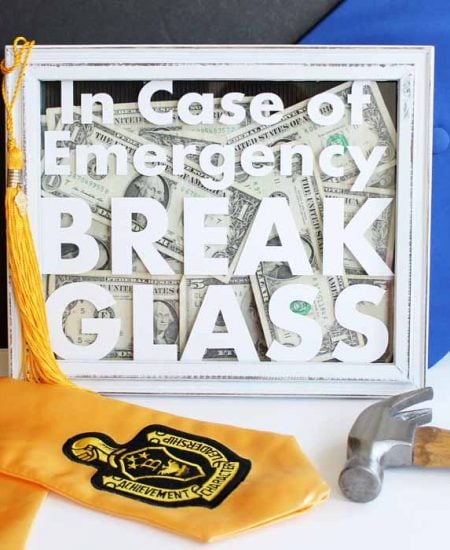
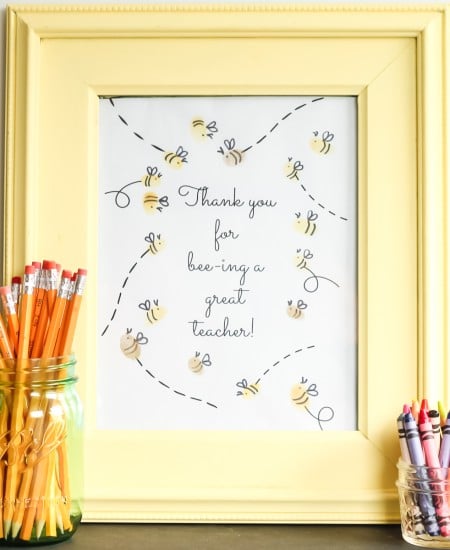
Whether you are are looking for a rainy-day craft, updating your decor on a budget, or need a last minute gift, I have you covered! You may even have everything you need on hand for a lot of these projects.
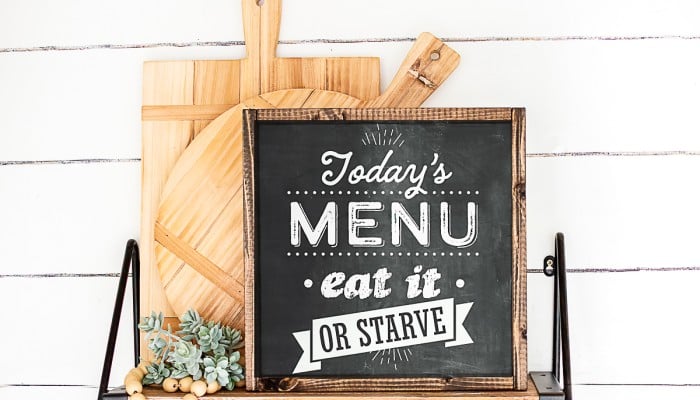
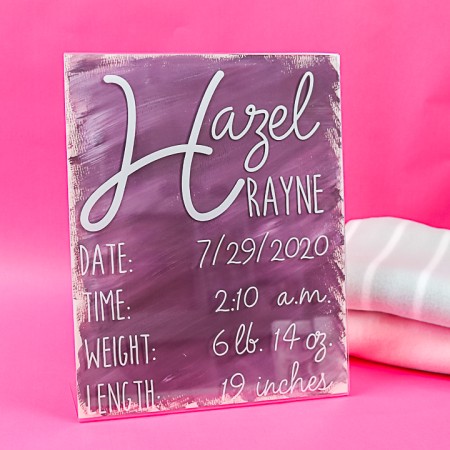
Print this fun art that looks like a chalkboard and leave it up all year long.
Get it here!