Angie Holden The Country Chic Cottage
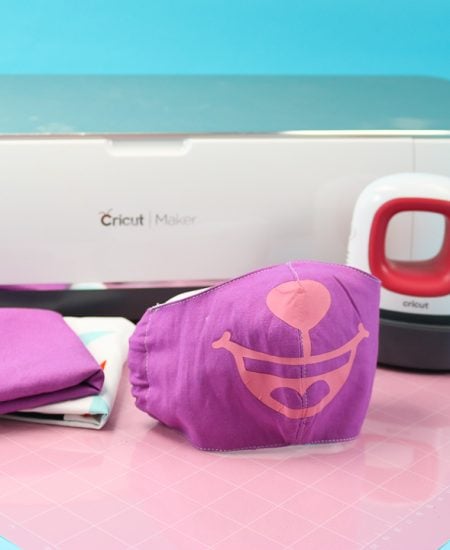
Learn about your Cricut machine, sublimation printer, or any other craft you can imagine! Angie Holden shares her crafting tips so you can craft like a pro!
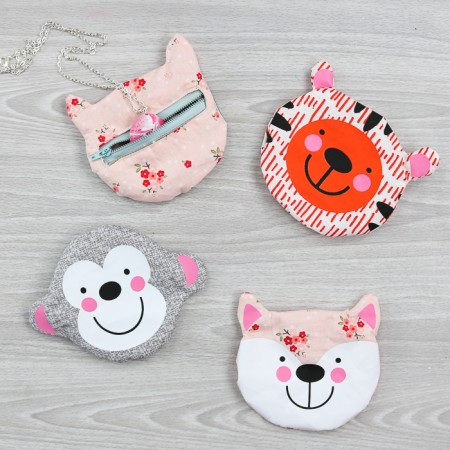
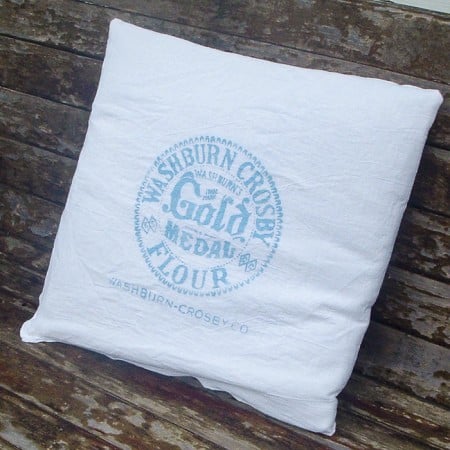
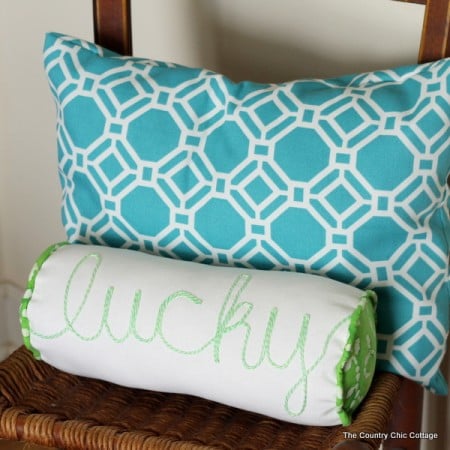
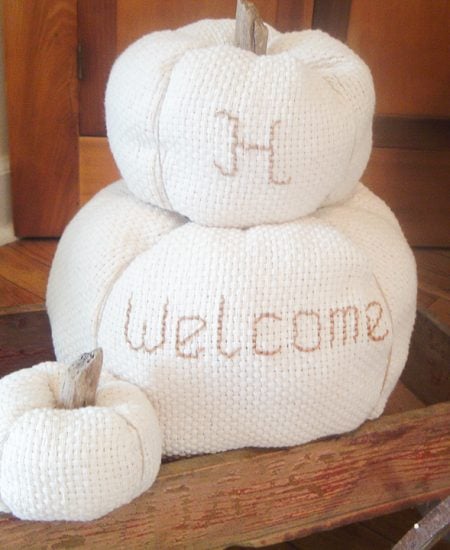
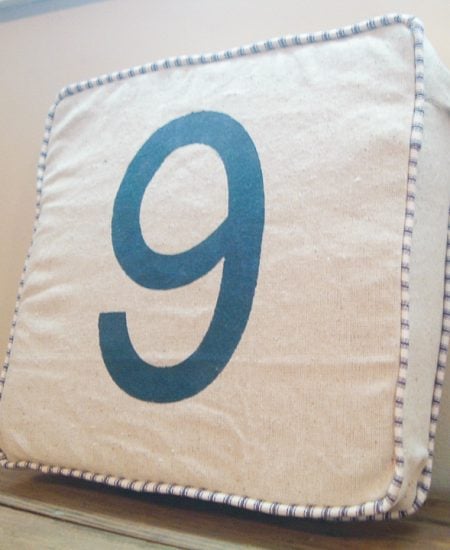
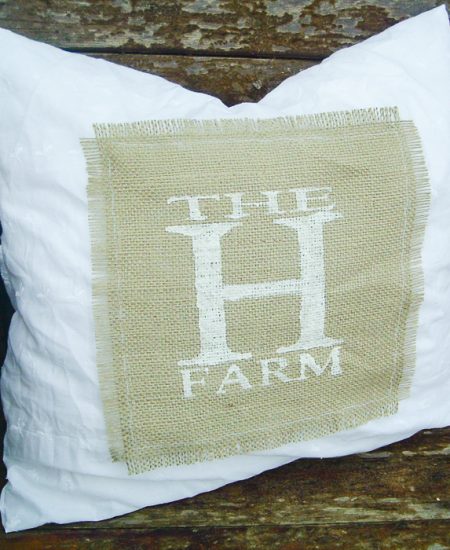
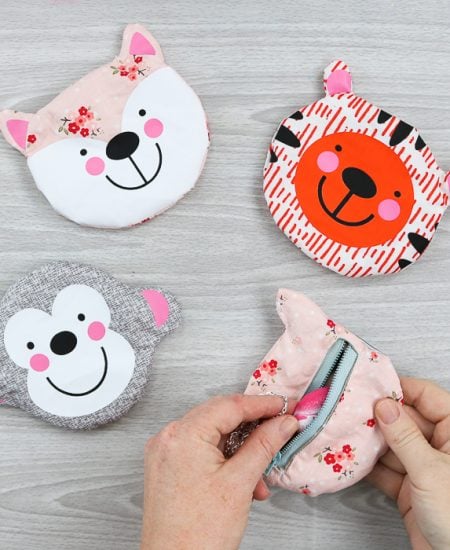
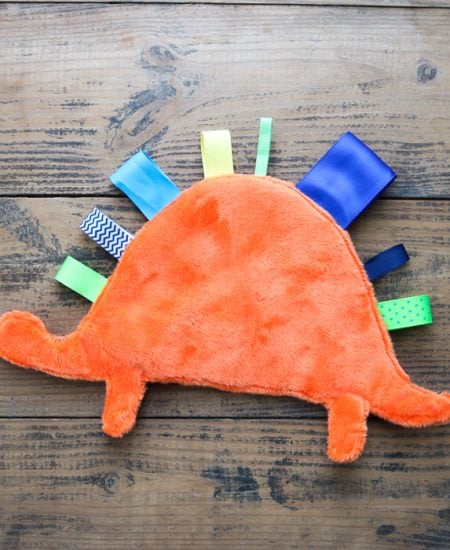
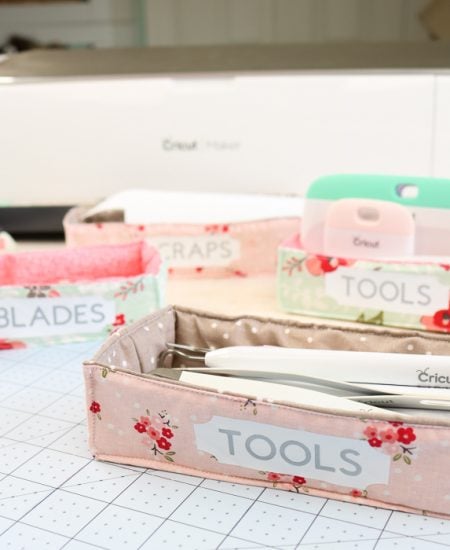
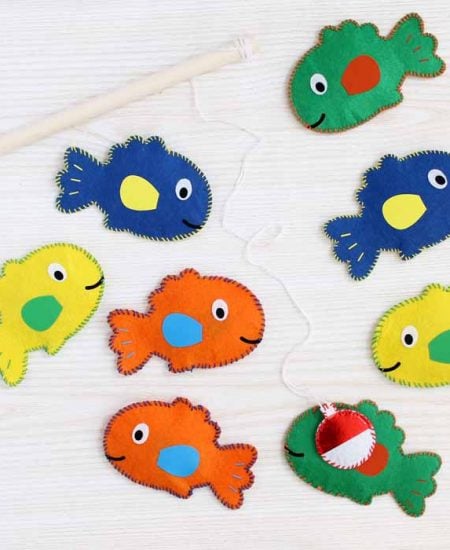
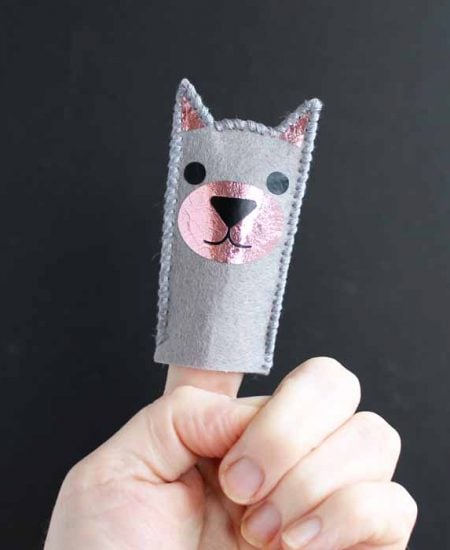
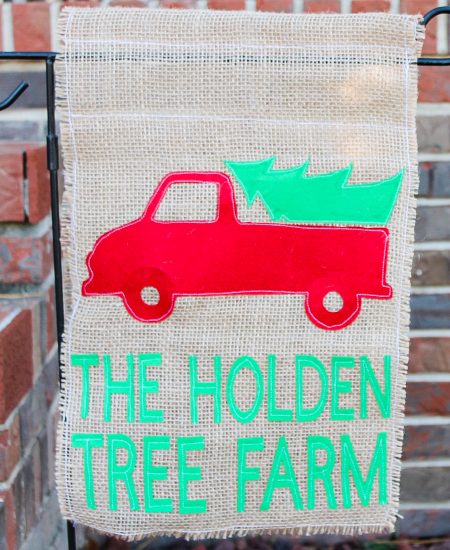
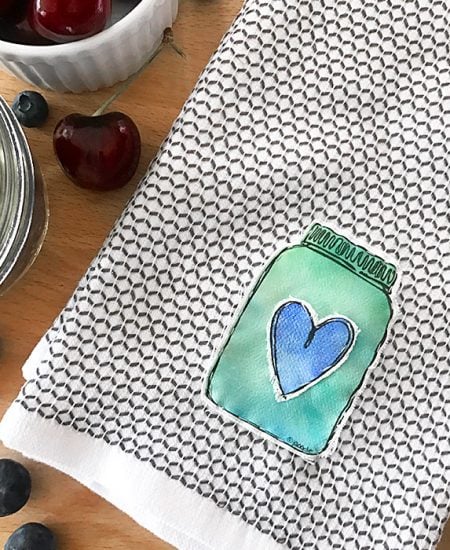
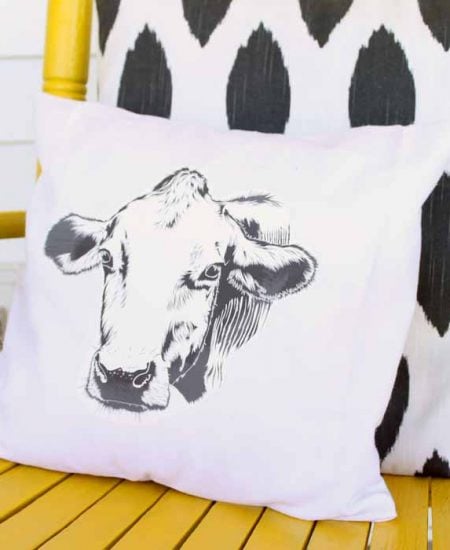
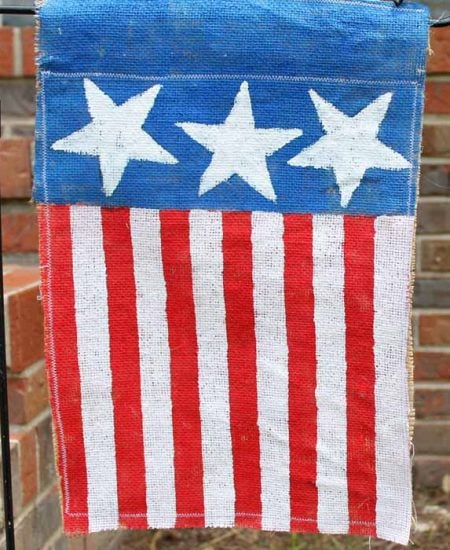
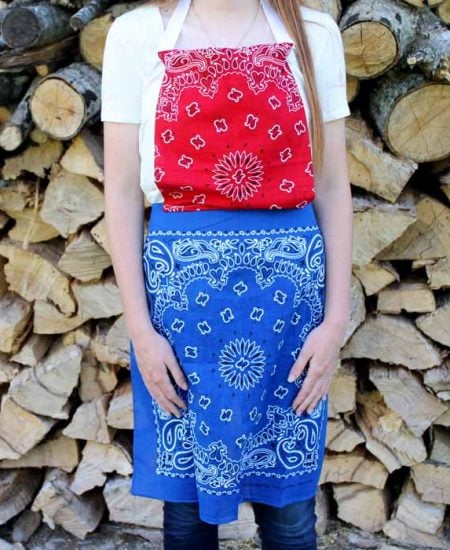
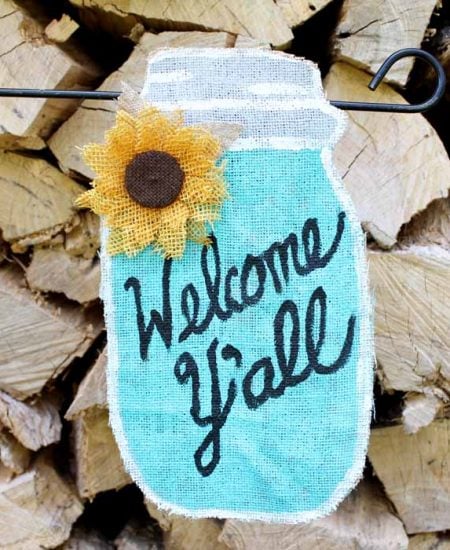
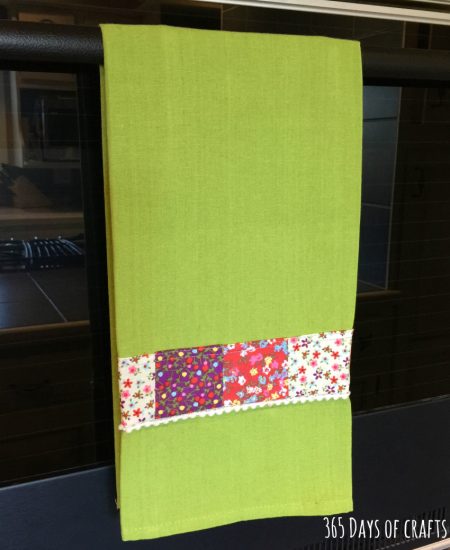
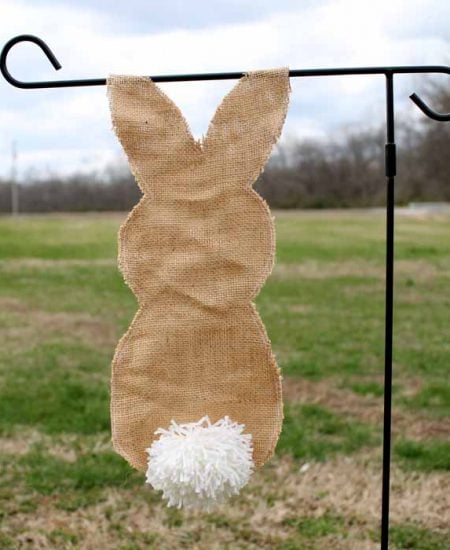
Love to sew? We have sewing craft ideas for everyone from beginners to advanced. Use our tutorials and sewing patterns to get creative this weekend. You may want to start with our guide on how to buy fabric online and pick up some fabric for all of the crafts you find that you want to make. If you love all things rustic, try our collection of burlap crafts and pick a few to try.
Here are some of my most popular sewing ideas.