Angie Holden The Country Chic Cottage
Learn about your Cricut machine, sublimation printer, or any other craft you can imagine! Angie Holden shares her crafting tips so you can craft like a pro!
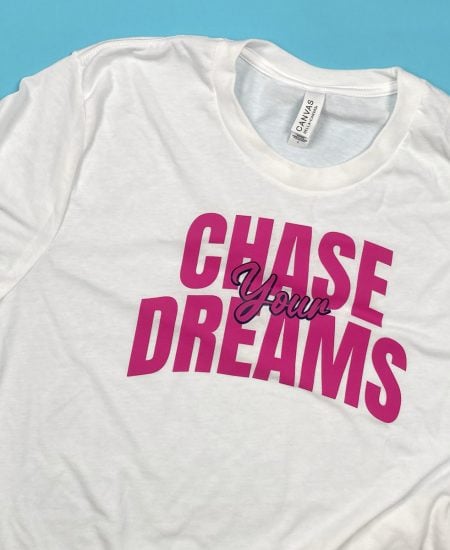
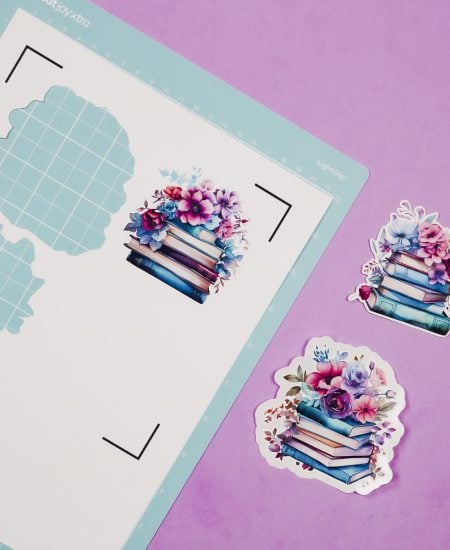
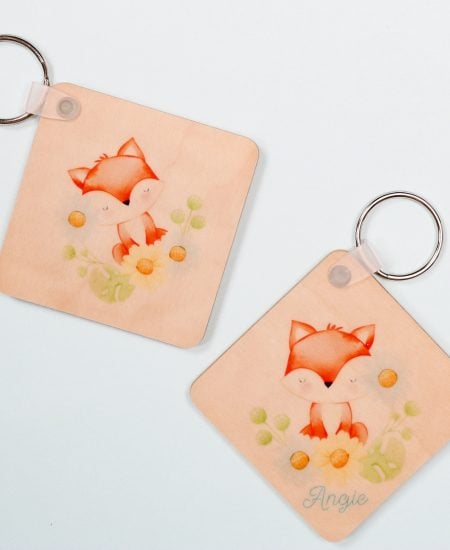
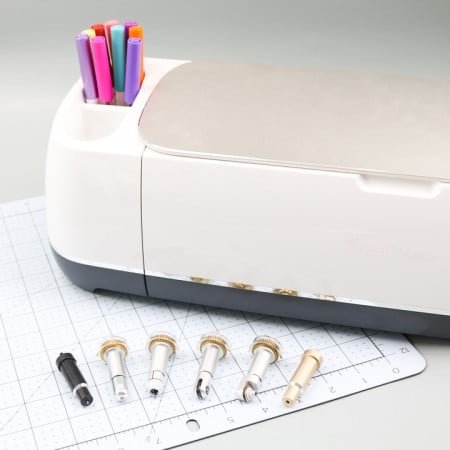
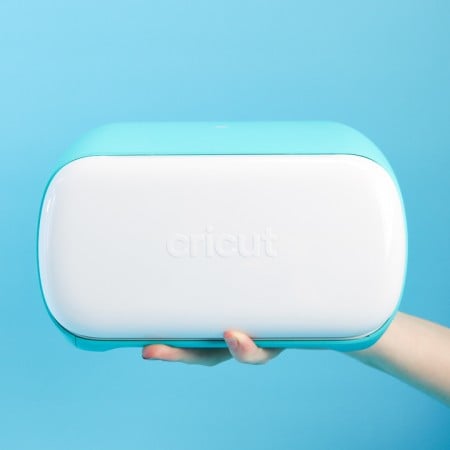
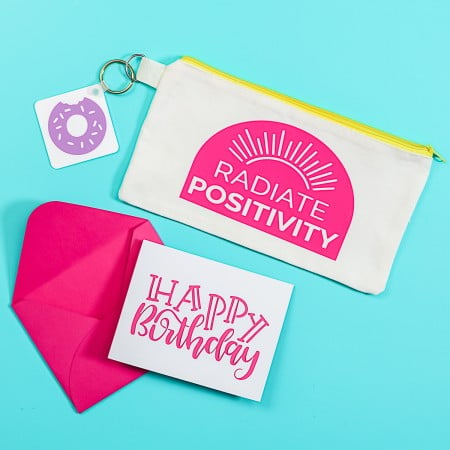
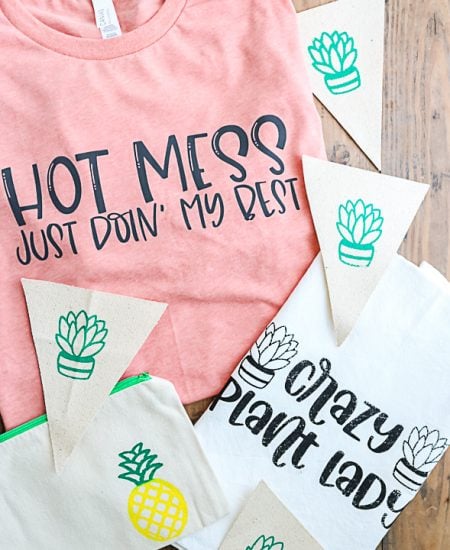
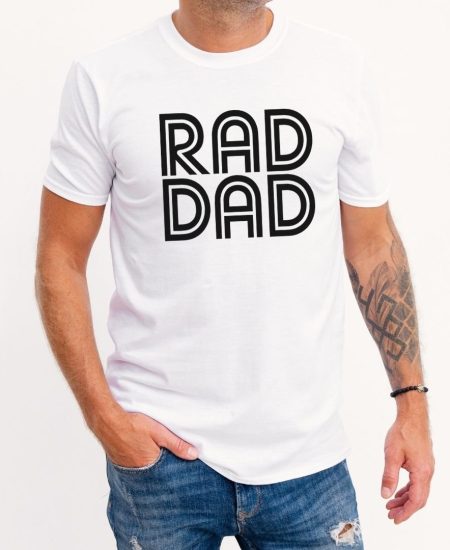
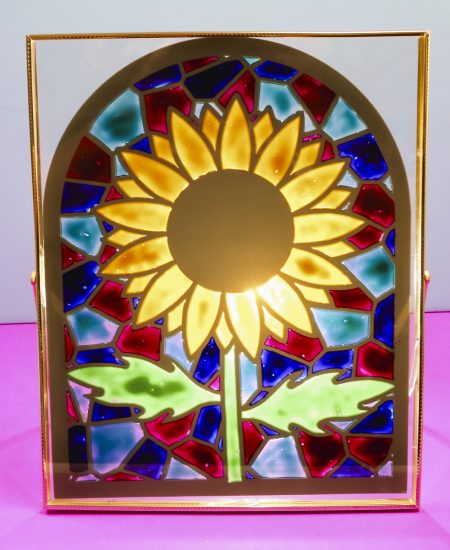
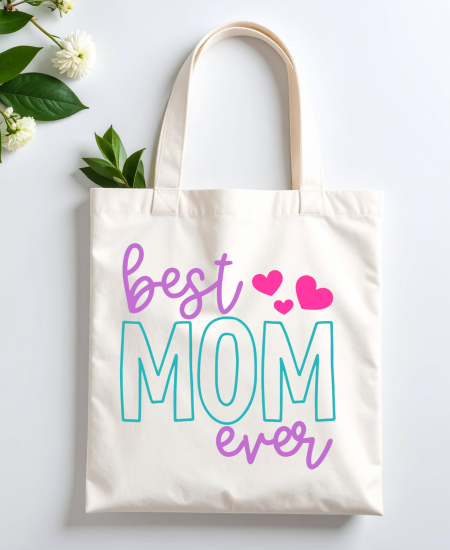
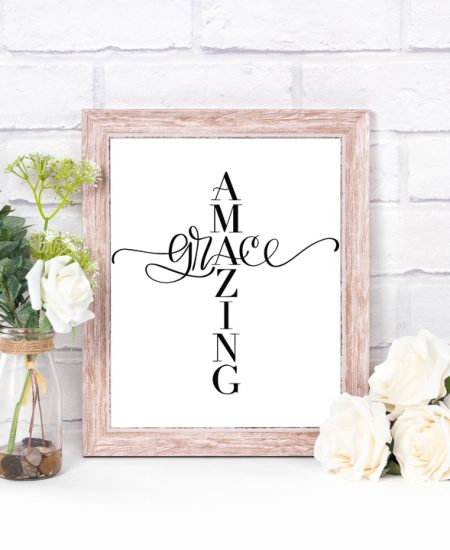
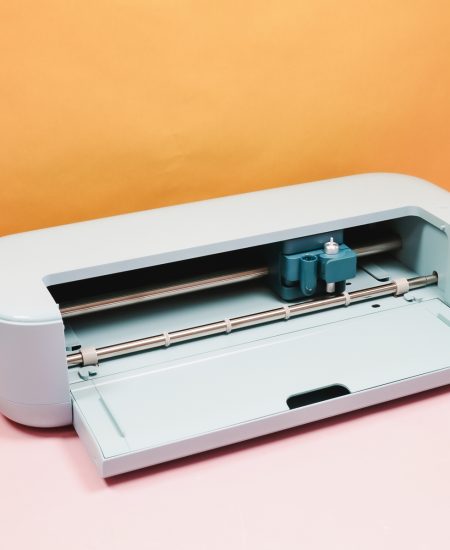
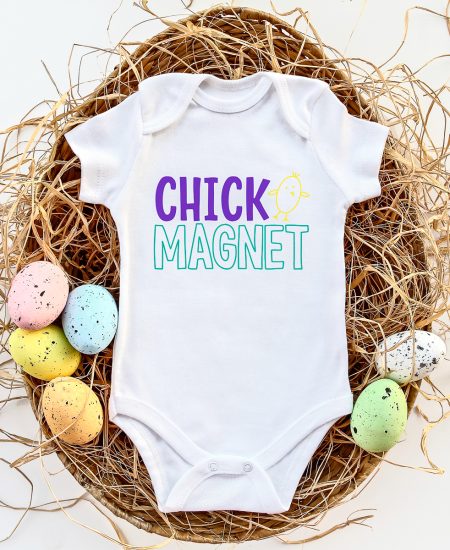
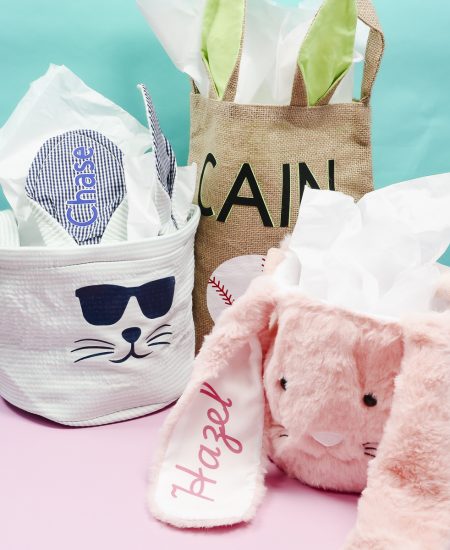
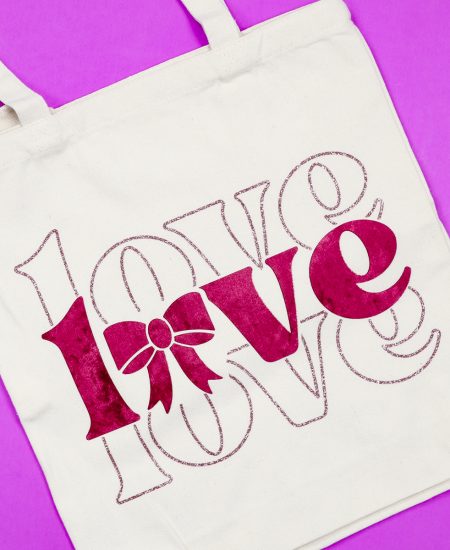
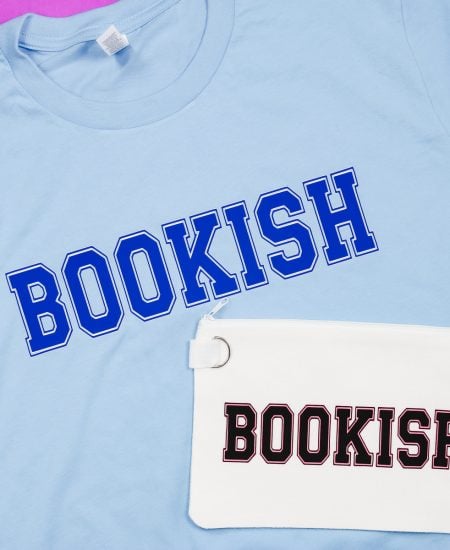
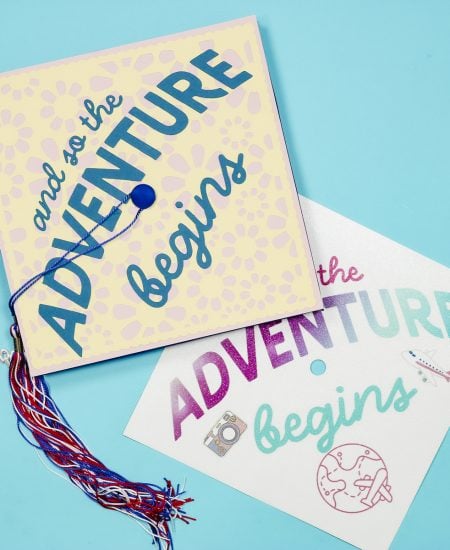
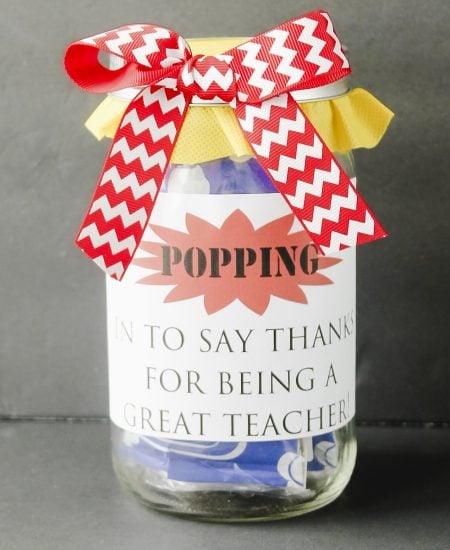
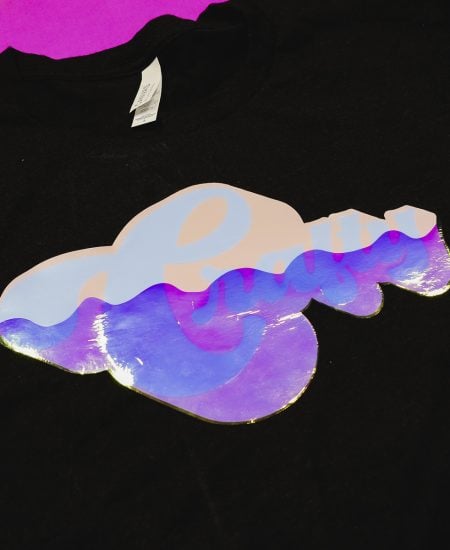
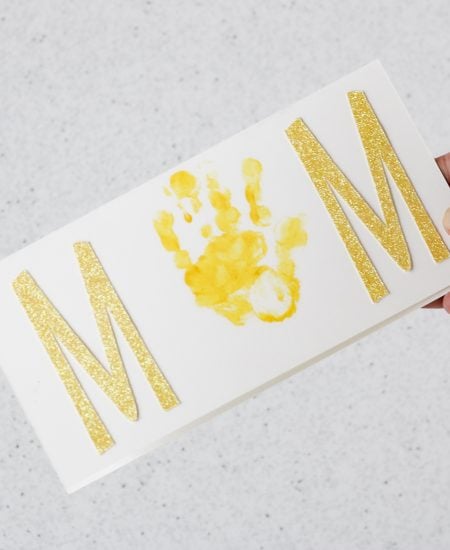
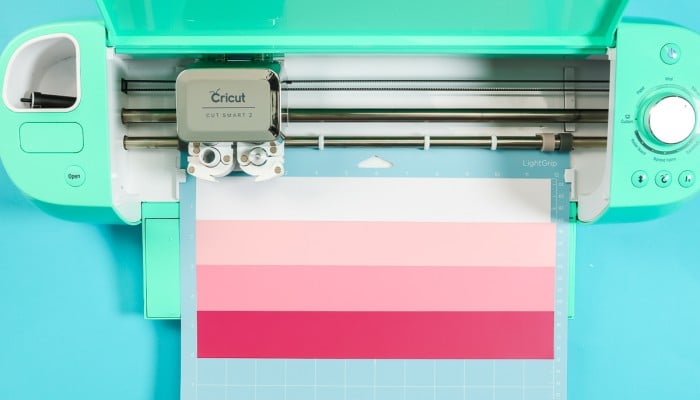
Break out your Cricut machine and put it to use! We have Cricut crafts for everyone from beginner to advanced plus basic tutorials on your machine as well. You will be a Cricut expert when you are finished with these craft ideas! This comparison of what type of vinyl is best for mugs is super popular and you might want to try this list of 10 things you didn't know the Cricut Maker could cut.
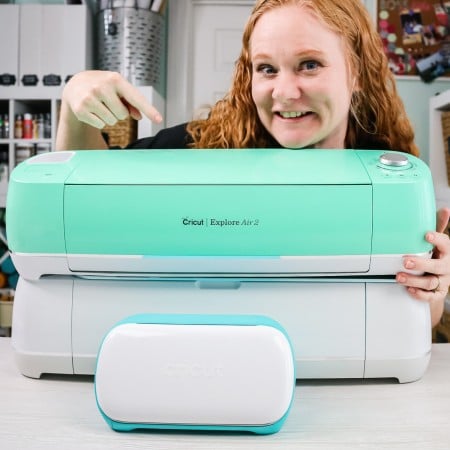
New to your Cricut? You might want to start with our free 7-day Cricut class.
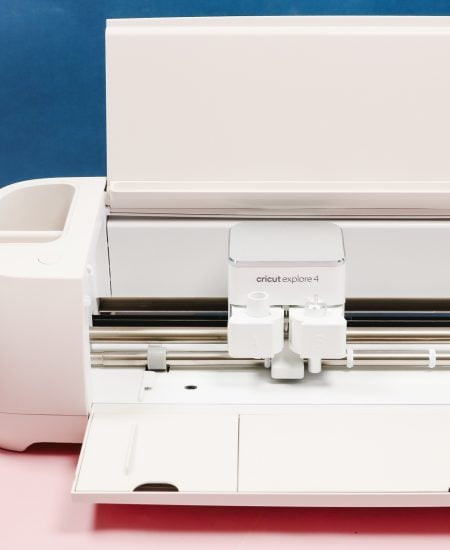
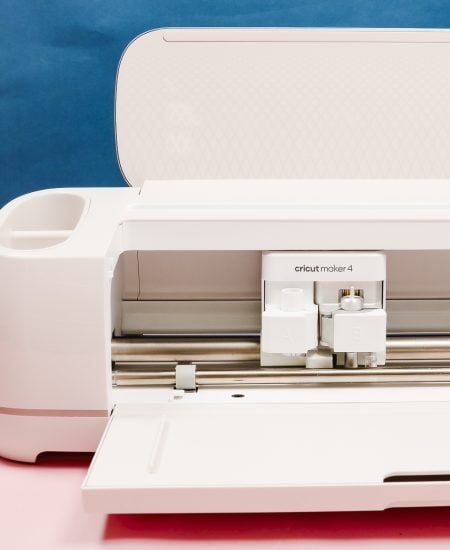
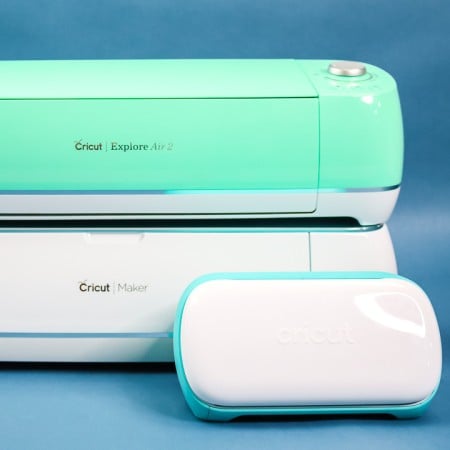
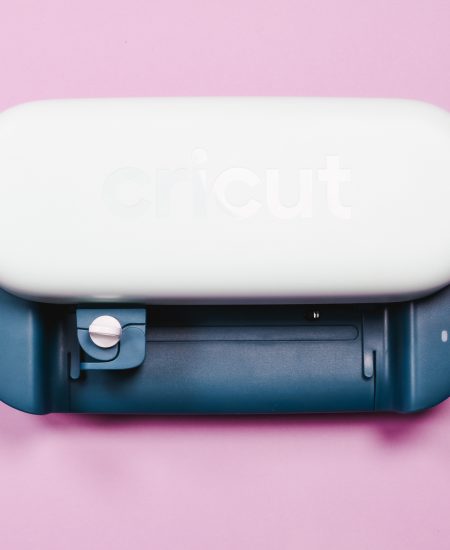
Have a specific machine? Use the links below to find project ideas!
Not sure where to start? Let us help! Browse below to find your starting point.
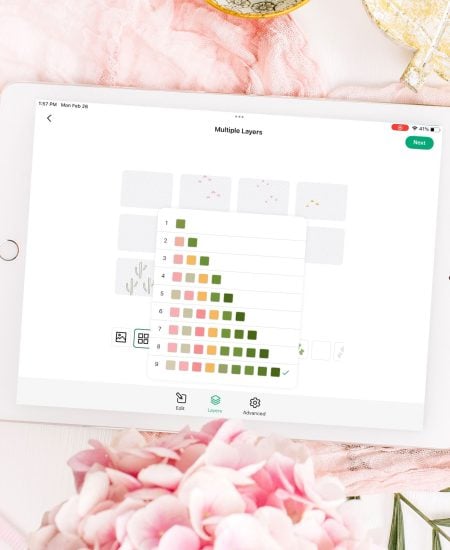
In just 7 days, you can learn everything you need to know about Cricut Design Space and using your machine to make projects. It is like the best binge-watching session ever because you come out of it with a new skill! Are you ready to sign up?
Sign Up Now