Angie Holden The Country Chic Cottage
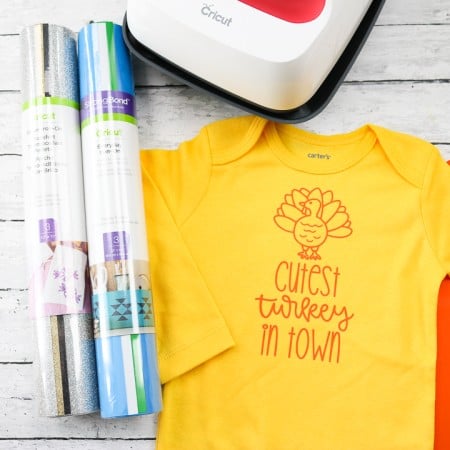
Learn about your Cricut machine, sublimation printer, or any other craft you can imagine! Angie Holden shares her crafting tips so you can craft like a pro!
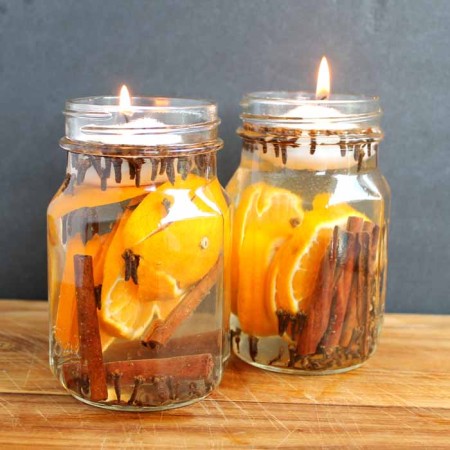
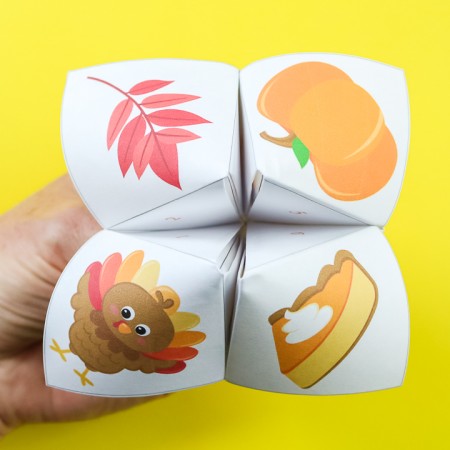
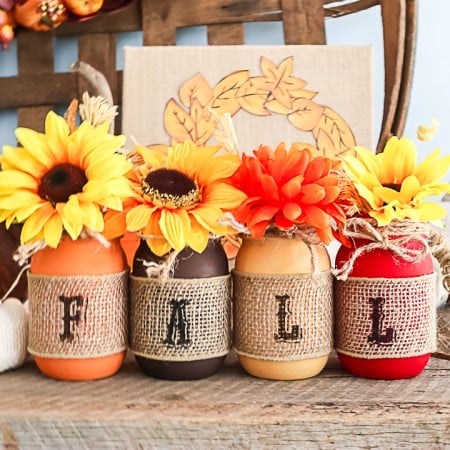
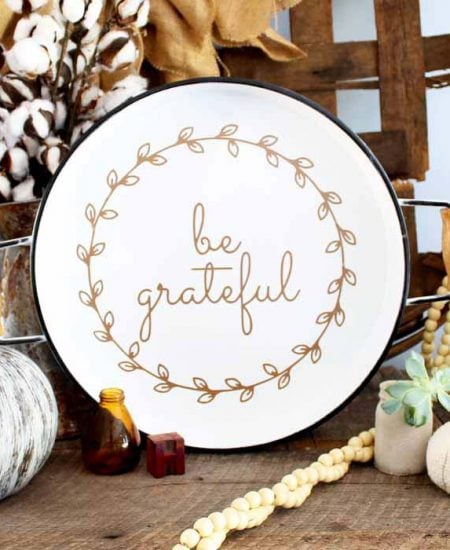
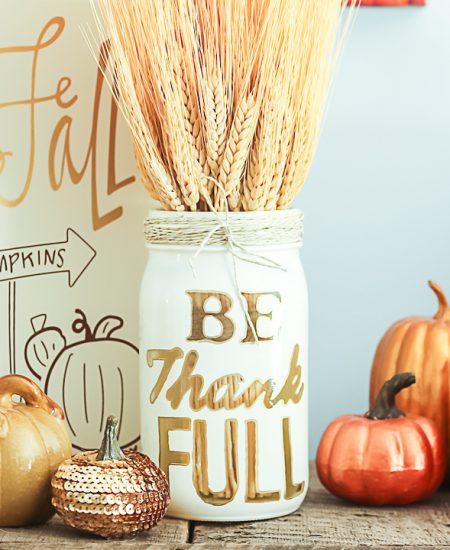
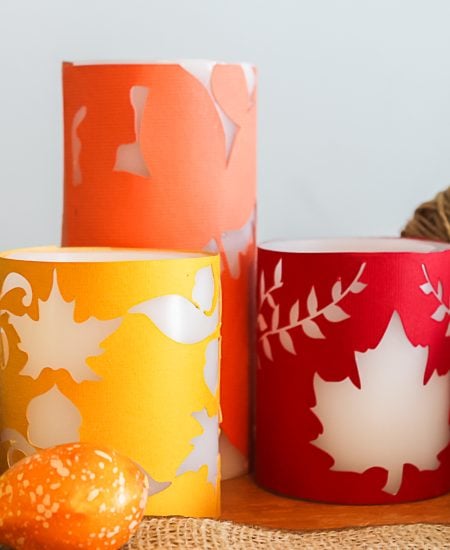
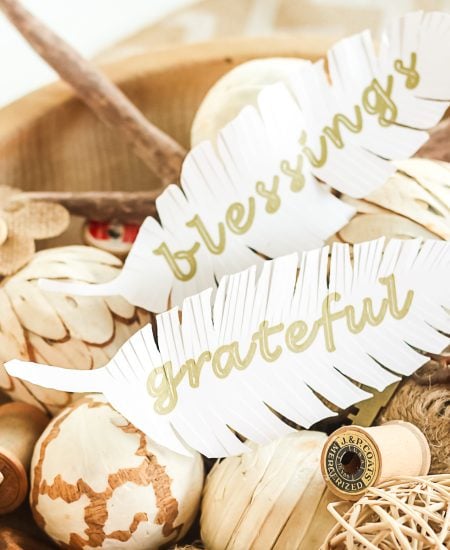
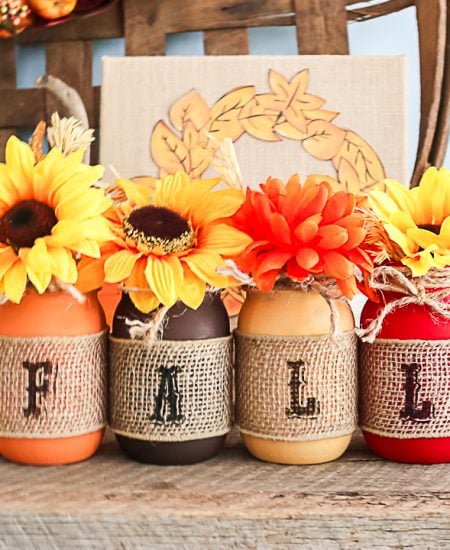
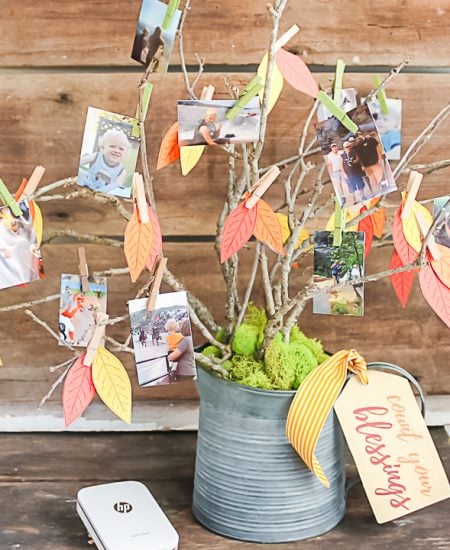
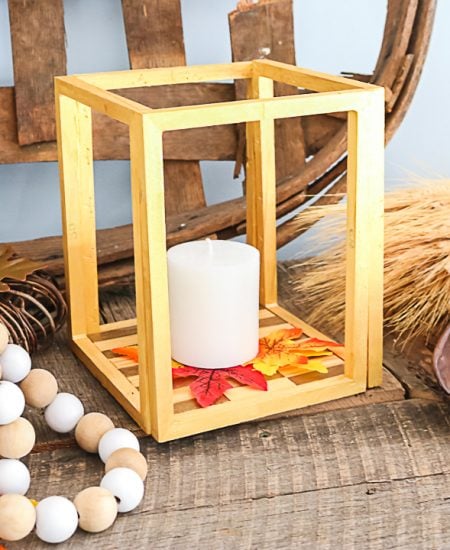
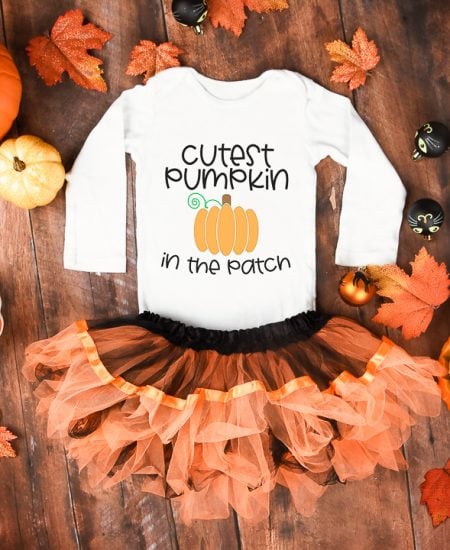
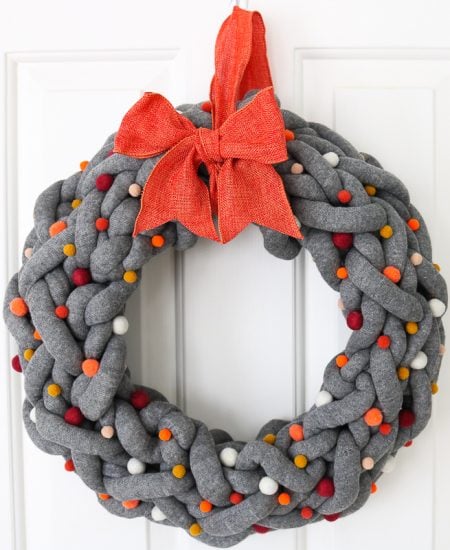
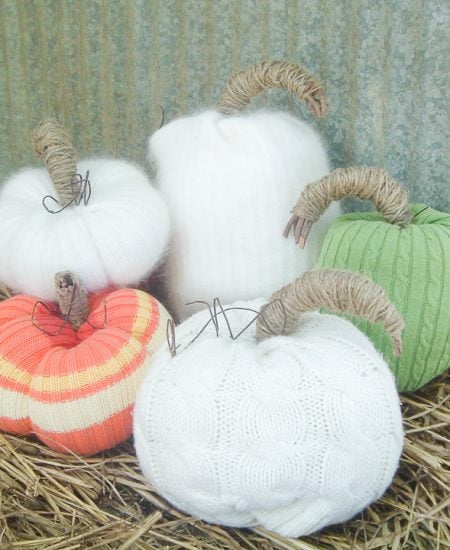
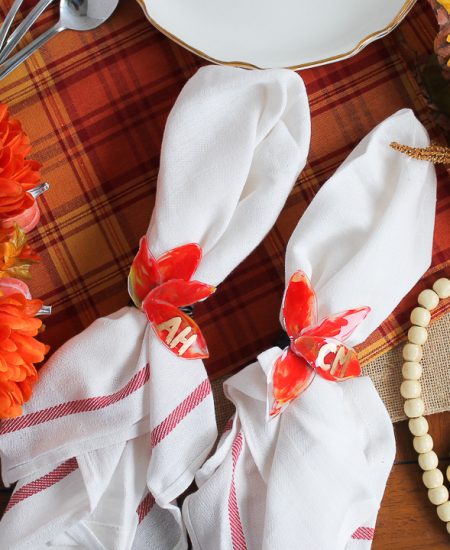
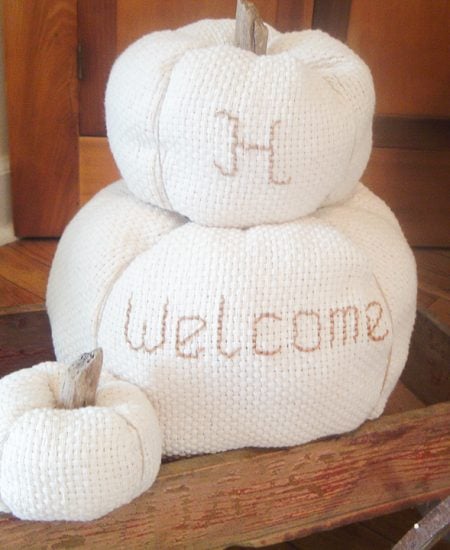
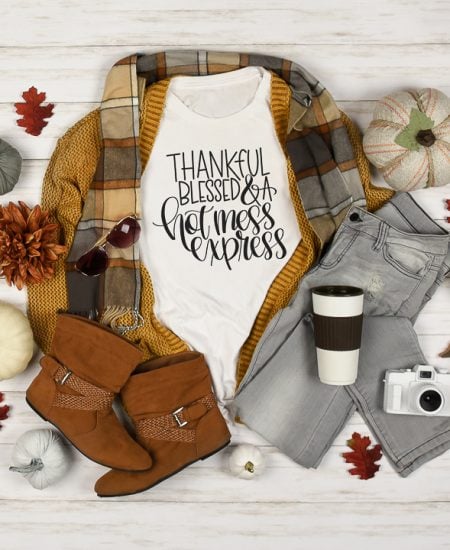
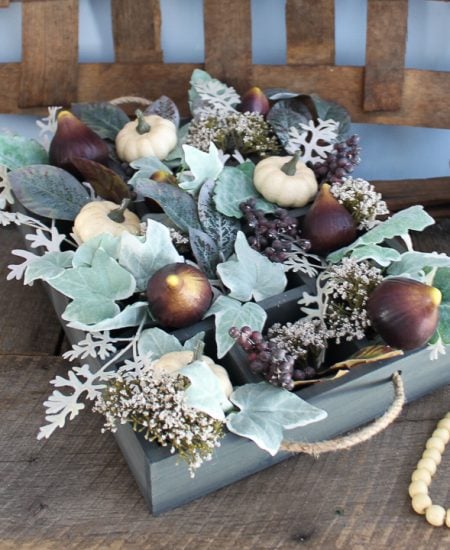
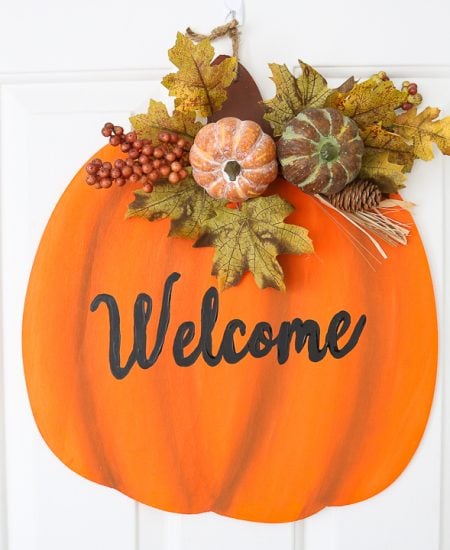
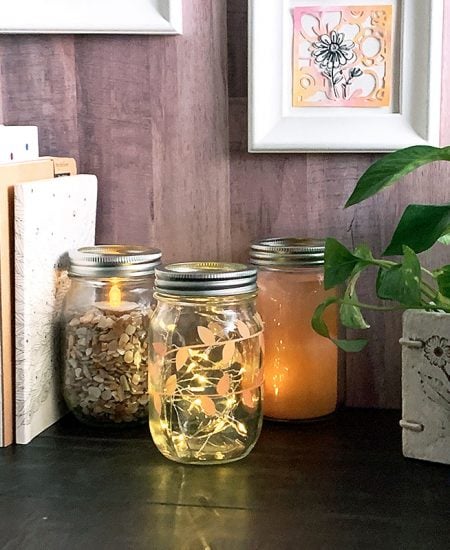
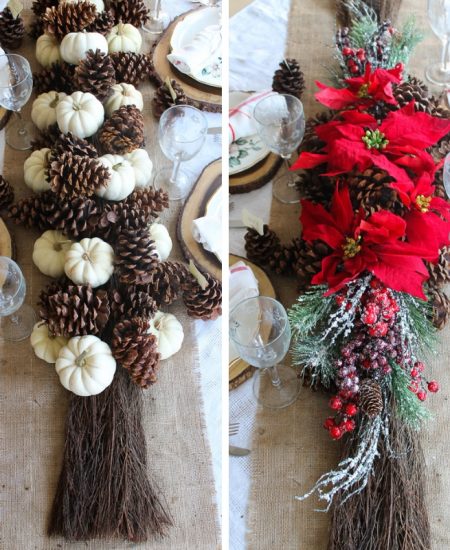
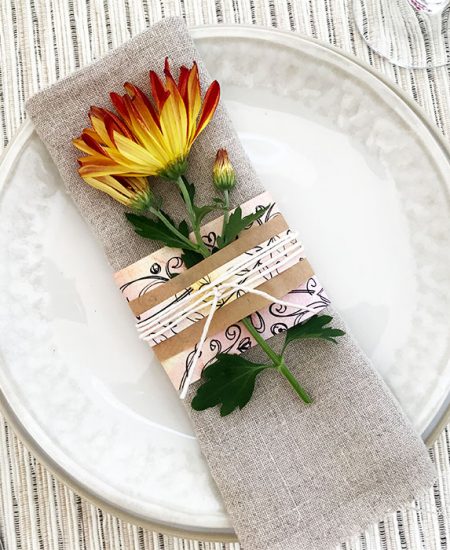
If you love all things fall and Thanksgiving, these craft ideas are for you. These Thanksgiving crafts are easy to make and can adorn your home and table in gorgeous fall colors. Be sure to check out our burlap crafts collection as this material is the perfect addition to your fall decor. You will also want to grab this free printable Thanksgiving cootie catcher for the kids.
Get started with the crafts my audience loves the most!
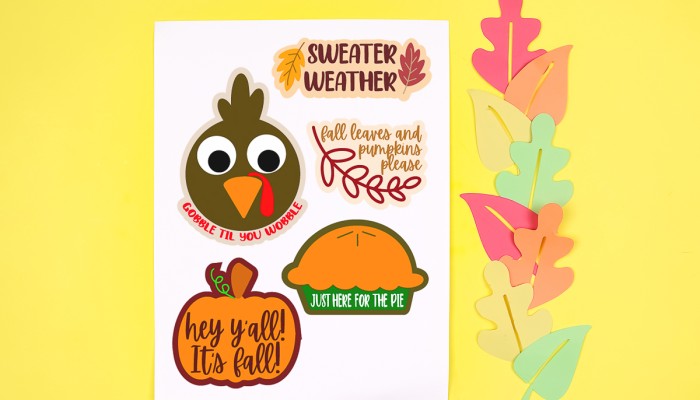
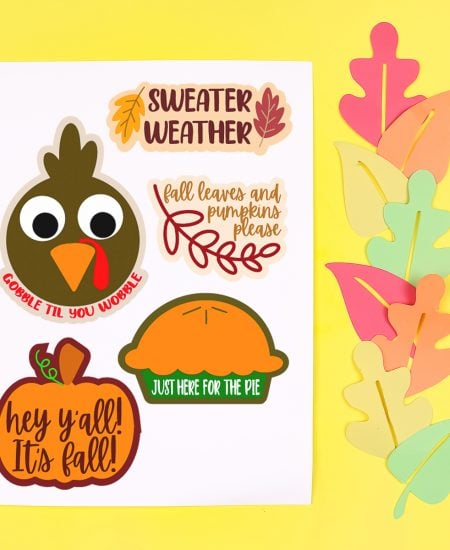
Get these free printable Thanksgiving stickers and put them at the kids' table this holiday! They will love playing with a fun sheet of stickers with a turkey, pumpkin, and more!
Get them here!