Angie Holden The Country Chic Cottage
Learn about your Cricut machine, sublimation printer, or any other craft you can imagine! Angie Holden shares her crafting tips so you can craft like a pro!
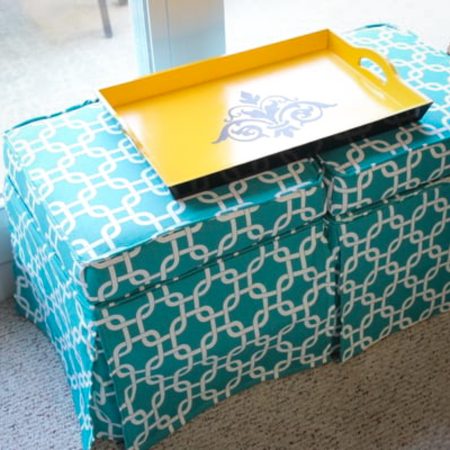
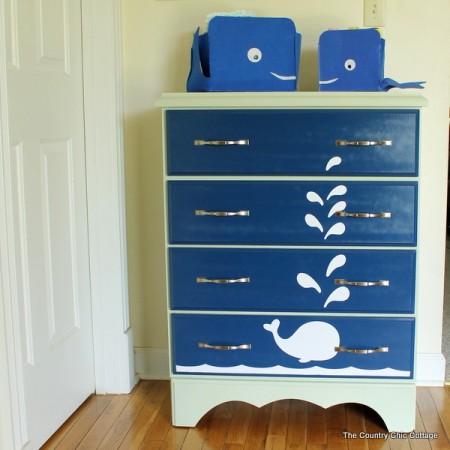
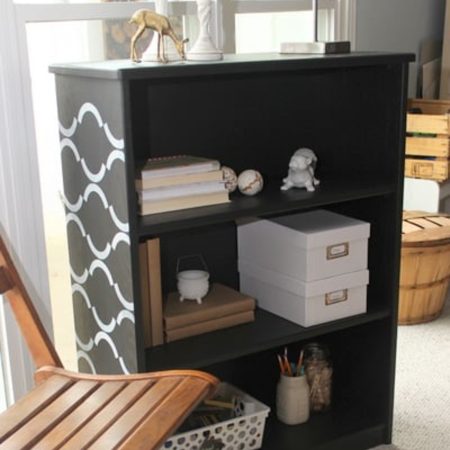
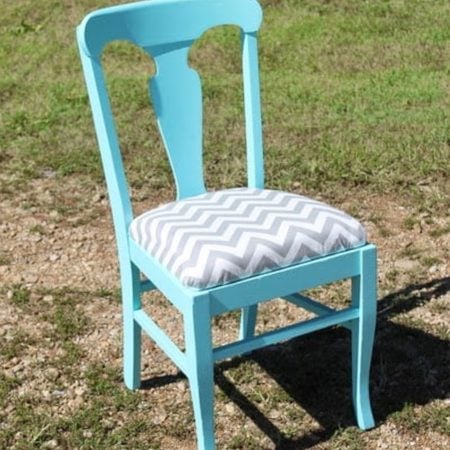
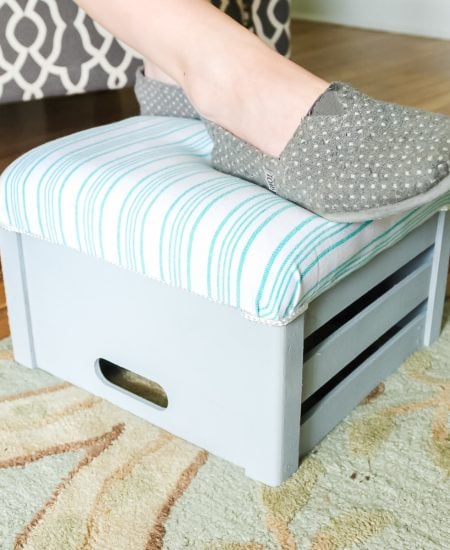
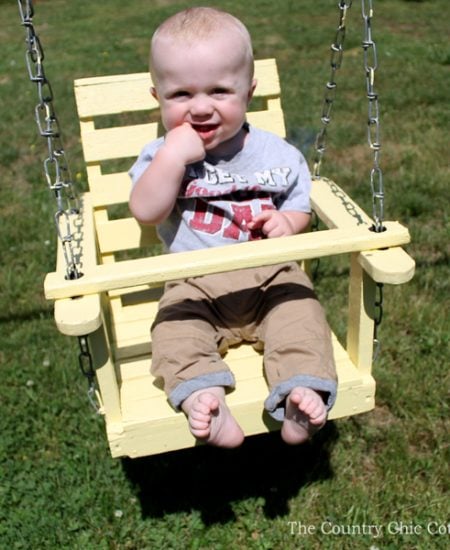
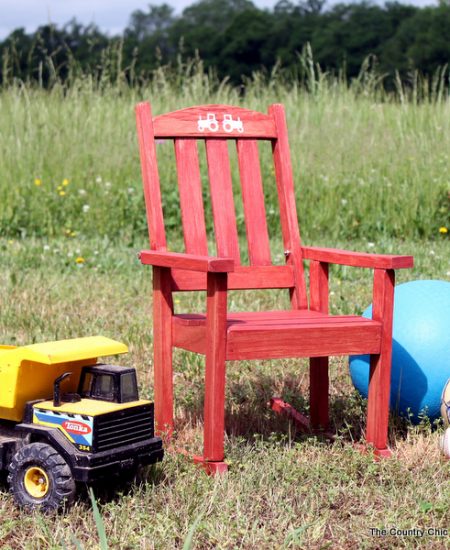
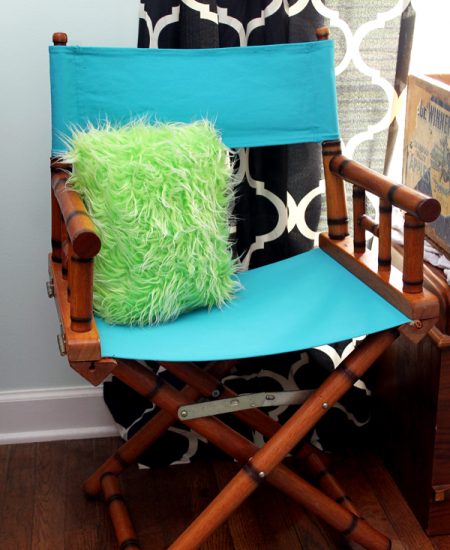
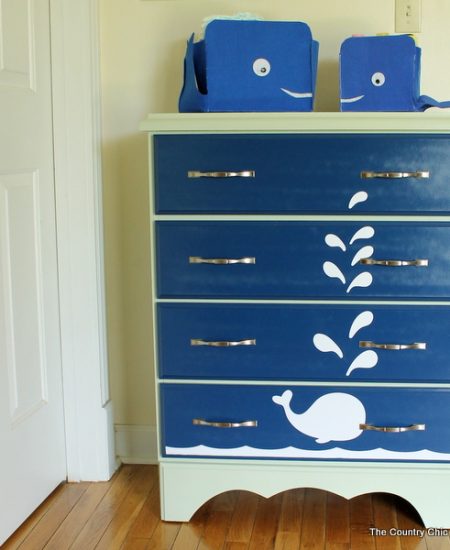
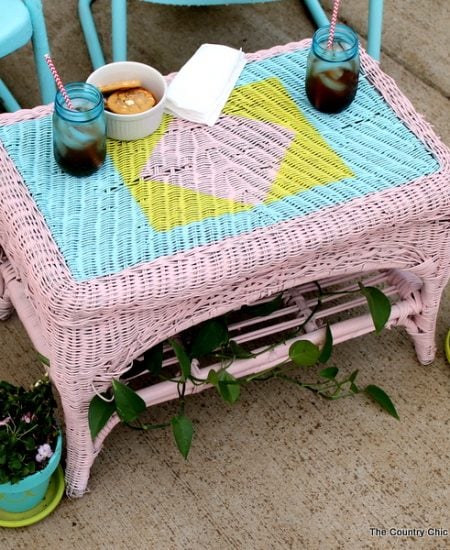
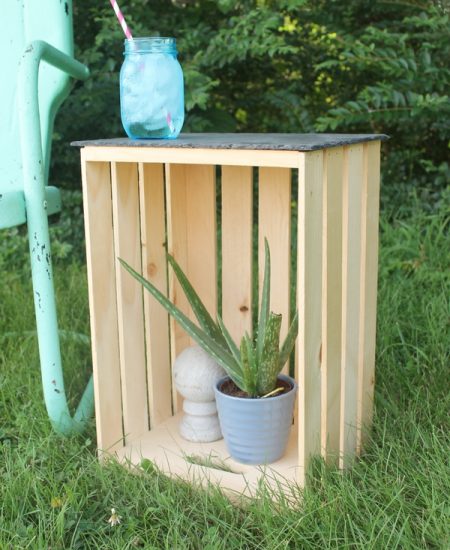
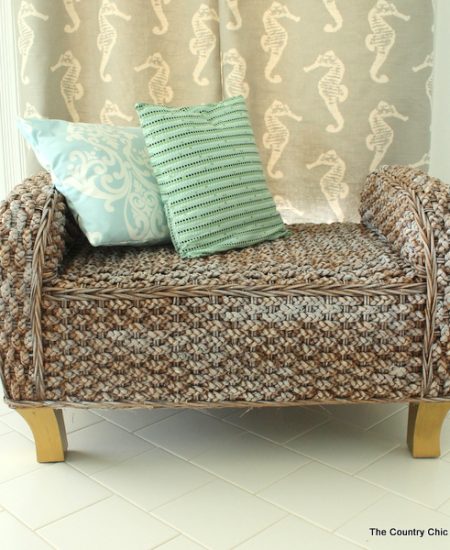
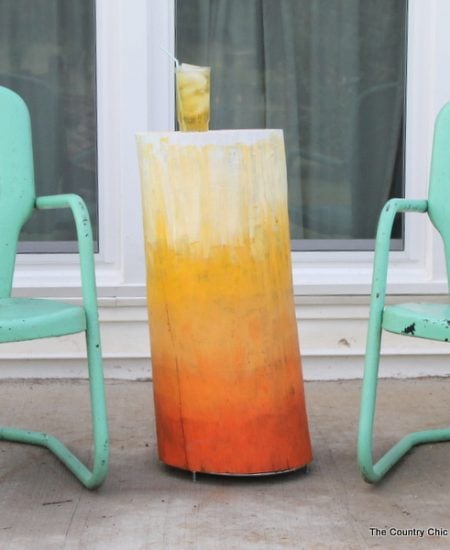
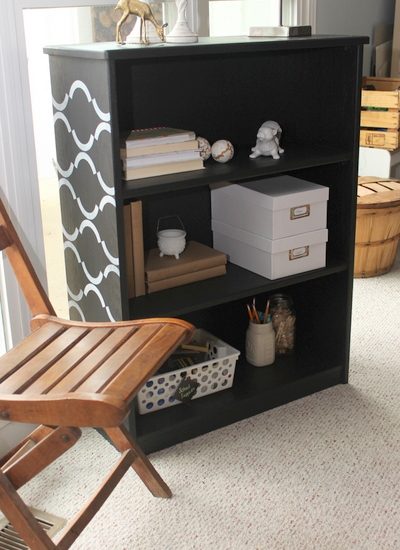
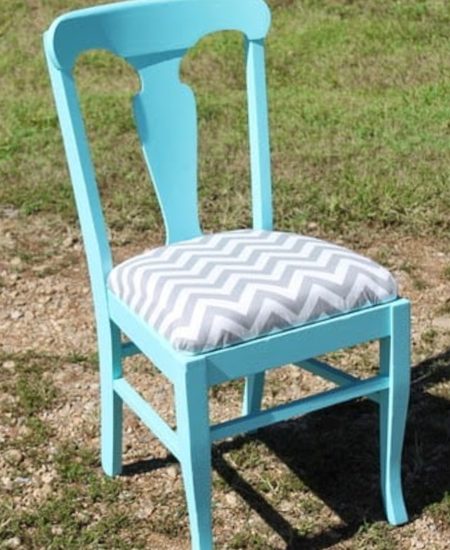
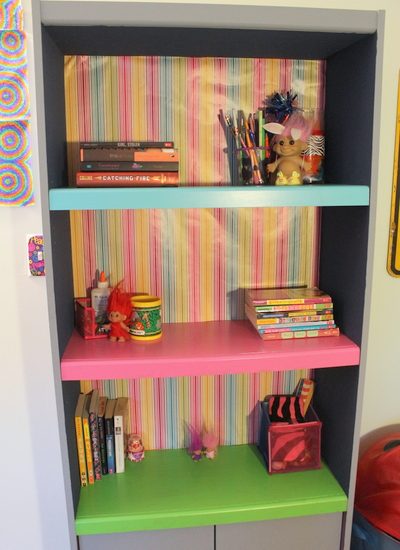
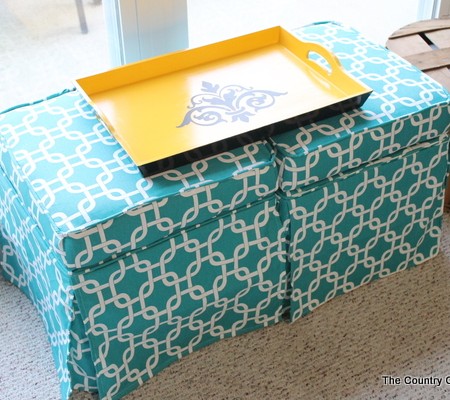
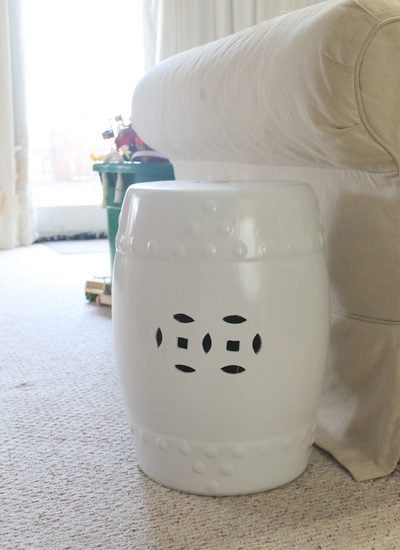
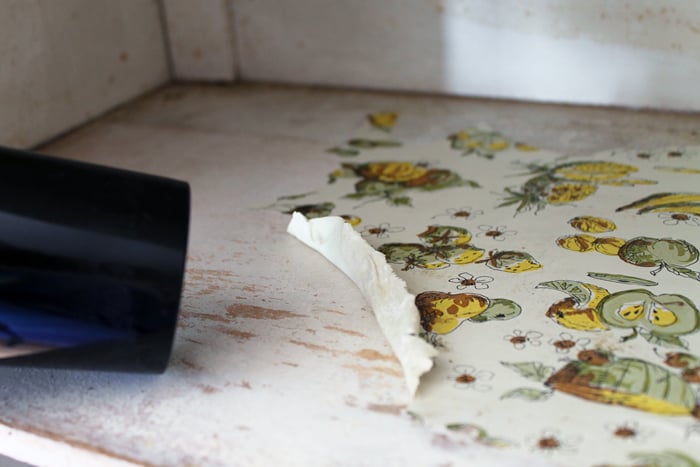
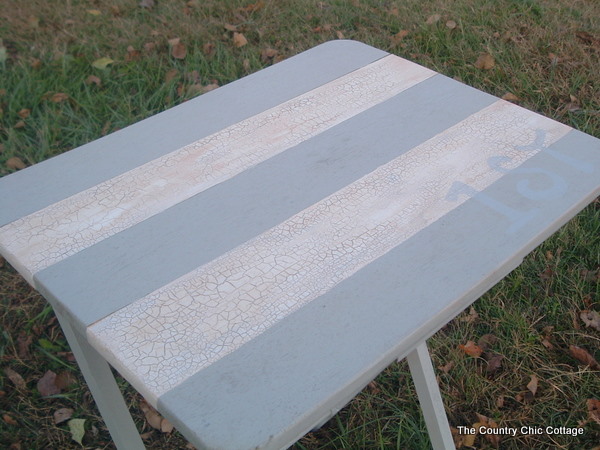
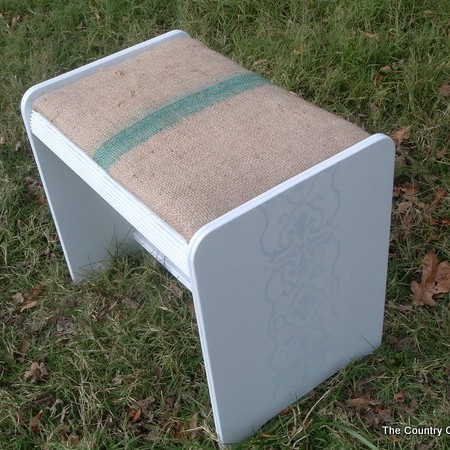
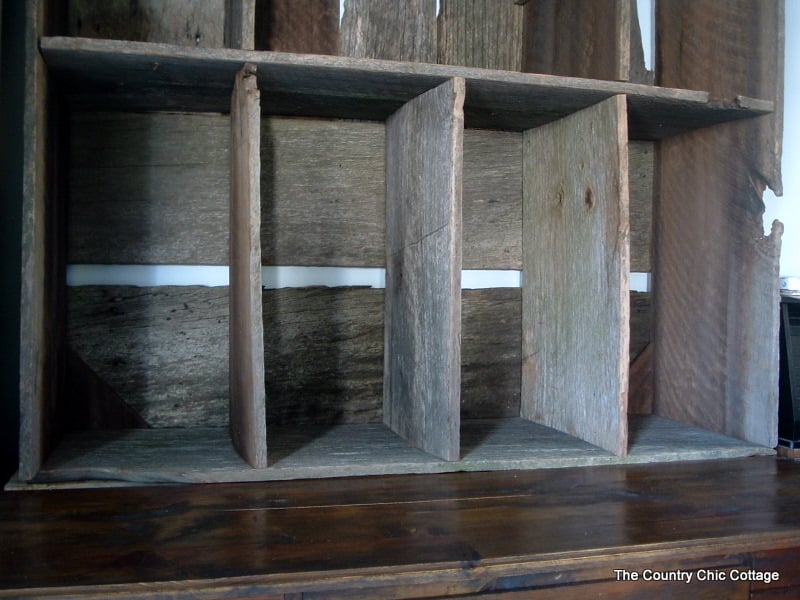
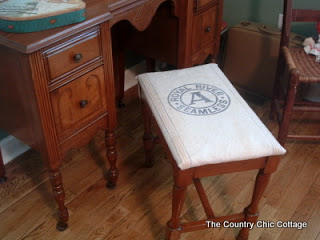
Found a piece of furniture at the thrift store and not sure what to do with it? Let us inspire you with great furniture flips that take the blah to wow! Our easy to follow instructions will have you tackling that DIY project like a pro. Find a project below that you would love to tackle then click it to open up the instructions. You will be flipping furniture in no time at all!
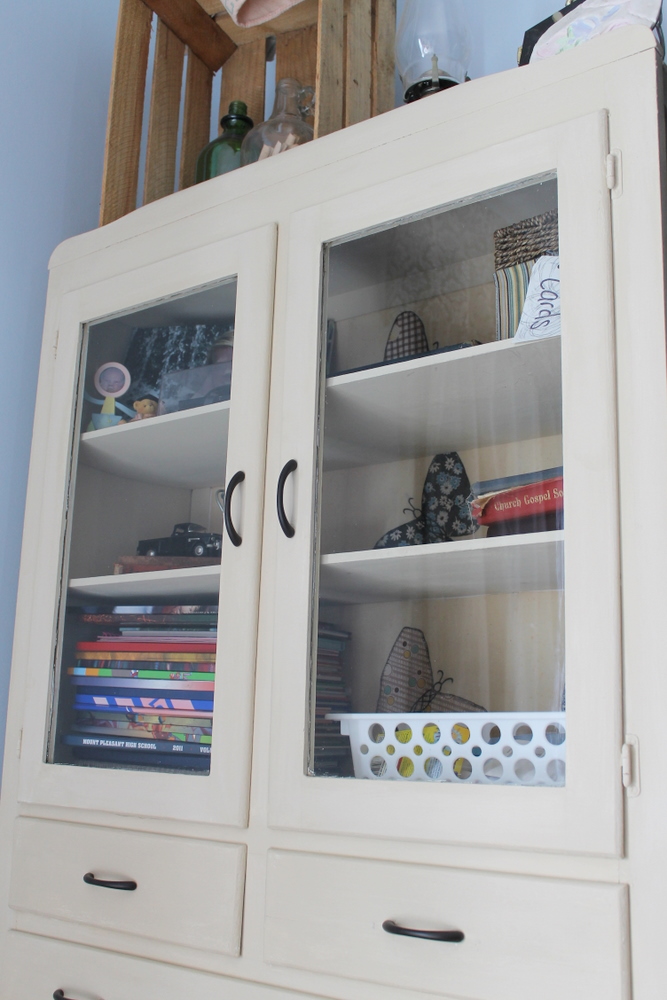
Here are some of my most popular furniture flips. I hope they give you some ideas to try your own furniture flip!
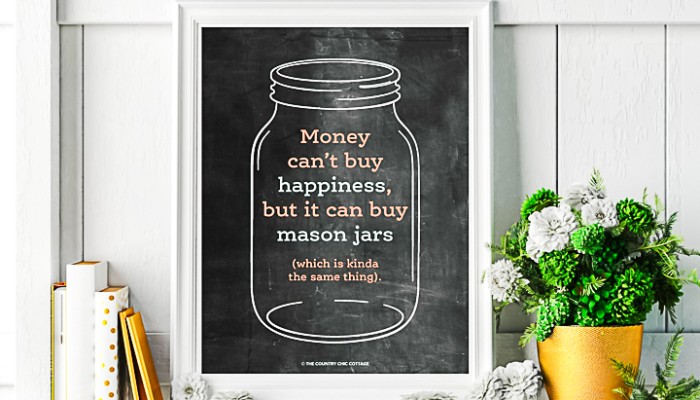
Everyone needs some mason jar printable art. I have seen so many chalkboard printables around lately. Take that and my obvious obsession for mason jars and well my own printable chalkboard art was born. I figured out how to make a mason jar look like it was drawn onto a chalkboard and the rest was history.
Get it here!