Angie Holden The Country Chic Cottage
Learn about your Cricut machine, sublimation printer, or any other craft you can imagine! Angie Holden shares her crafting tips so you can craft like a pro!
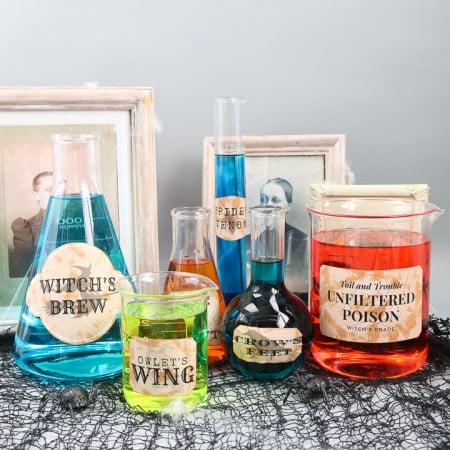
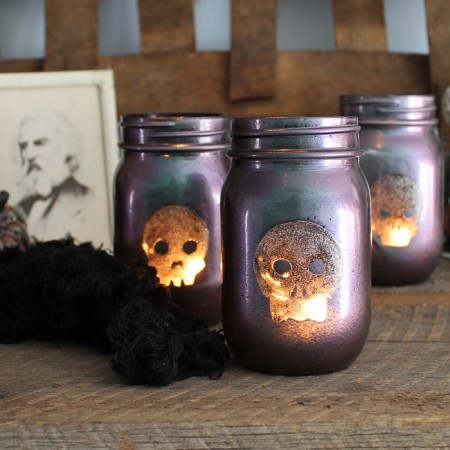
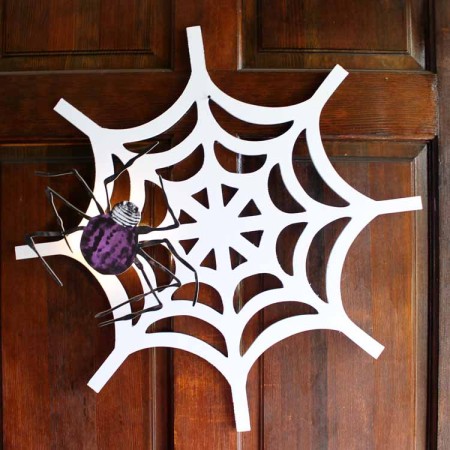
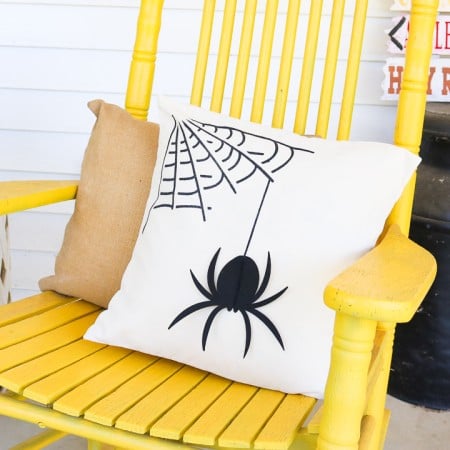
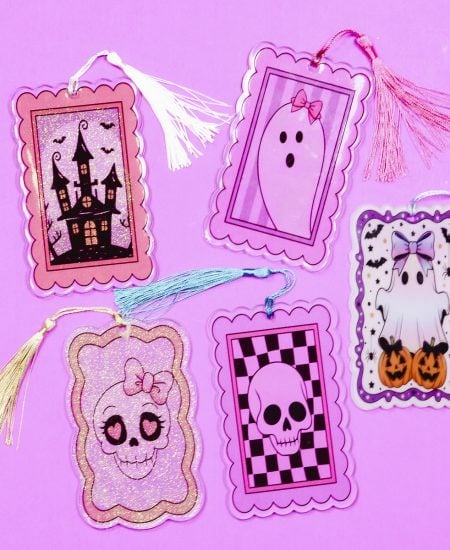
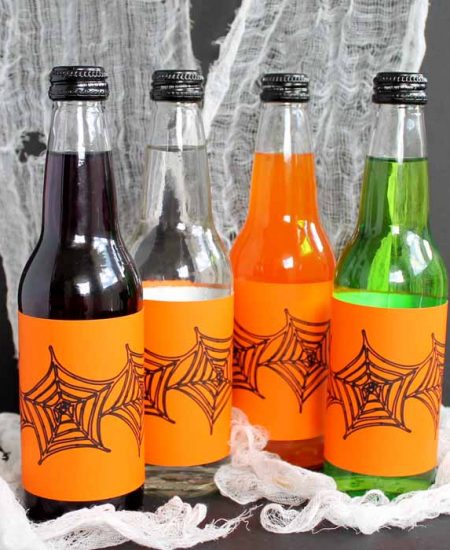
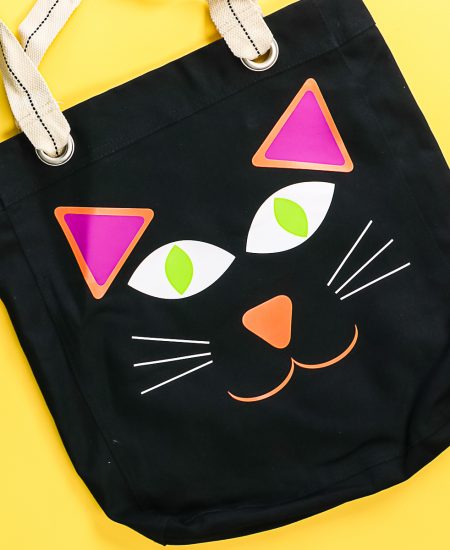
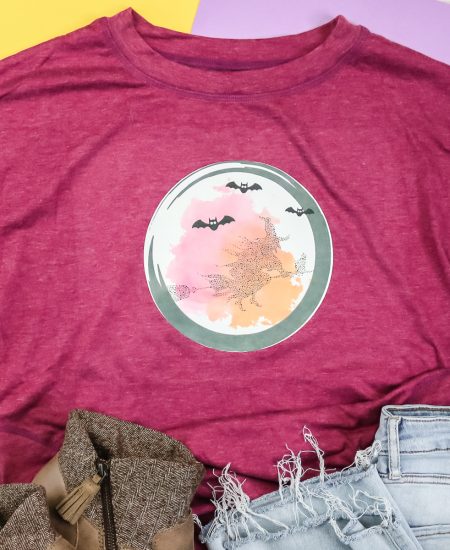
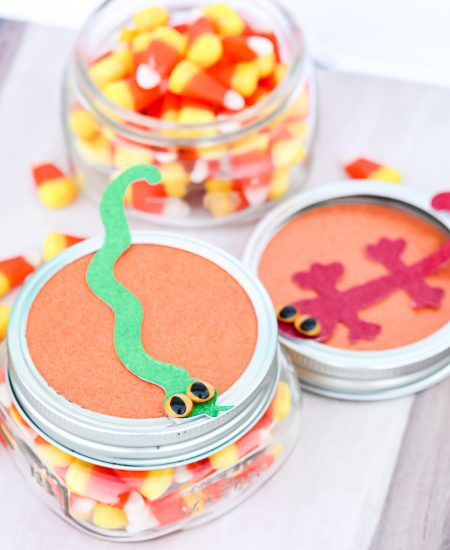
If you love all of the spook and fright, these Halloween crafts are definitely for you. Grab your craft supplies and get started adding something a little spooky to your home. You are going to love the results! The best place to start is with our collection of 45 easy Halloween crafts or by downloading this free ghost SVG.
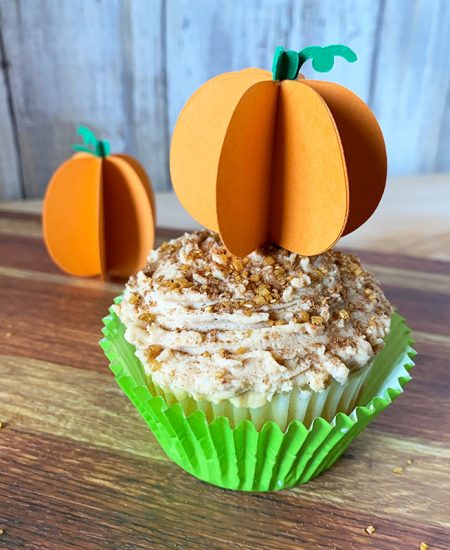
Start with my most popular craft ideas for Halloween!
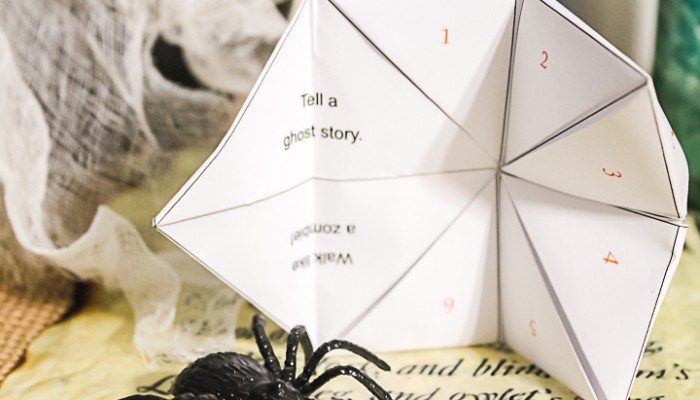
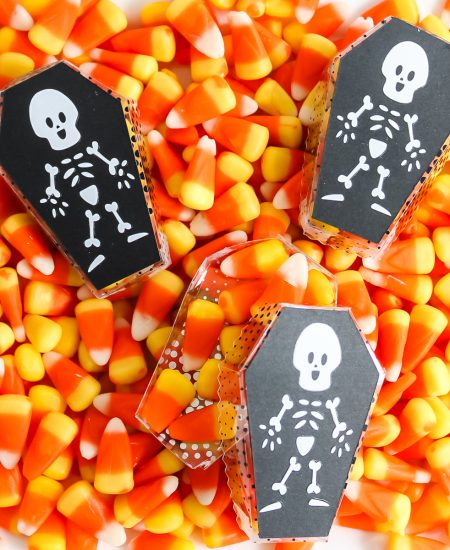
Grab this free printable for your kids and let them have some fun this Halloween! Free printable with folding instructions included for a spooky cootie catcher everyone will love!
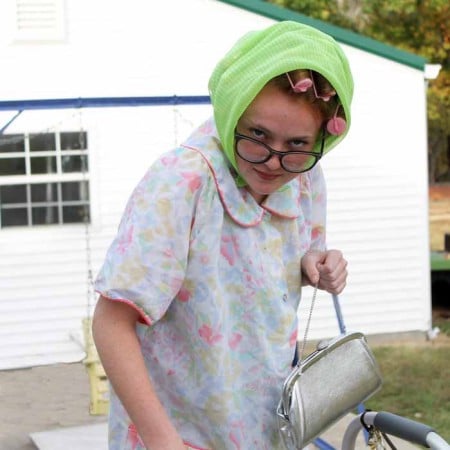
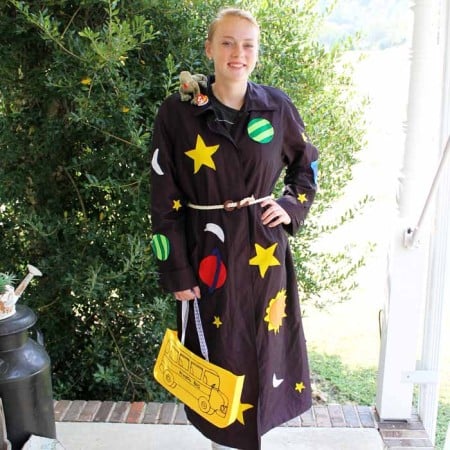
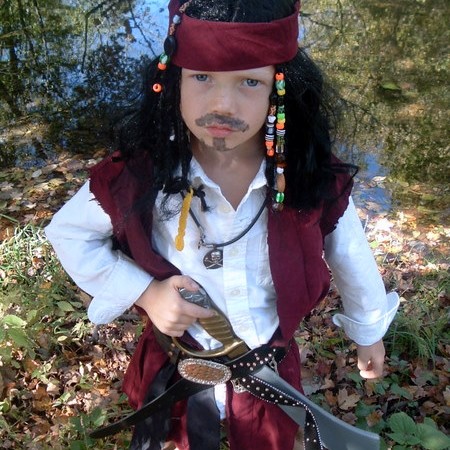
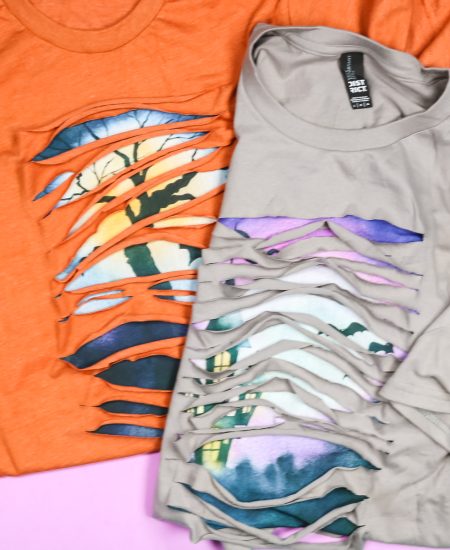
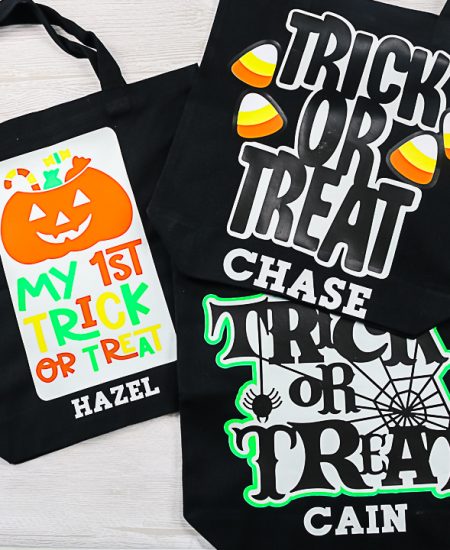
Get it here!Make a homemade costume with one of my popular tutorials!