Angie Holden The Country Chic Cottage
Learn about your Cricut machine, sublimation printer, or any other craft you can imagine! Angie Holden shares her crafting tips so you can craft like a pro!
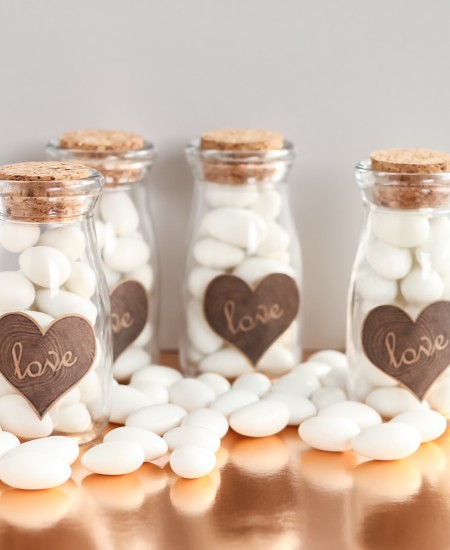
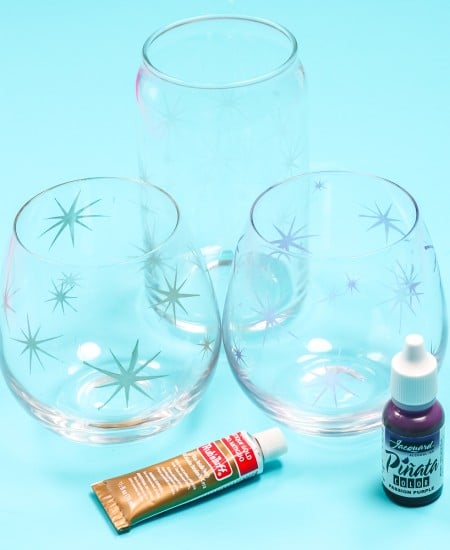
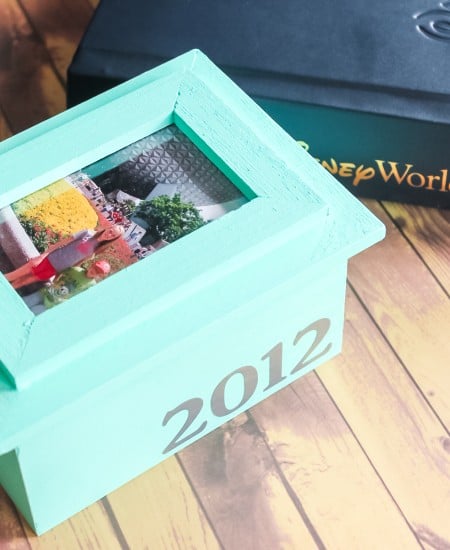
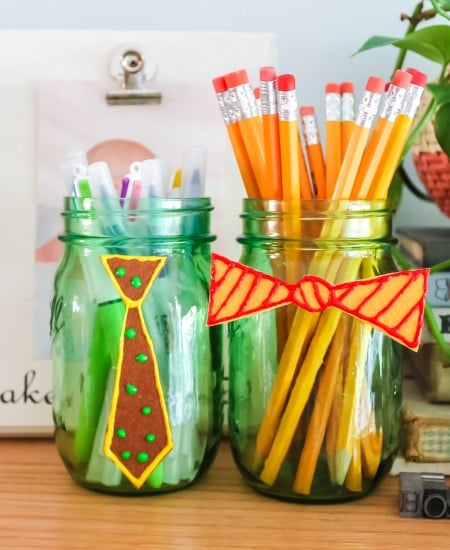
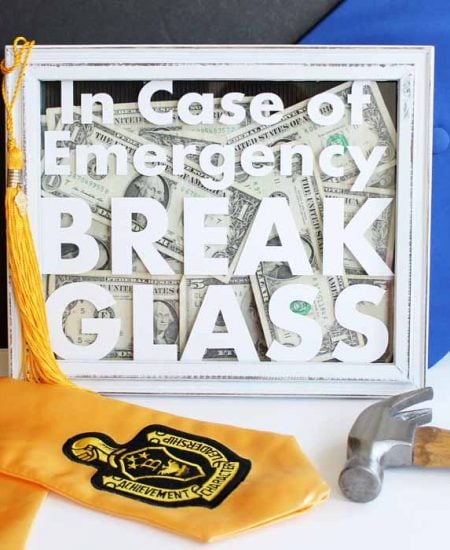
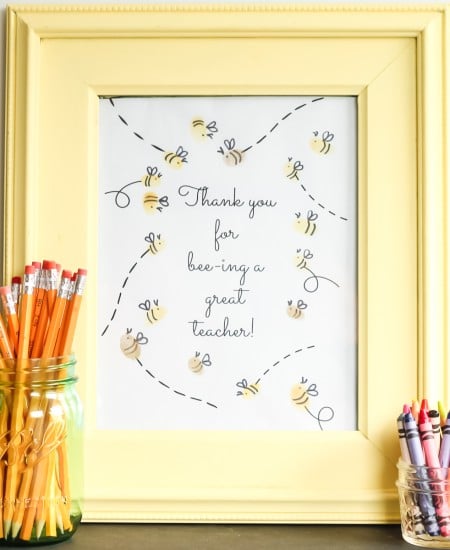
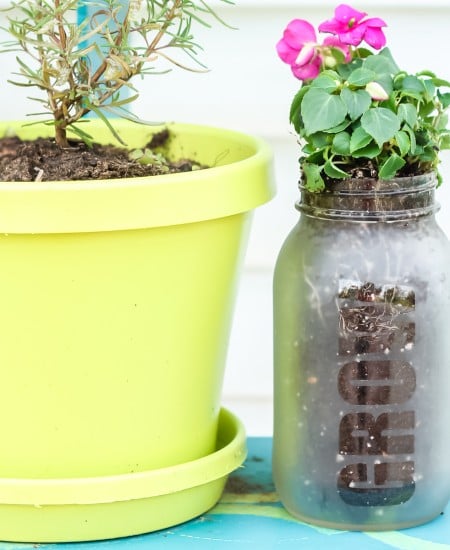
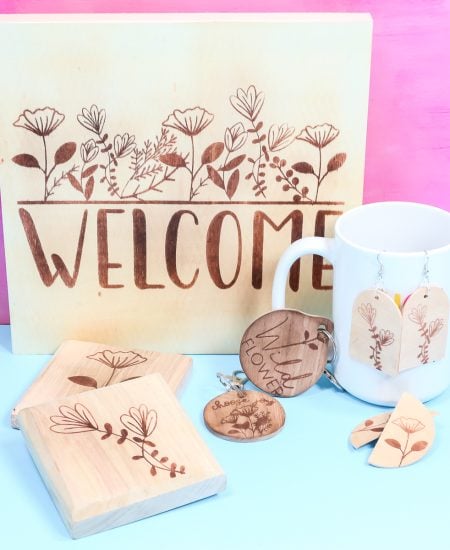
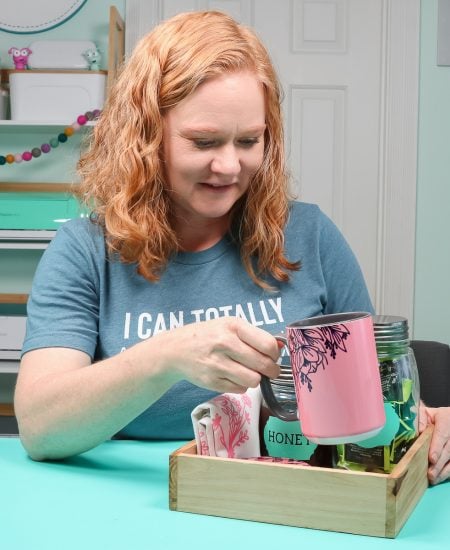
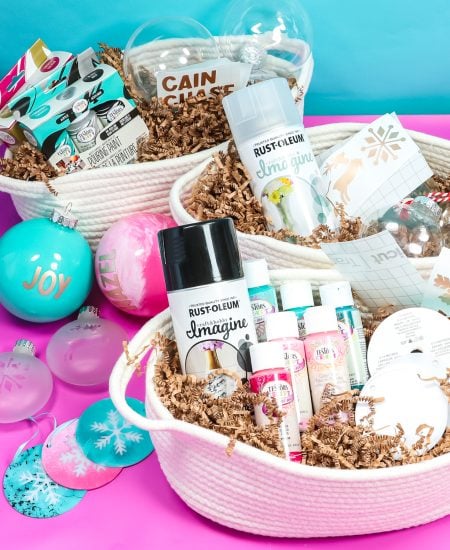
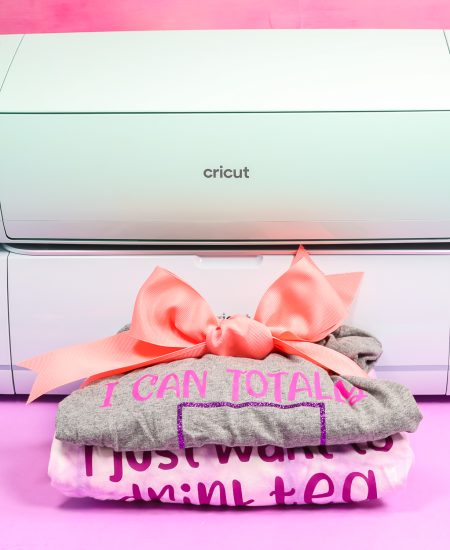
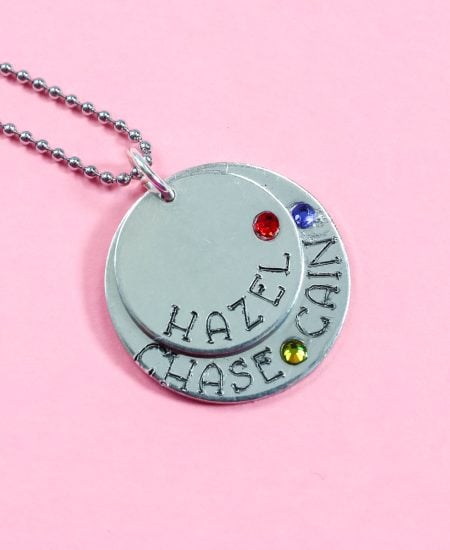
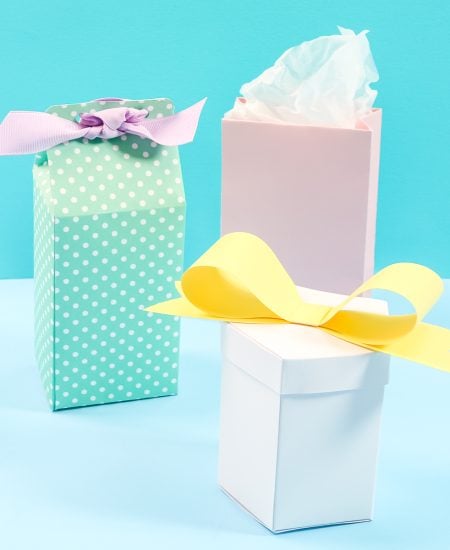
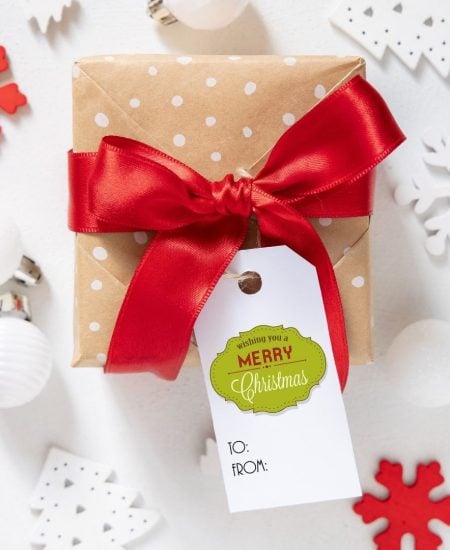
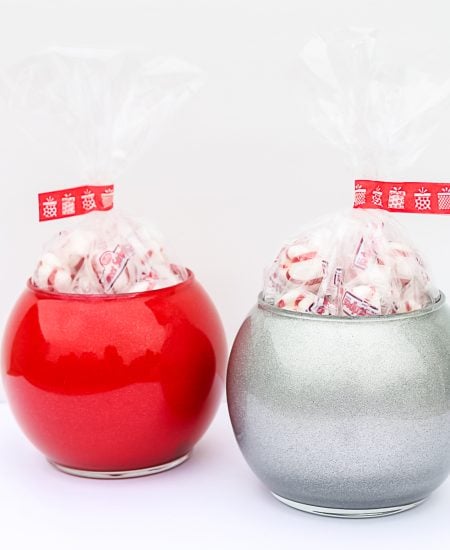
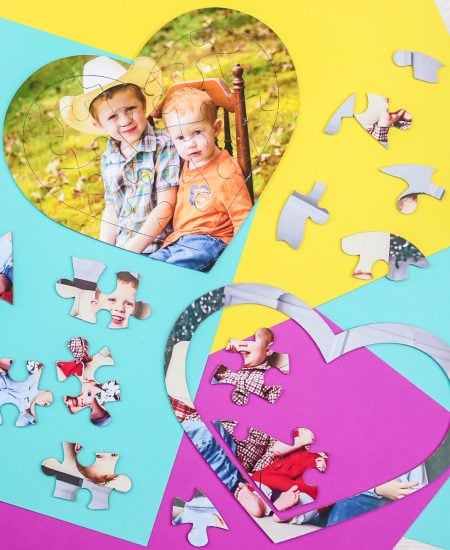
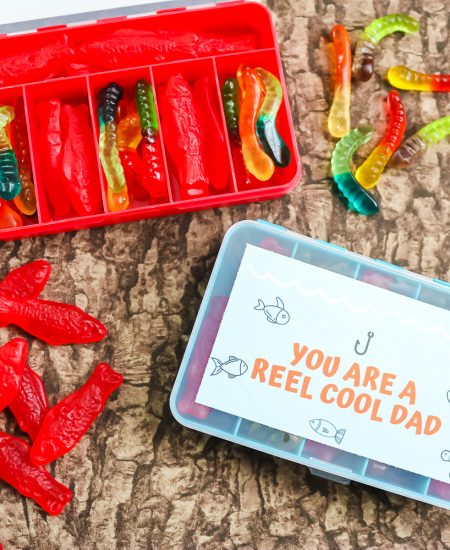
There is no better way to say you care than to give handmade gifts. We have DIY tutorials that will show you how to make your own quick and easy gifts in minutes. It doesn't get much better than that! Make your own handmade beauty products or try this idea for giving cookies in a jar.