Angie Holden The Country Chic Cottage
Learn about your Cricut machine, sublimation printer, or any other craft you can imagine! Angie Holden shares her crafting tips so you can craft like a pro!
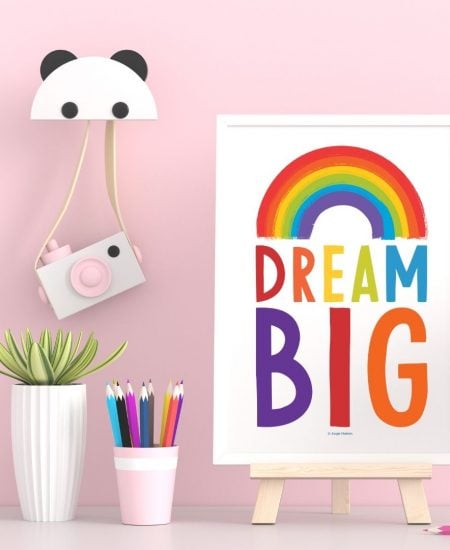
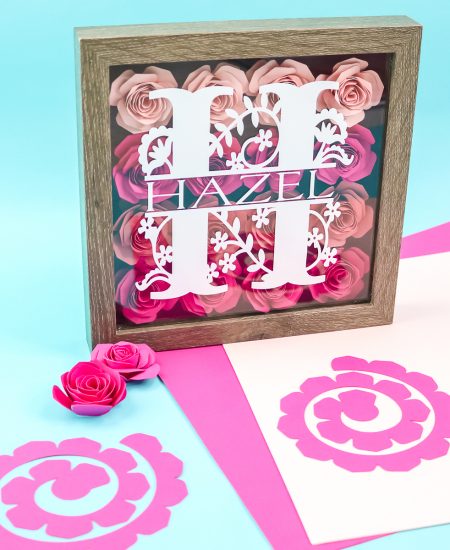
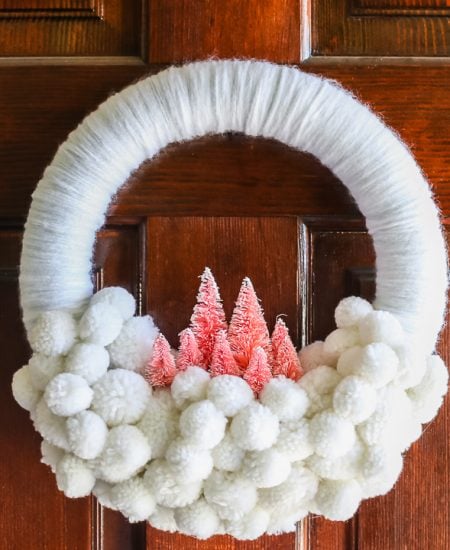
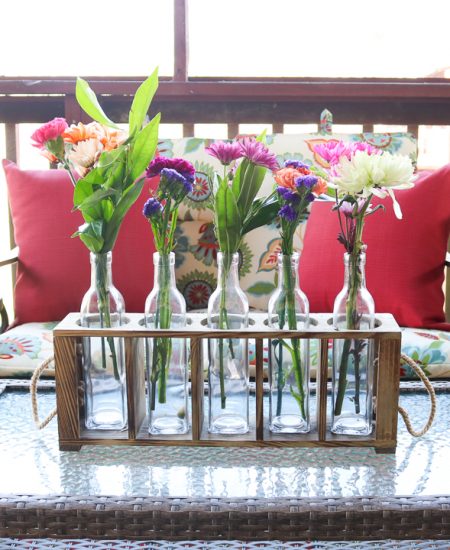
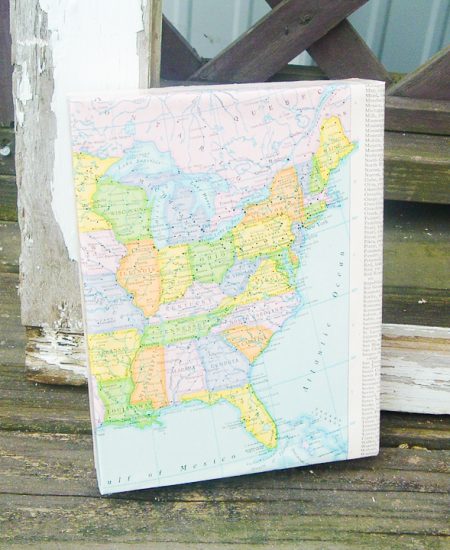
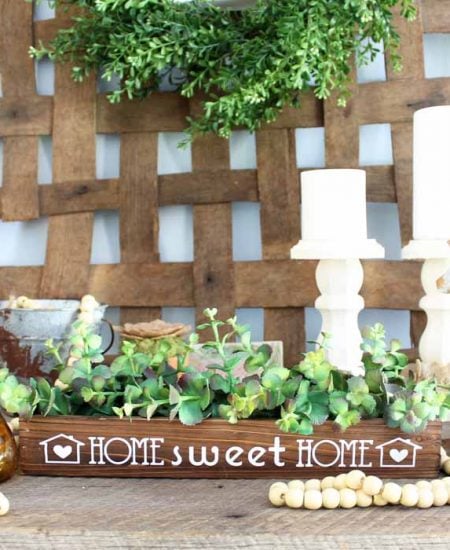
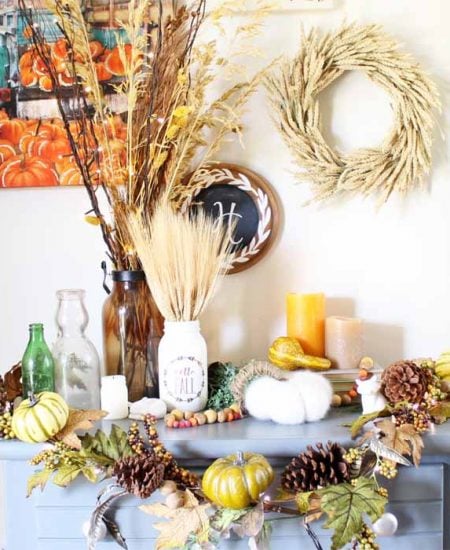
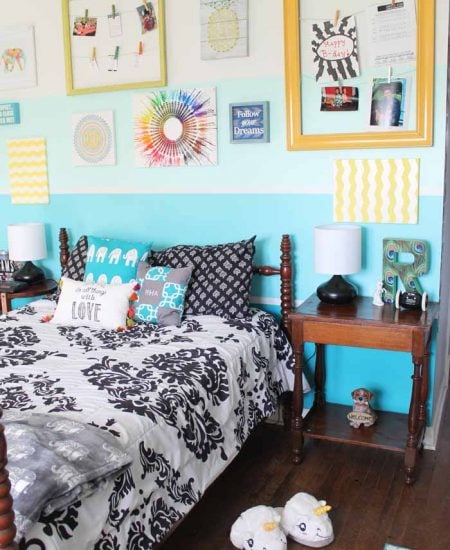
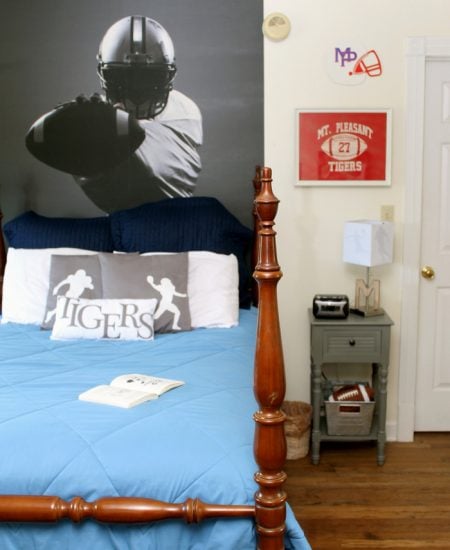
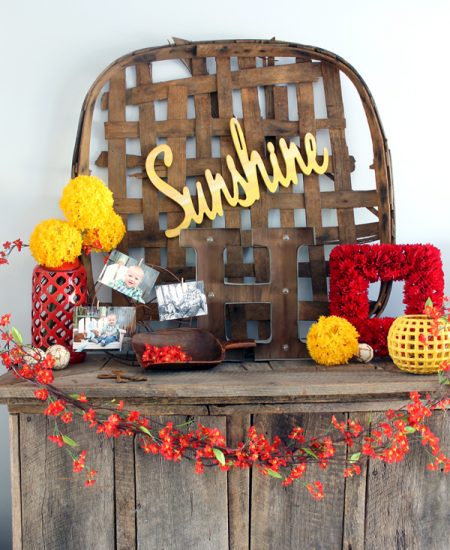
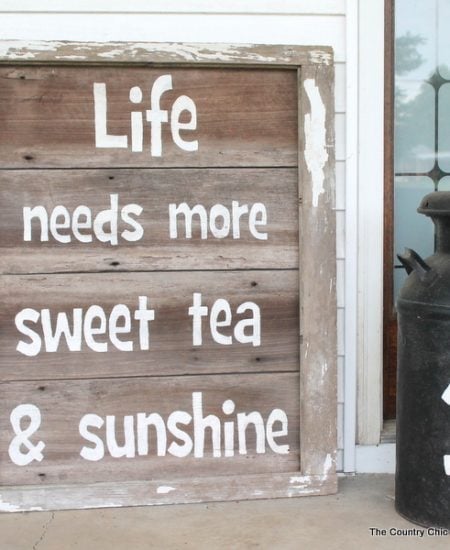
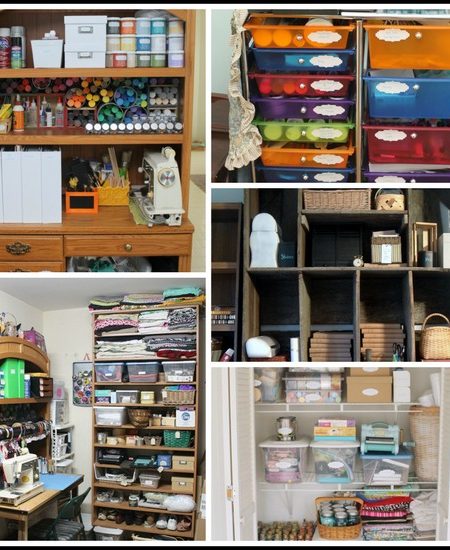
Looking for ways to spruce up your home? Whether you are on a budget or want to DIY it yourself, we have ideas for your home that will really wow! Grab these home decor crafts and make something that will look great in your space. Give this tutorial to make your own wood sign a try then add a few signs to your home. Have an extra closet? Why not make the ultimate craft closet for your creativity?