Angie Holden The Country Chic Cottage
Learn about your Cricut machine, sublimation printer, or any other craft you can imagine! Angie Holden shares her crafting tips so you can craft like a pro!
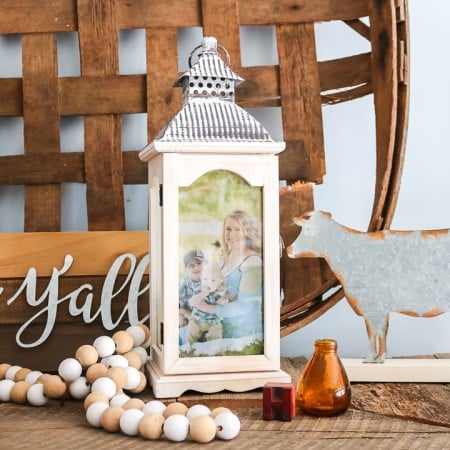
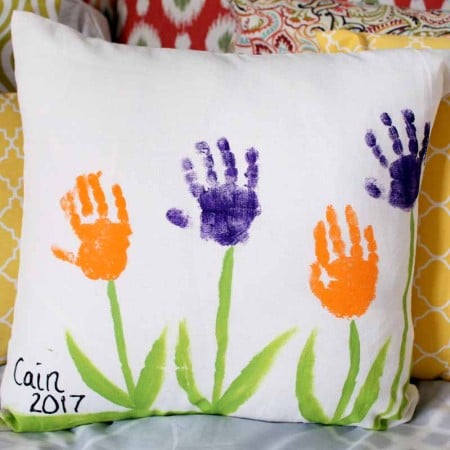
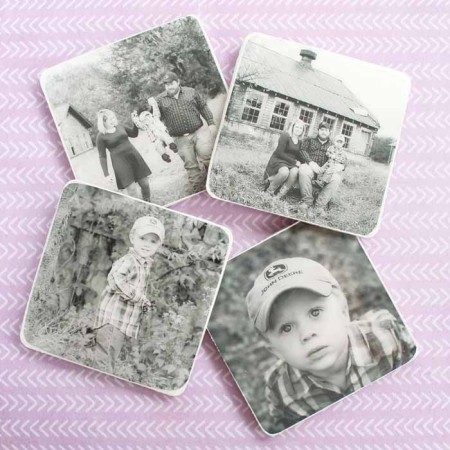
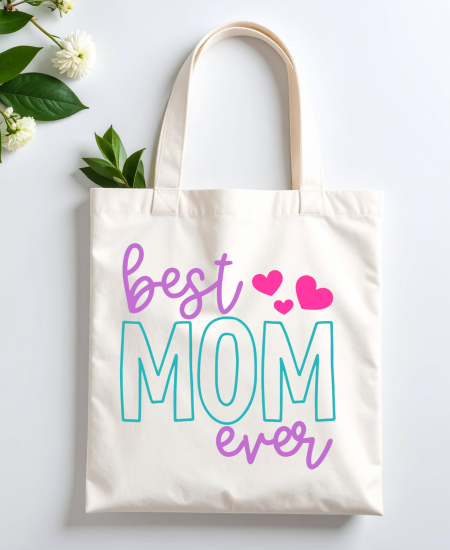
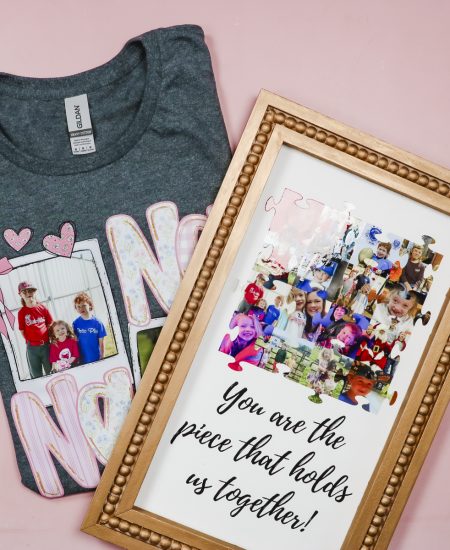
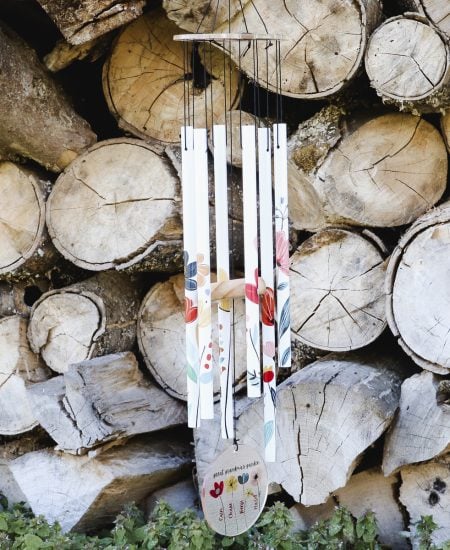
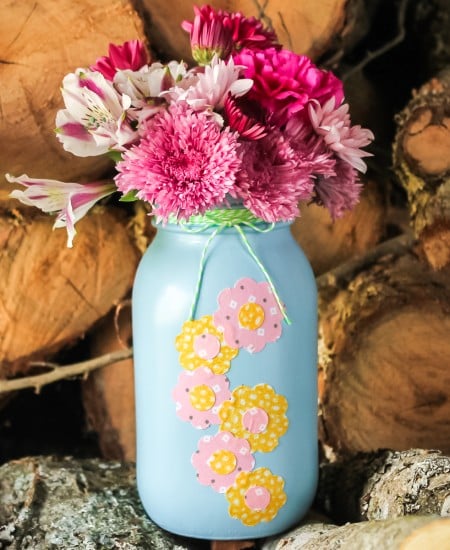
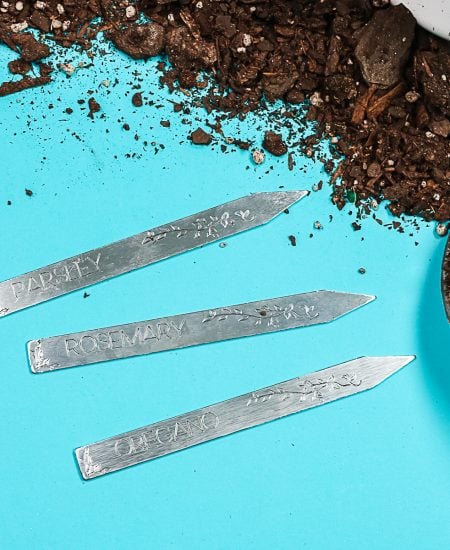
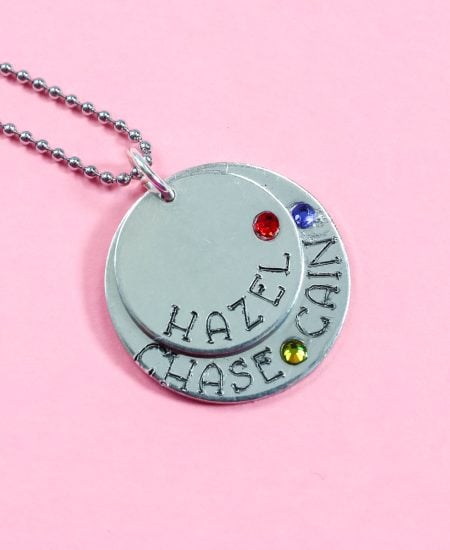
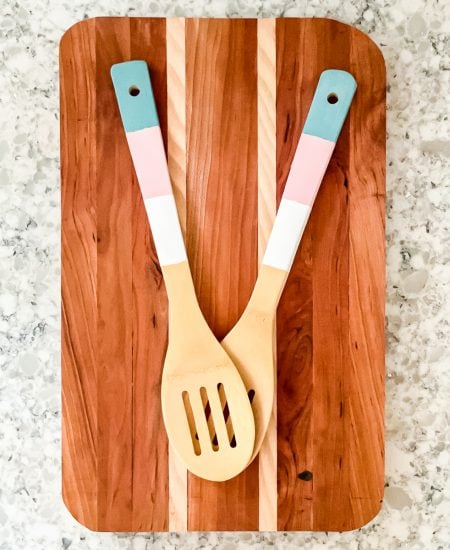
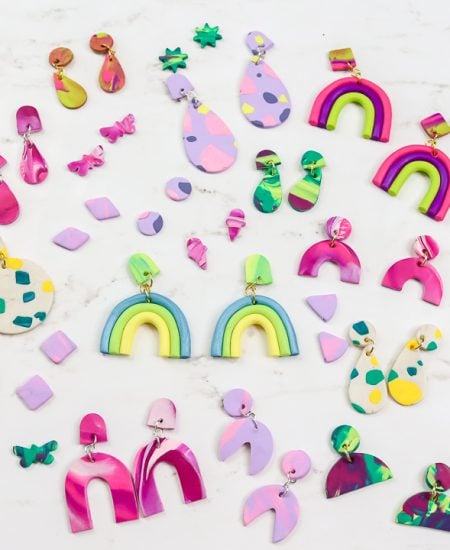
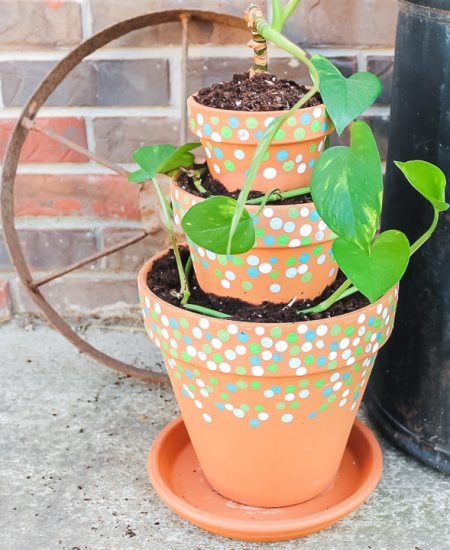
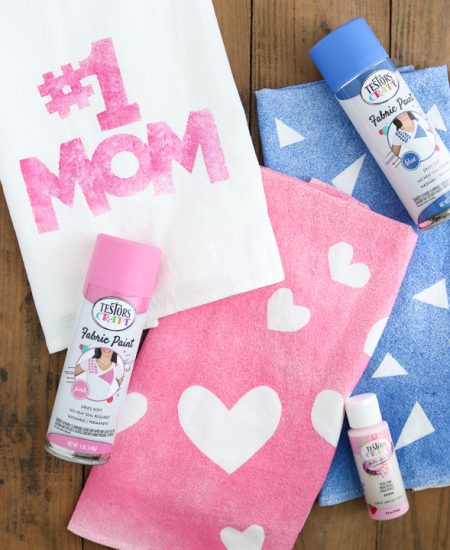
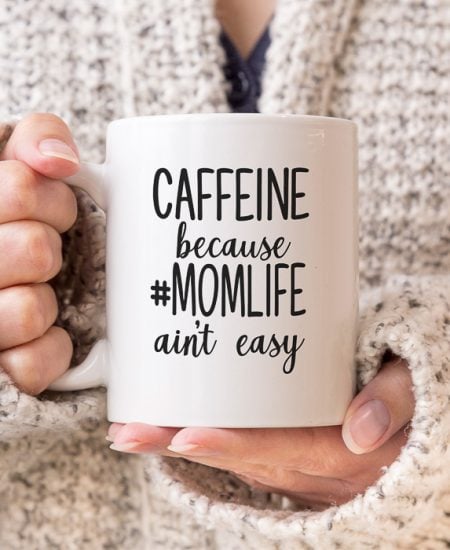
There isn't anything more special than mom! Make her a handmade gift or any of these other Mother's Day Crafts. She is sure to love it when you give her something handmade from the heart. Mom will love one of these clay pot crafts or you can learn how to make an epoxy tumbler to really put a smile on mom's face.
Get started with the crafts my audience loves the most!
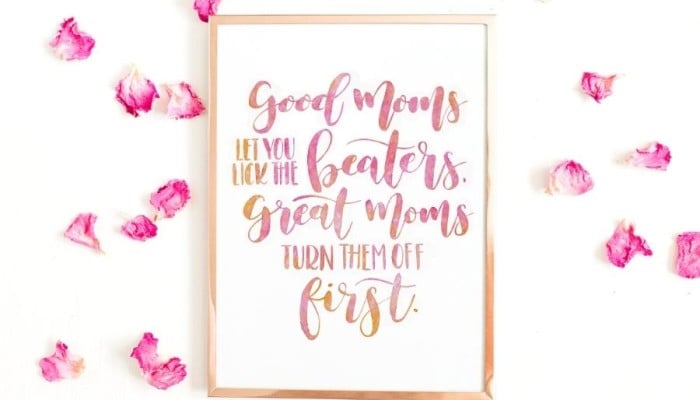
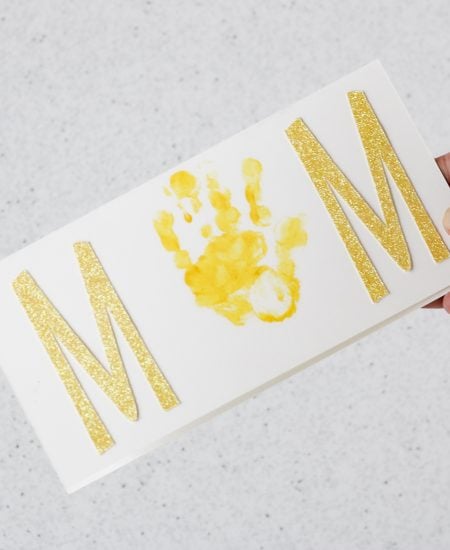
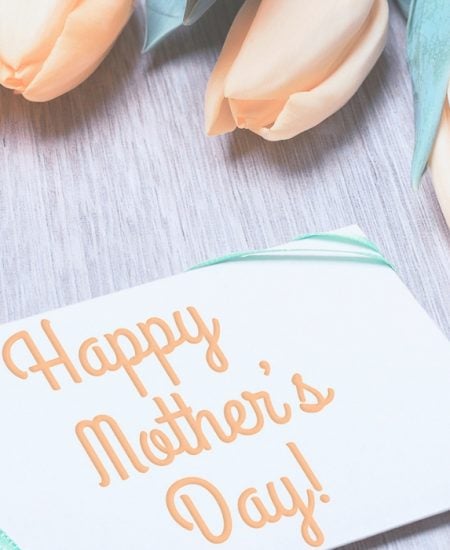
This Mother’s Day Printable is the cutest and you can get it for free! Simply print the art and frame it at the link below!
Get it here!