Angie Holden The Country Chic Cottage
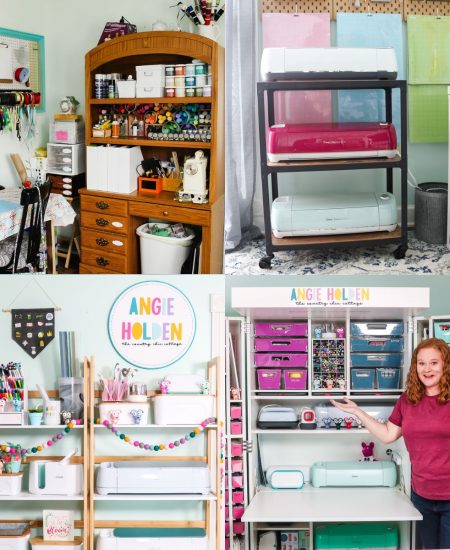
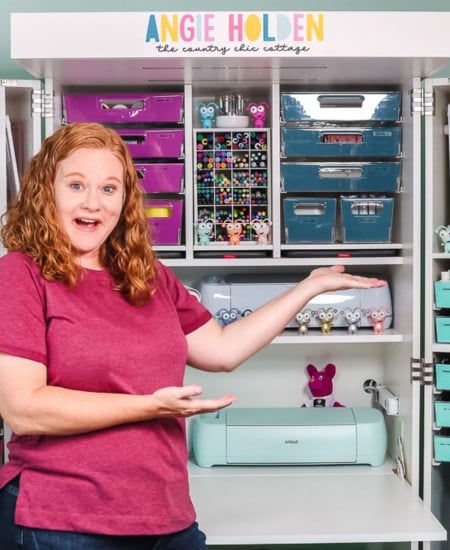
Learn about your Cricut machine, sublimation printer, or any other craft you can imagine! Angie Holden shares her crafting tips so you can craft like a pro!
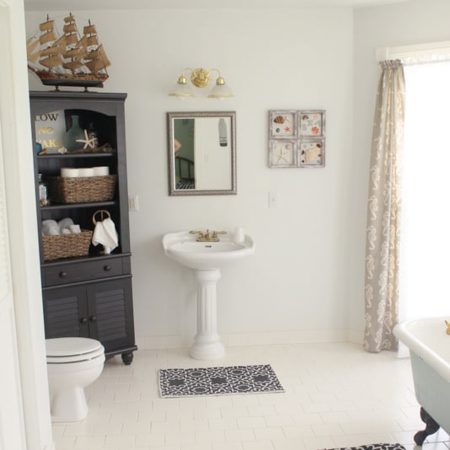
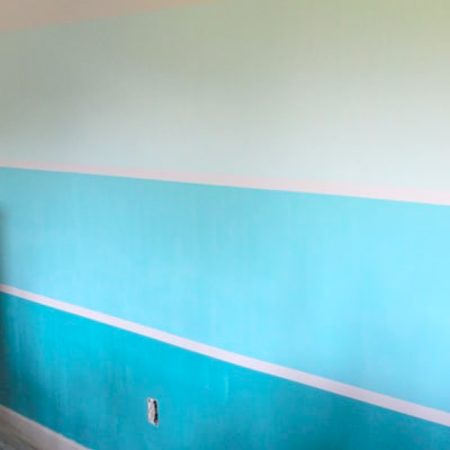
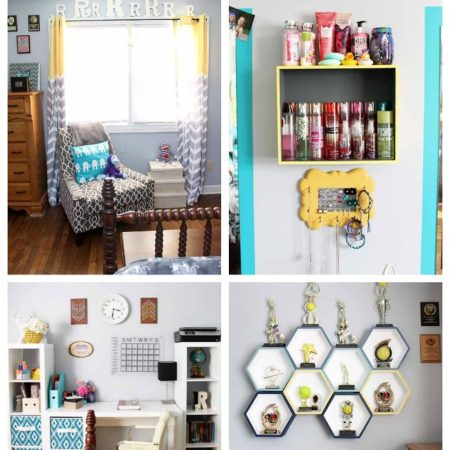
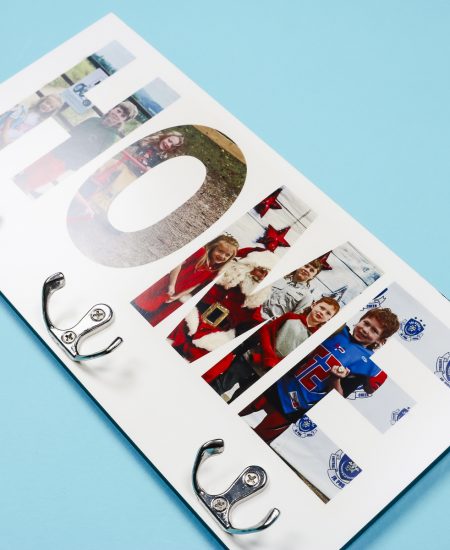
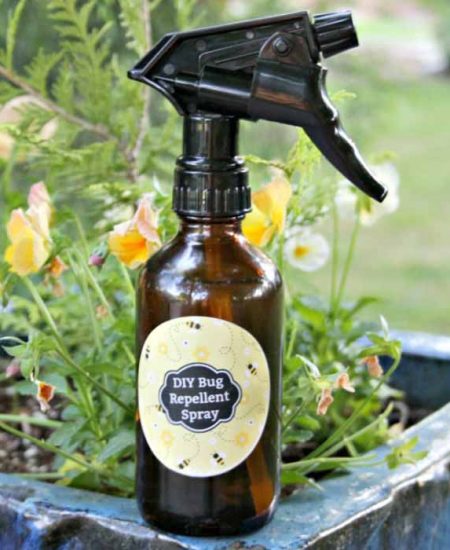
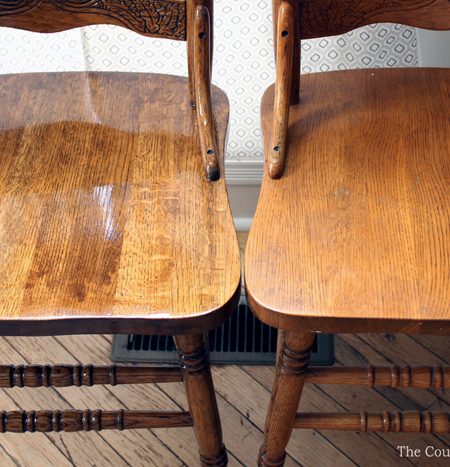
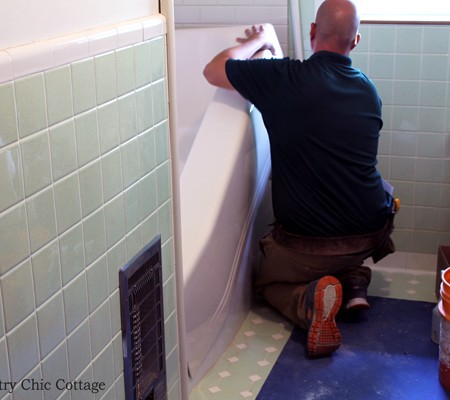
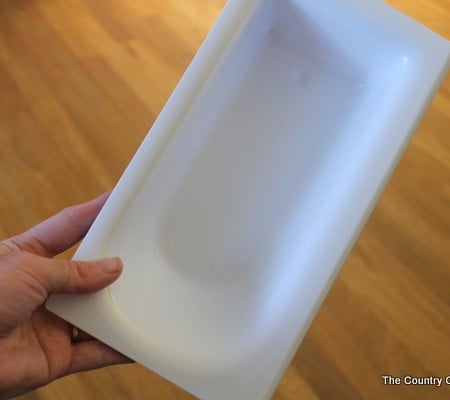
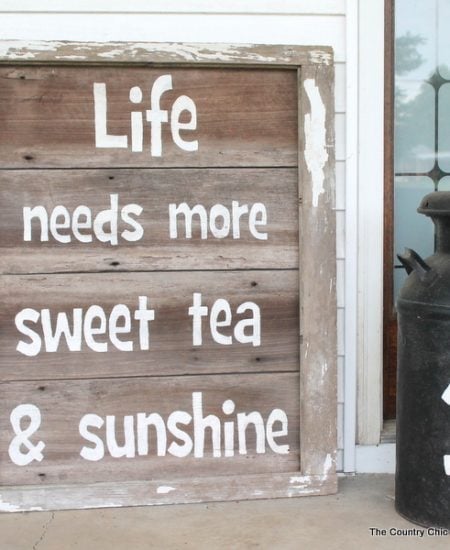
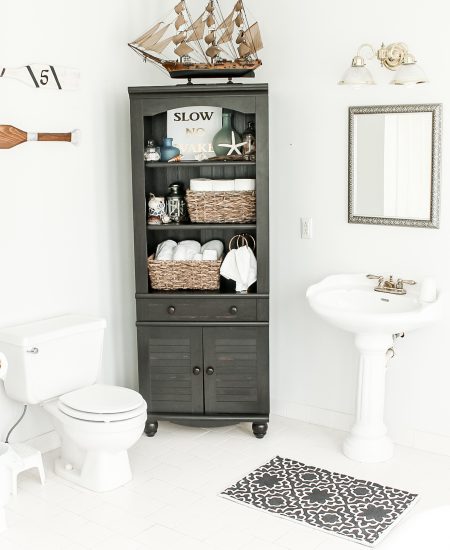
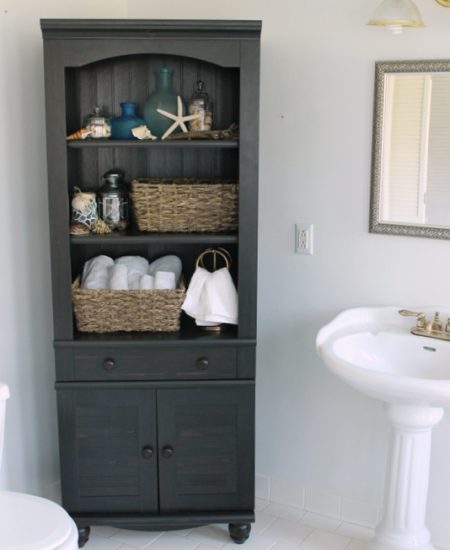
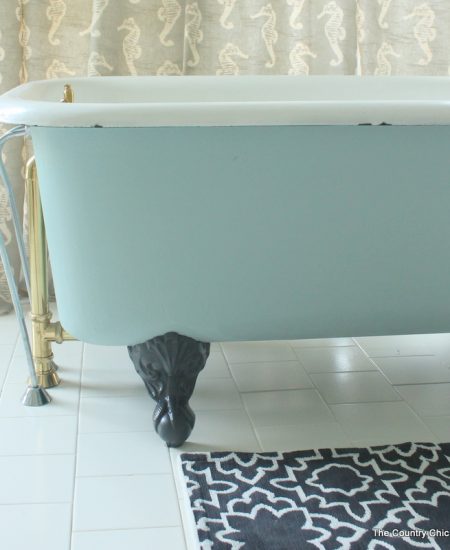
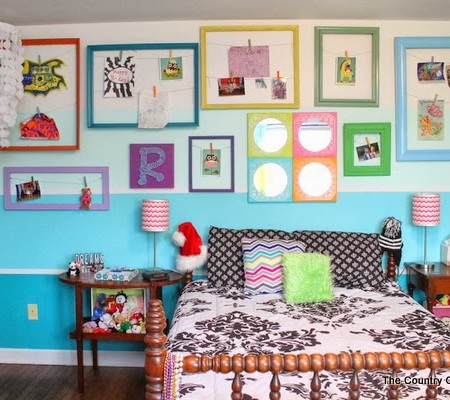
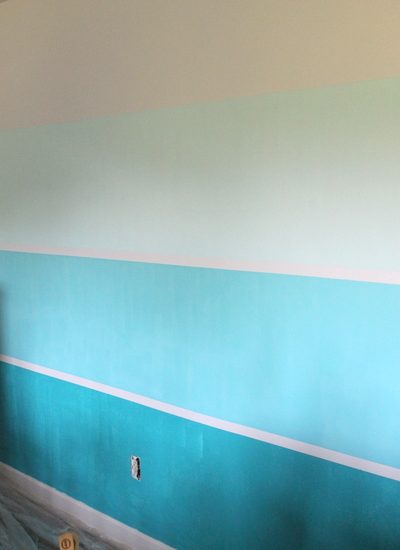
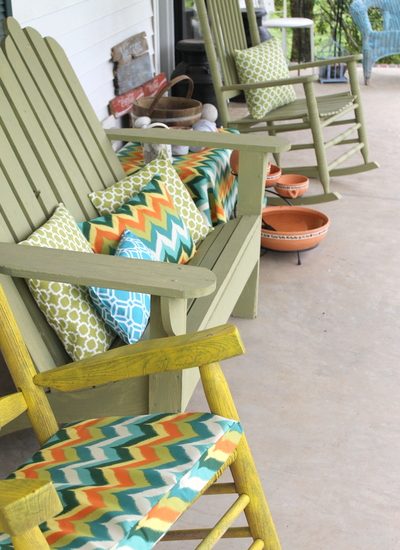
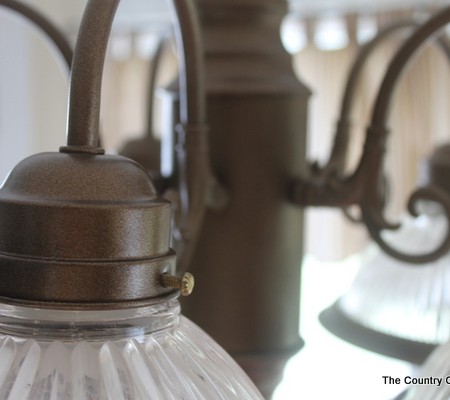
Take a look around our home and see some of the DIY projects we have completed. Get inspired to complete home projects around your home then get started sprucing up your home. Scroll down and find so much inspiration below.
Here are some of my most popular home projects.
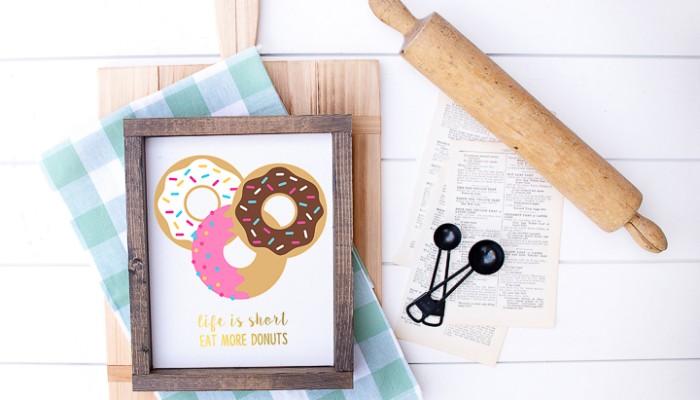
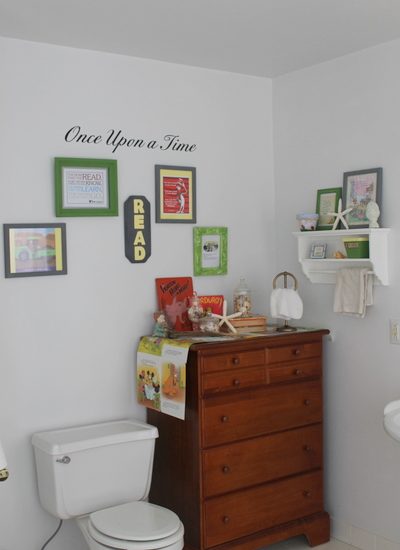
Donut printables are a great way to spruce up your home on a budget! After all, art that has donuts makes any room even better. I have two super cute prints for you today to download for free and print as many times as you would like.
Get them here!