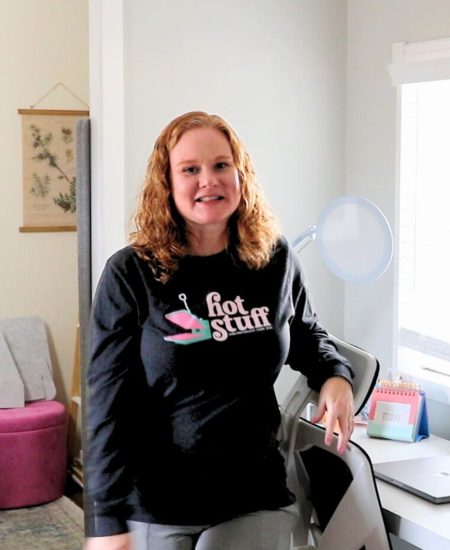
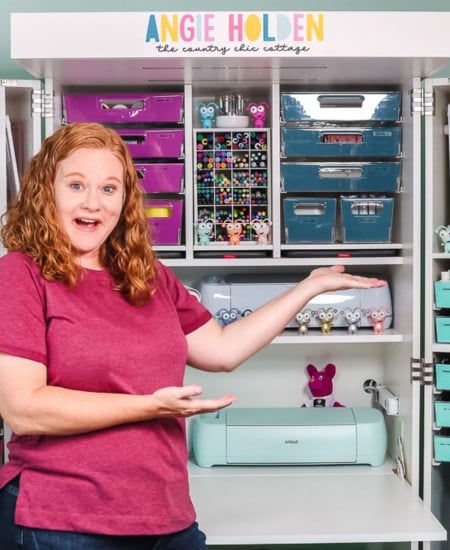
Angie Holden The Country Chic Cottage
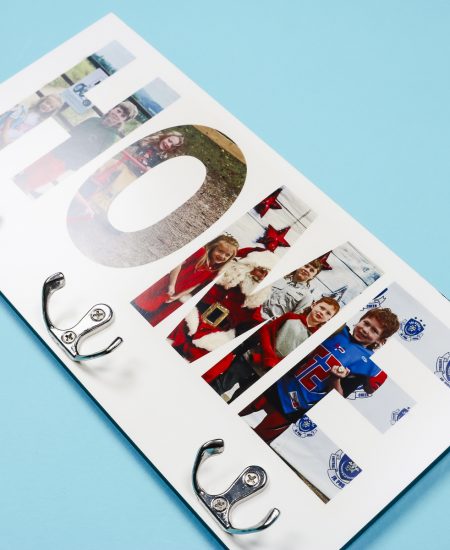
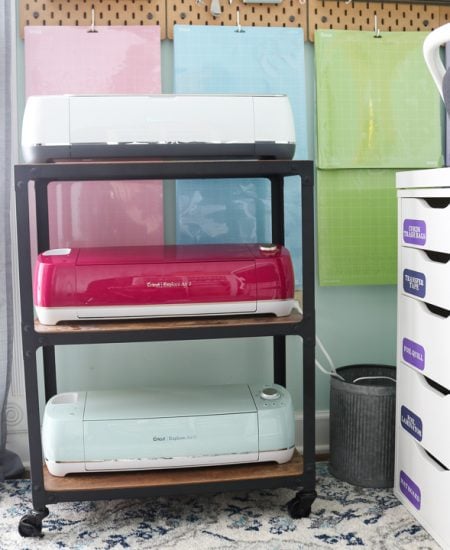
Learn about your Cricut machine, sublimation printer, or any other craft you can imagine! Angie Holden shares her crafting tips so you can craft like a pro!
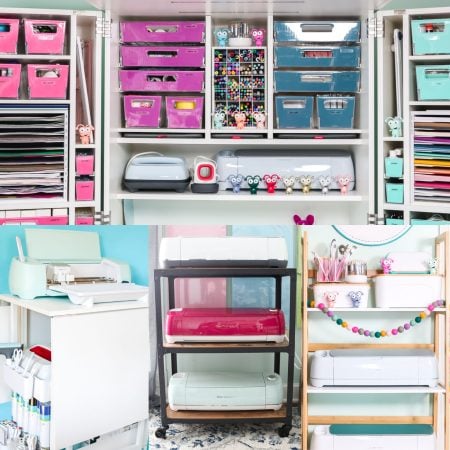
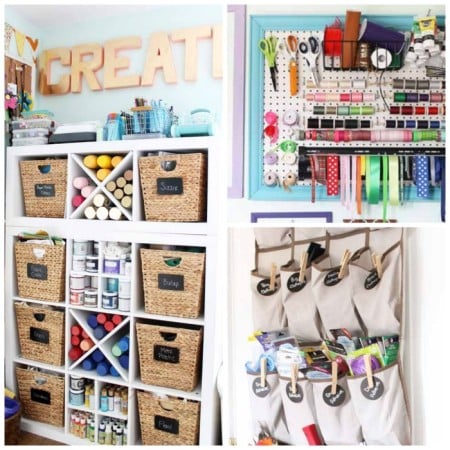
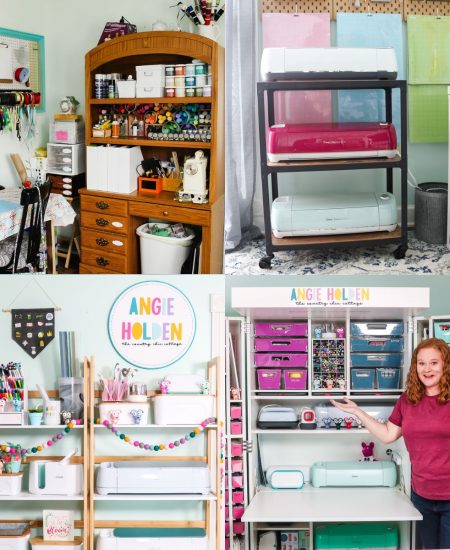
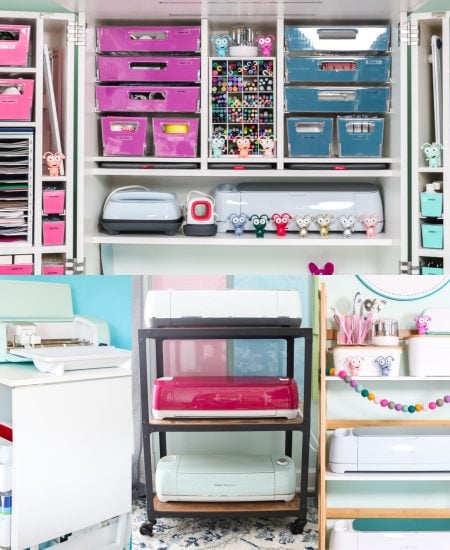
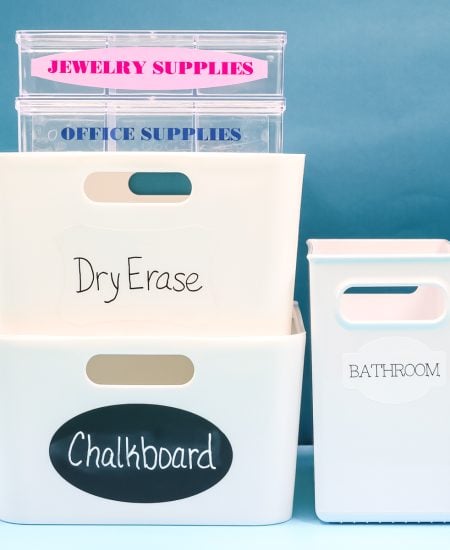
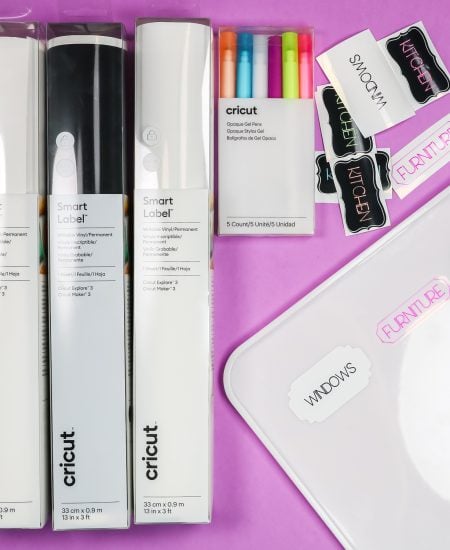
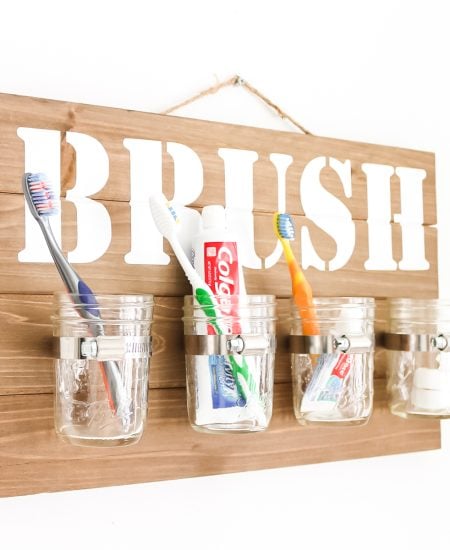
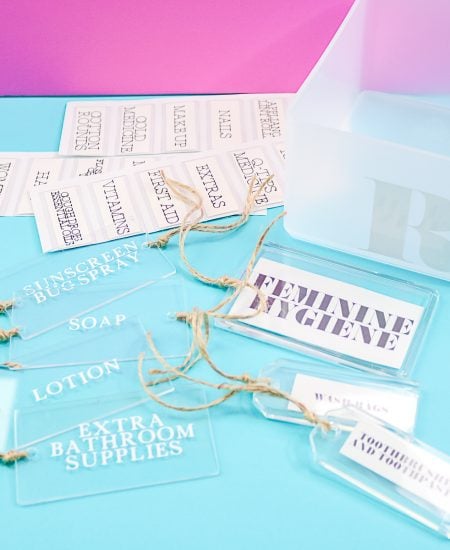
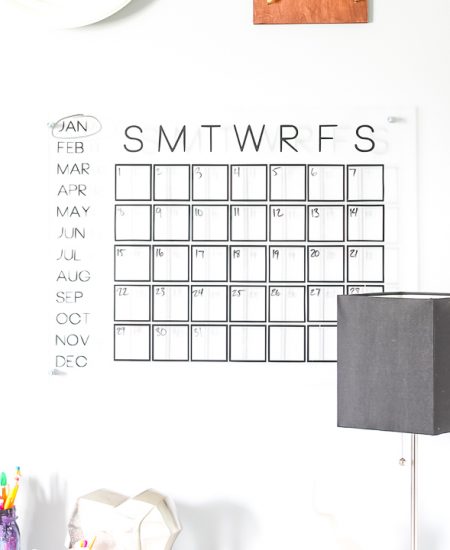
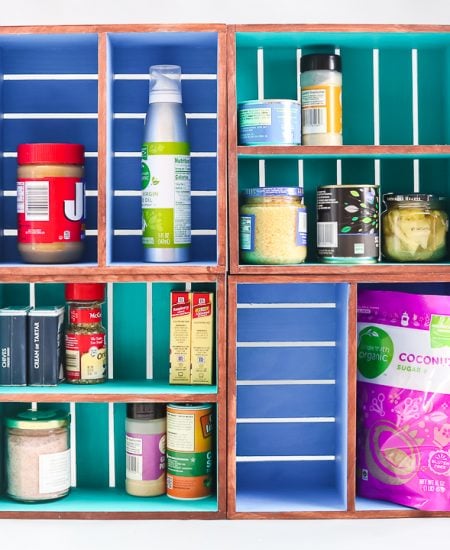
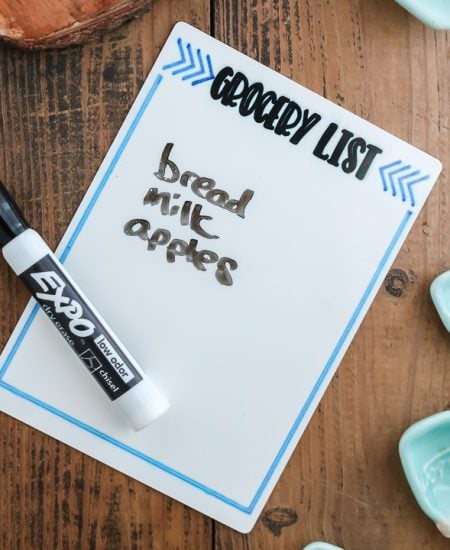
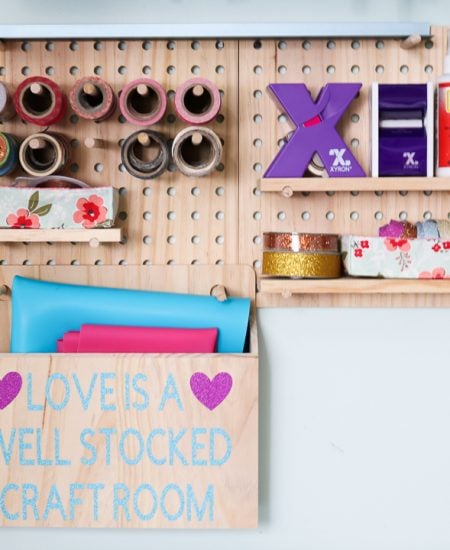
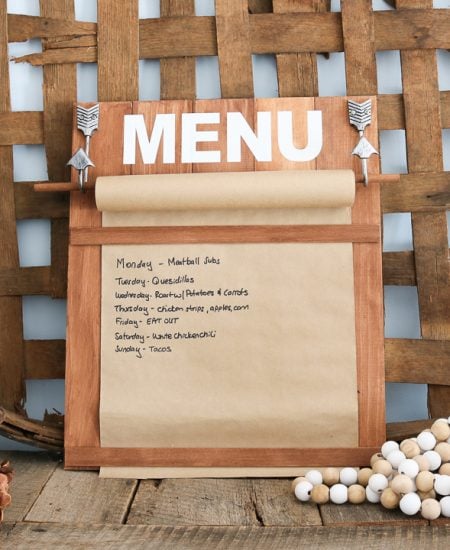
Get your home organized with our organization tips and tricks. We have ideas for every room in your home to keep you together and on track! Got a creative space? Try this collection of 25 organized craft rooms to get inspired for your own makeover. Want to get your pantry organized? Try these free printable pantry organization labels.
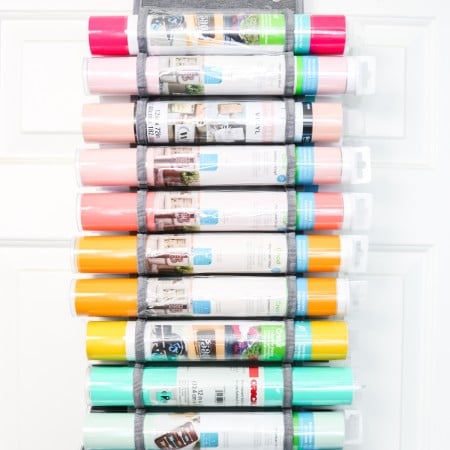
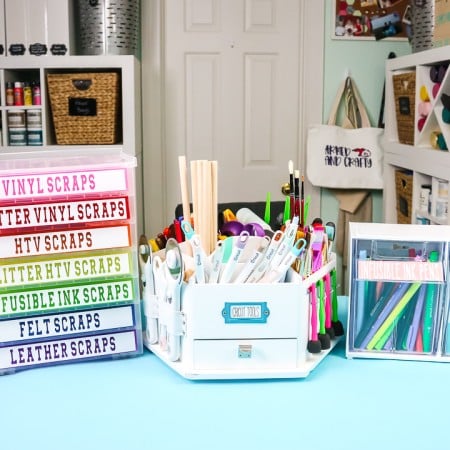
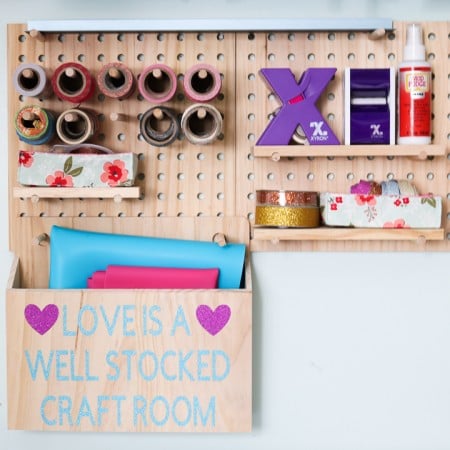
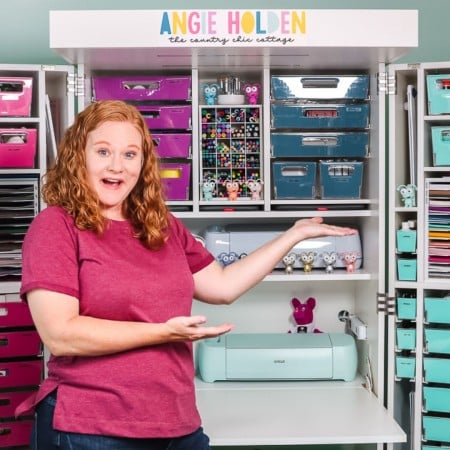
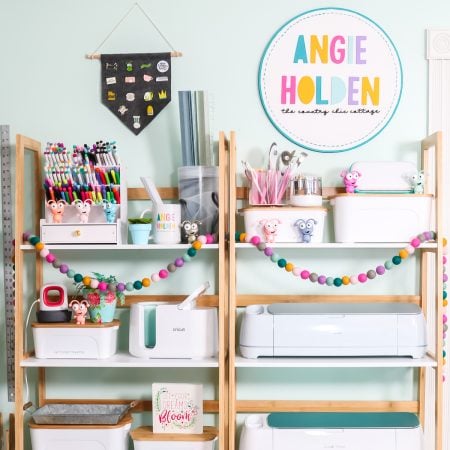
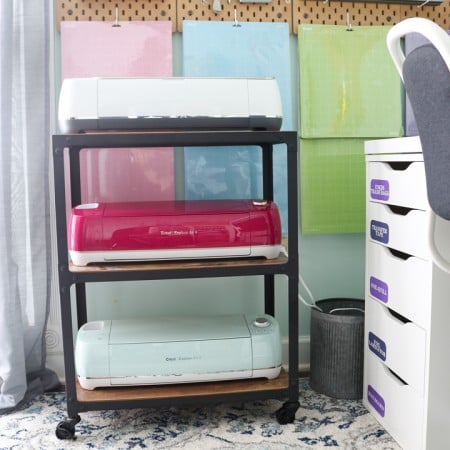
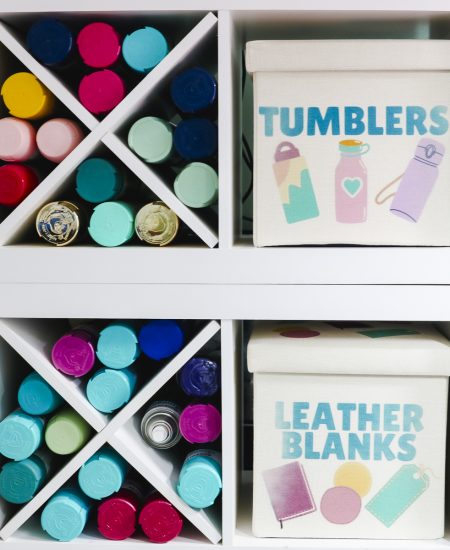
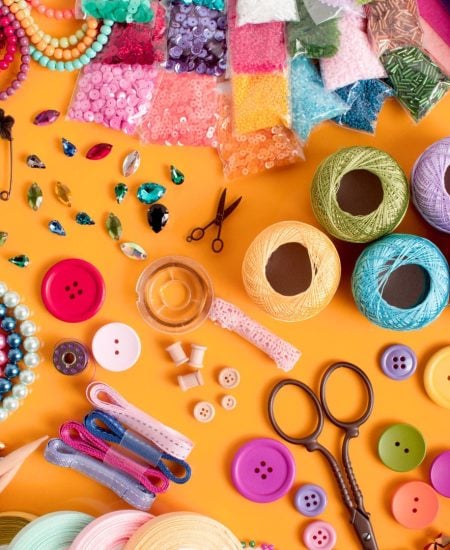
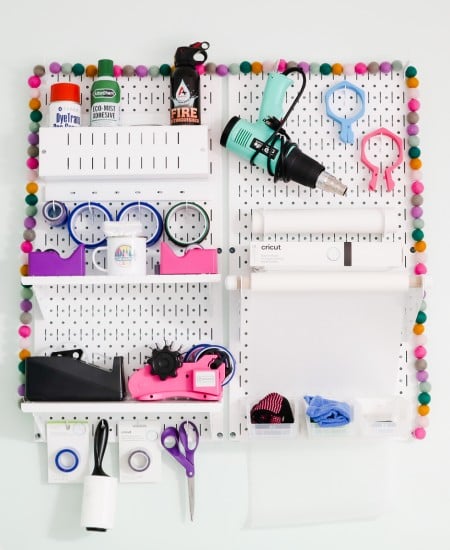
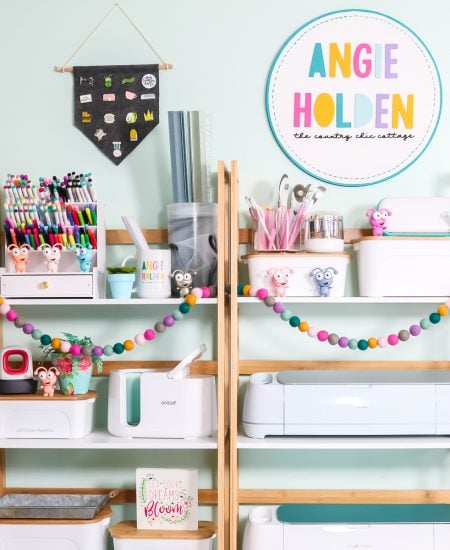
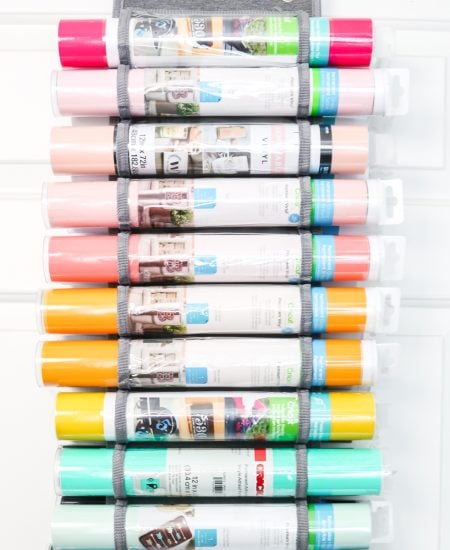
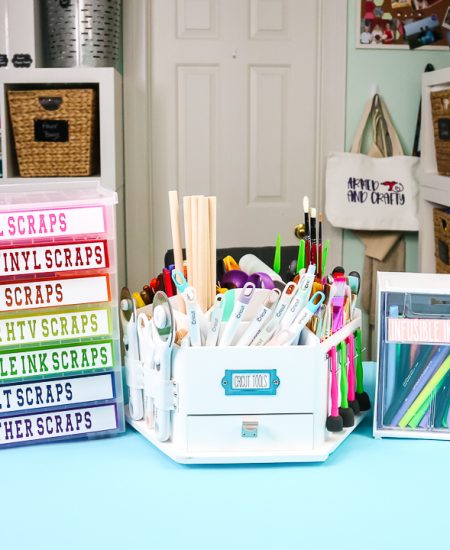
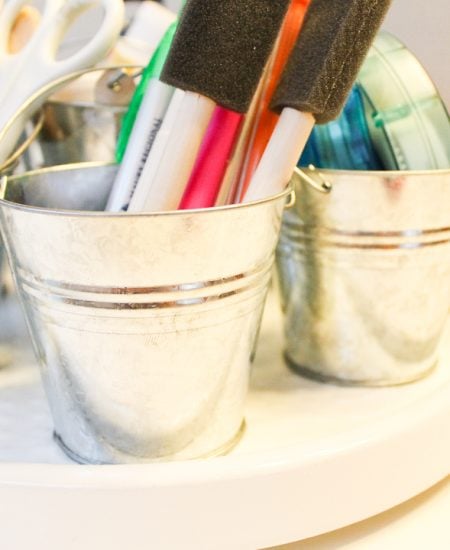
Looking to organize your craft space? I have ideas for you! From expensive to budget-friendly, I can help you to get more organized for your next craft project.
Want to take a tour of my space? Take tours of my craft room through the years to get ideas for your own organized craft area.
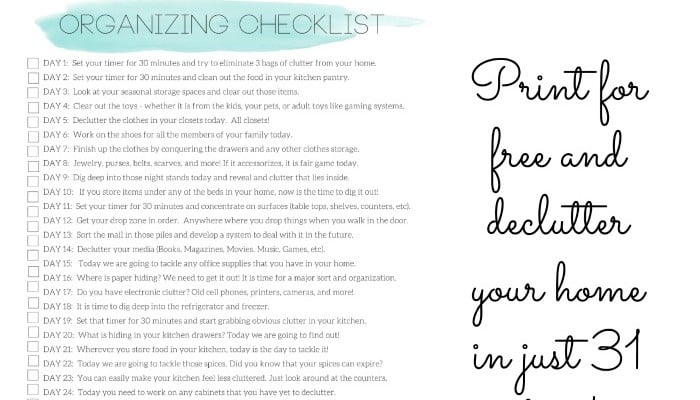
Do you want to straighten up your entire home? Tired of all the clutter and don't know where to start? Print my organizing checklist and use it to declutter your entire home! This easy-to-use list has tasks broken down so you can tackle a little each day for 31 days. You will come away with a cleaner home and feeling better about your space!
Get it here!