Angie Holden The Country Chic Cottage
Learn about your Cricut machine, sublimation printer, or any other craft you can imagine! Angie Holden shares her crafting tips so you can craft like a pro!
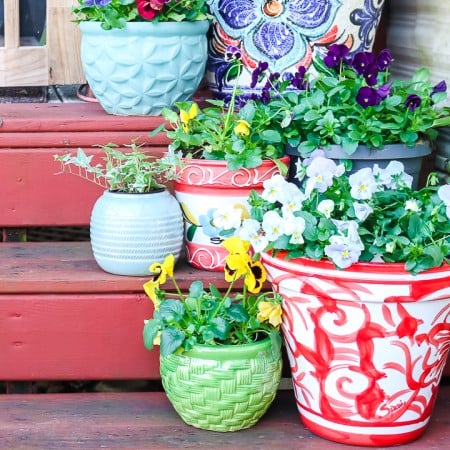
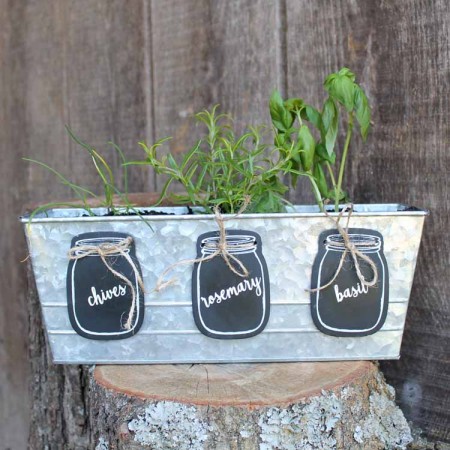
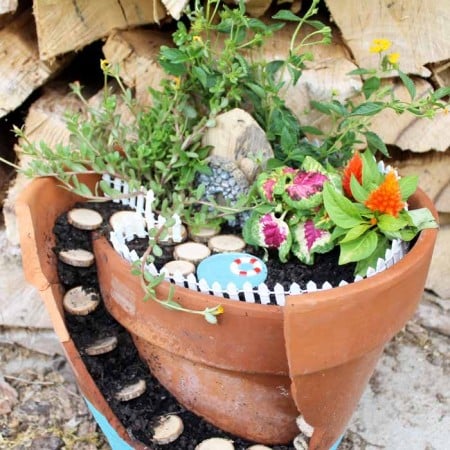
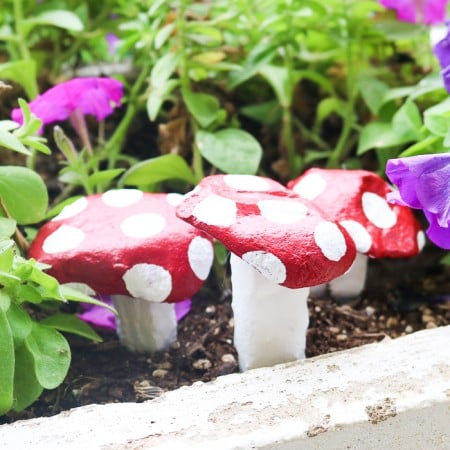
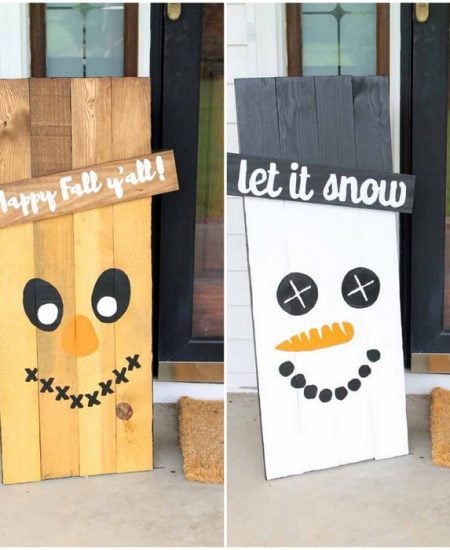
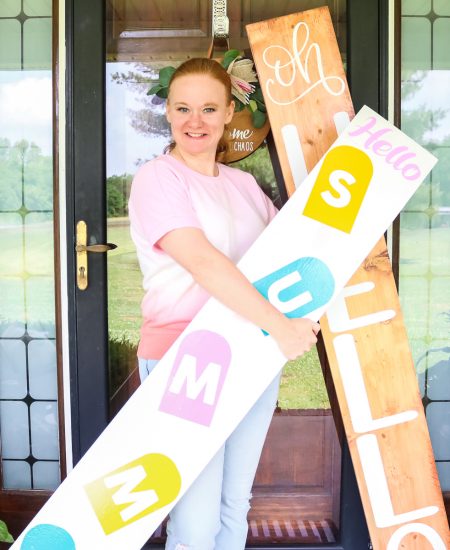
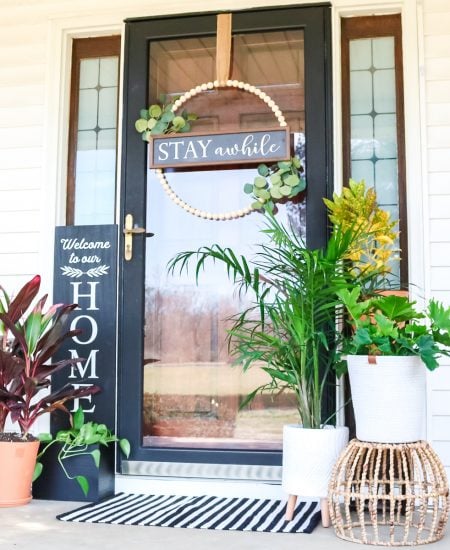
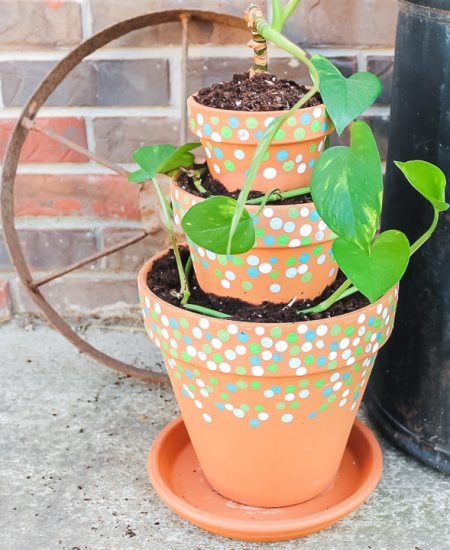
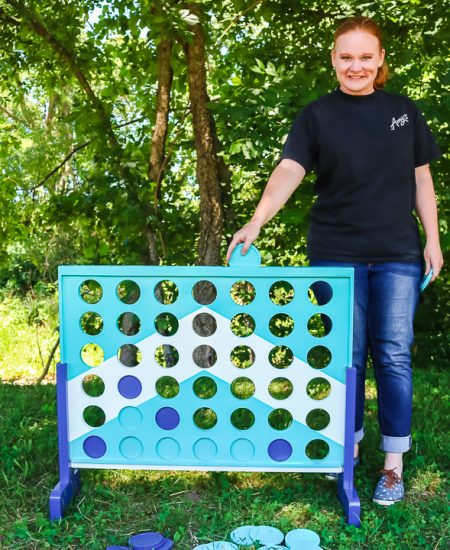
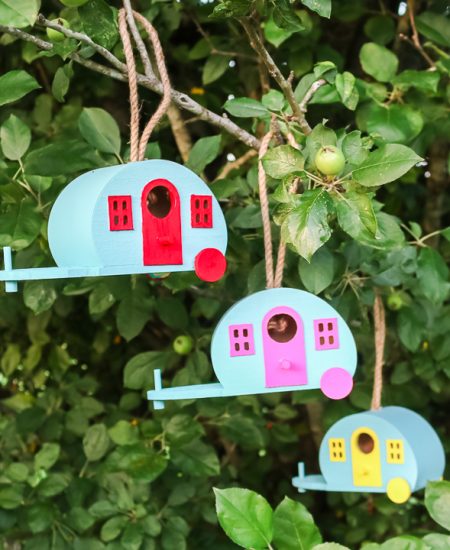
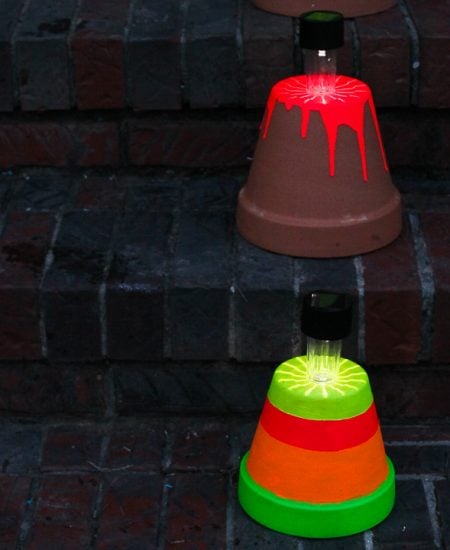
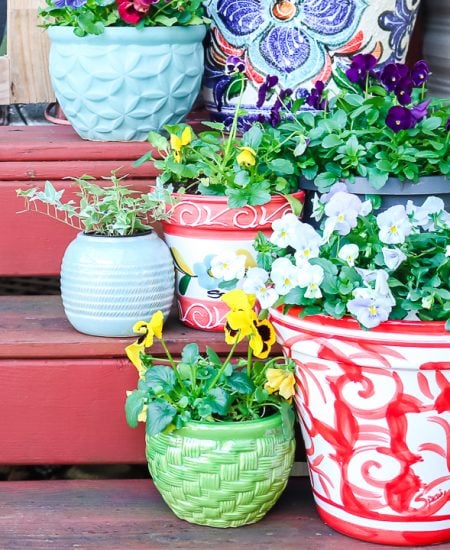
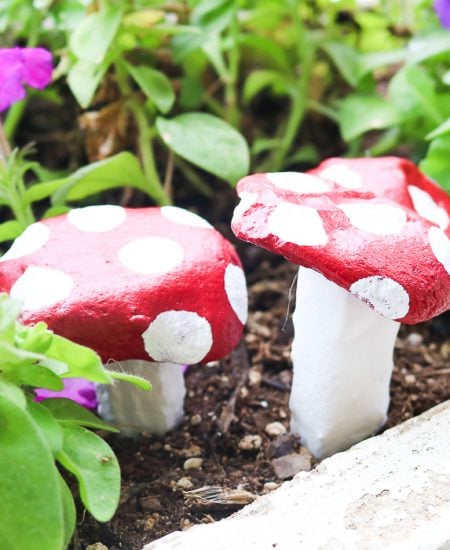
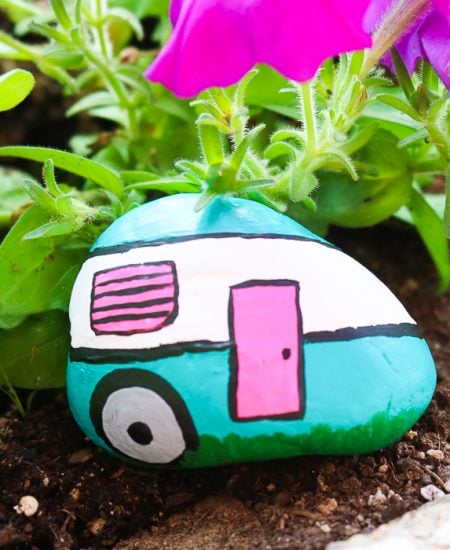
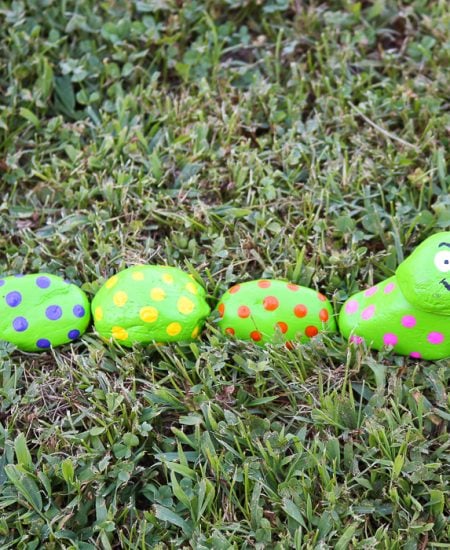
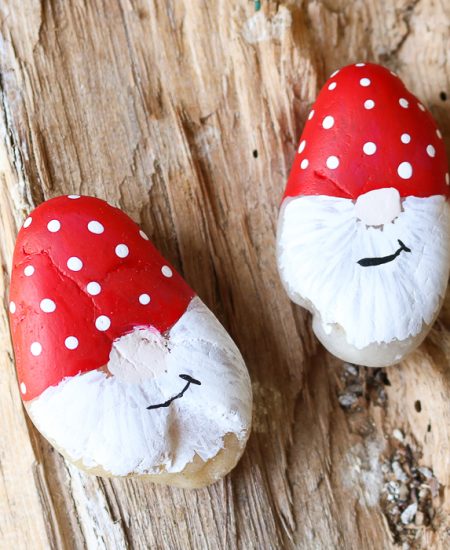
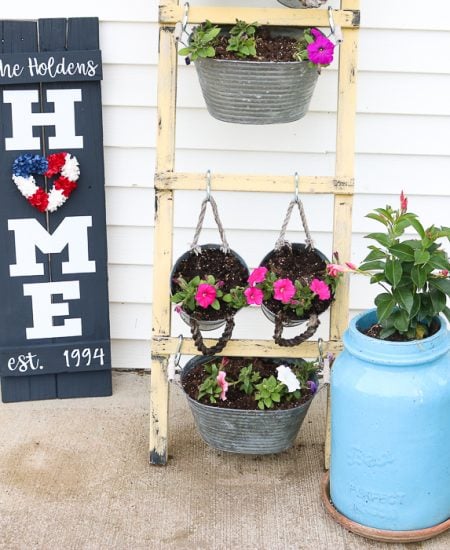
Want to spruce up the outside of your home as much as the inside? We have gardening and outdoor crafts that will really look great in your outdoor space. These instructions for making a carpenter bee trap are super popular and a great way to trap pests. You can also learn how to make natural fly repellent for your home and use it to detract flies from your outdoor spaces.
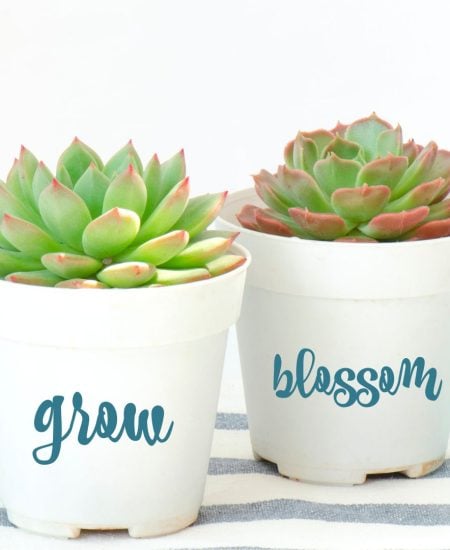
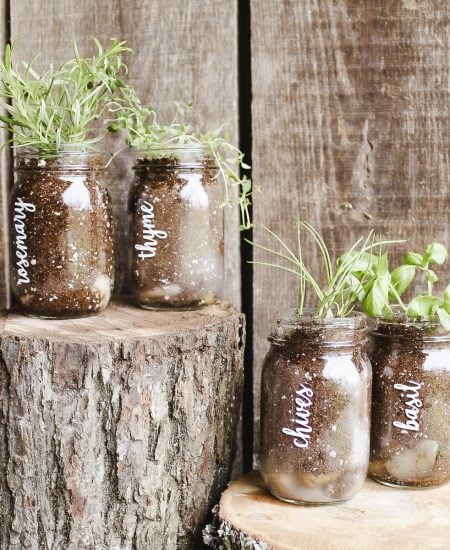
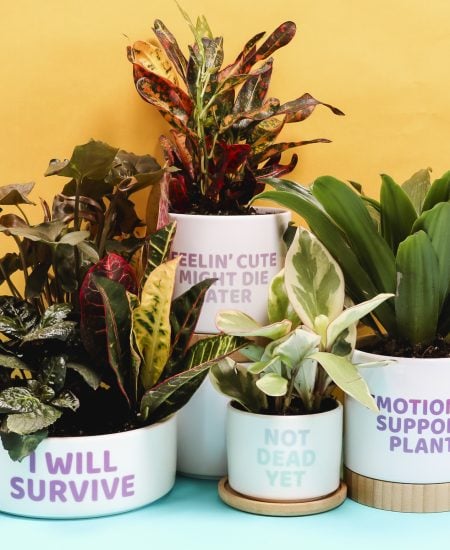
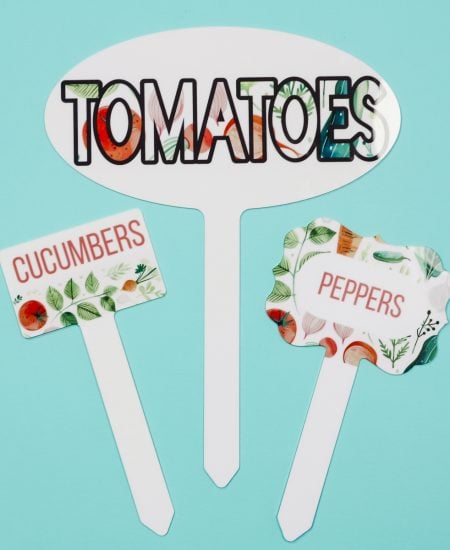
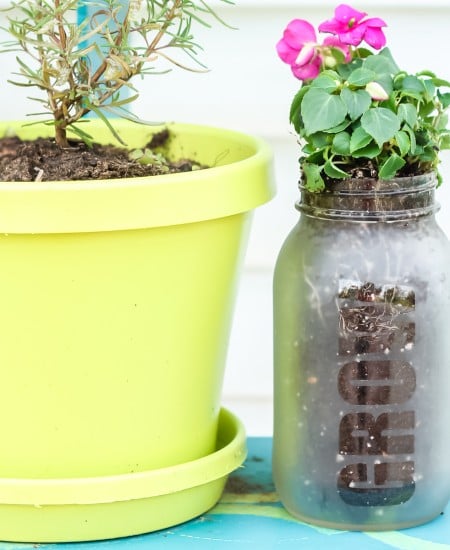
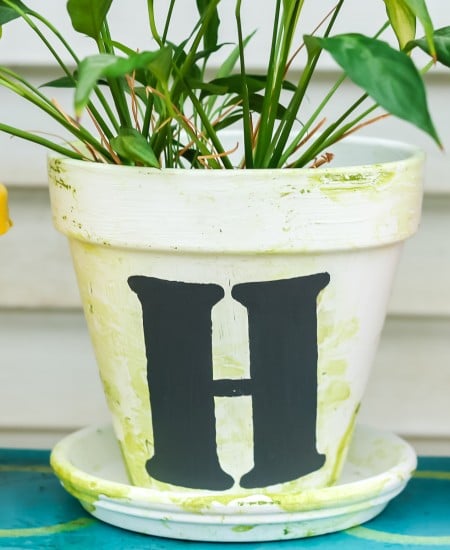
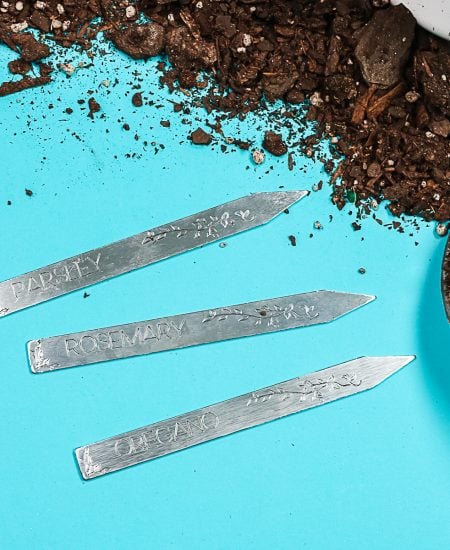
Are you looking for ideas to update your garden space? Try some of these!