Angie Holden The Country Chic Cottage
Learn about your Cricut machine, sublimation printer, or any other craft you can imagine! Angie Holden shares her crafting tips so you can craft like a pro!
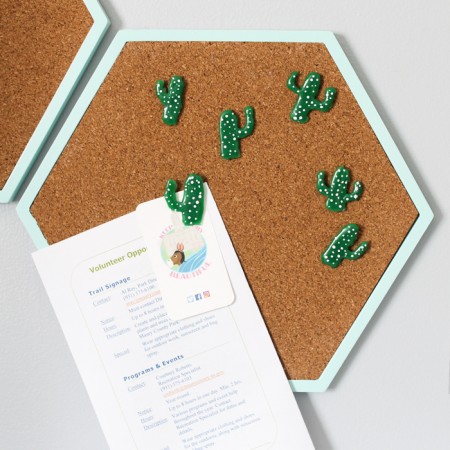
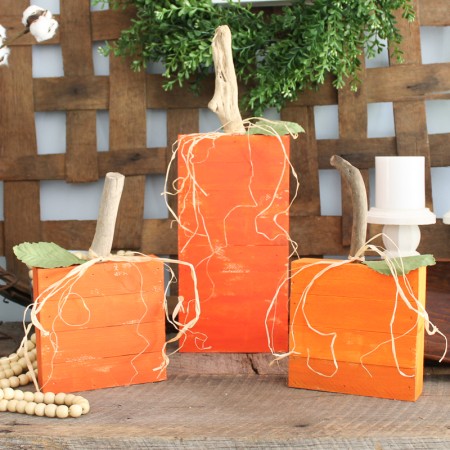
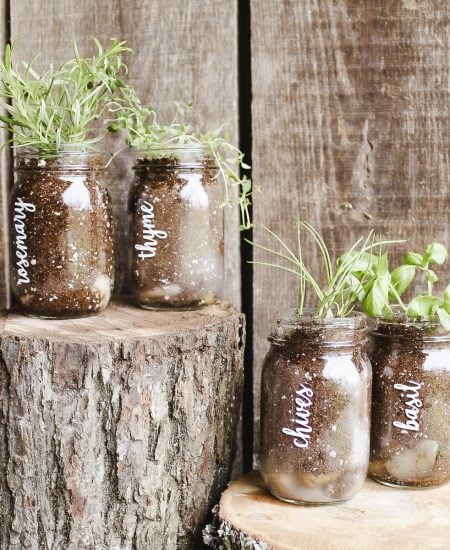
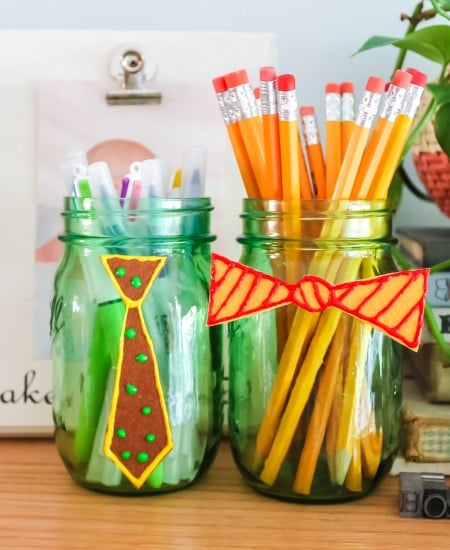
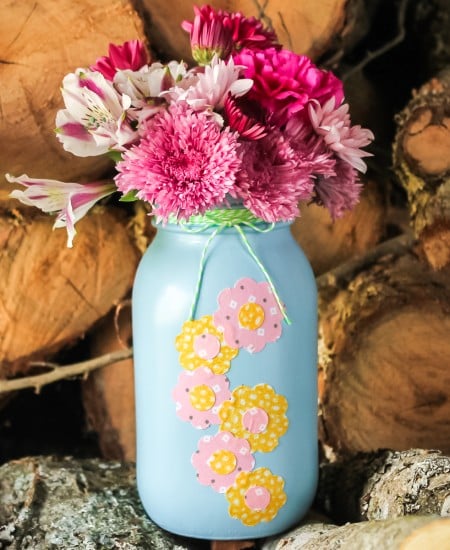
Don't have time to create? No problem! Our quick crafts are perfect for those that have very little time but still want to flex their creative muscles. After all, easy crafts are the best crafts! I love to get creative but don't always have a ton of time. Quick crafts are the answer for me and they can be for you as well. Start by making a mason jar tissue holder or these DIY candle holders in just a few minutes to add a farmhouse touch to any room.
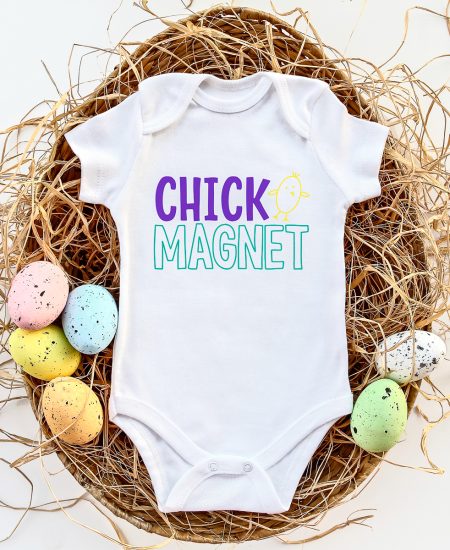
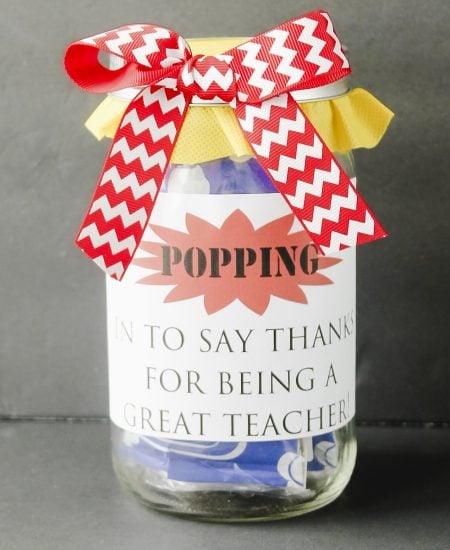
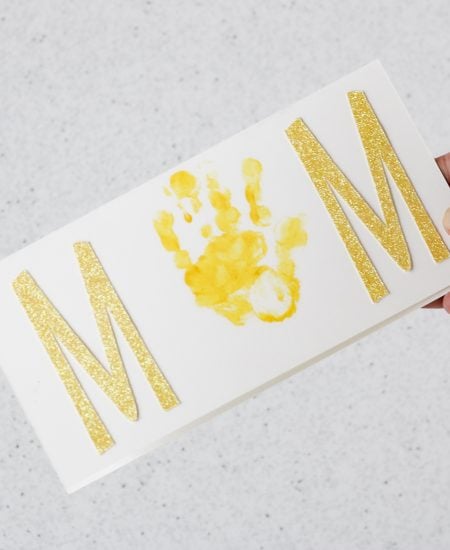
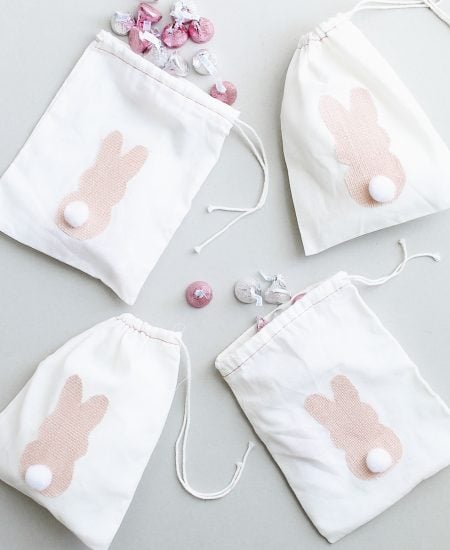
Here are some popular quick crafts to get started.

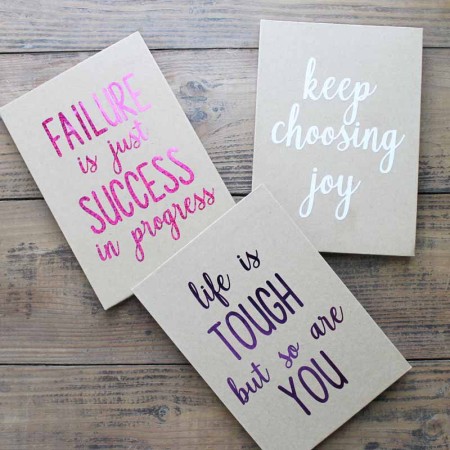
Start a new tradition around your home with lunchbox notes. Just drop little love and encouraging sentiments into your little ones’ lunch box on a daily basis.
Get it here!