Angie Holden The Country Chic Cottage
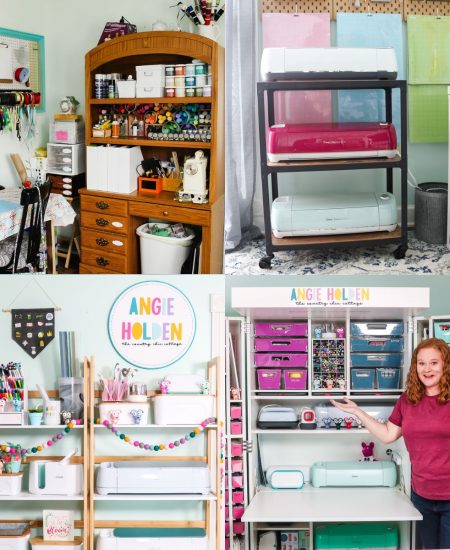
Learn about your Cricut machine, sublimation printer, or any other craft you can imagine! Angie Holden shares her crafting tips so you can craft like a pro!
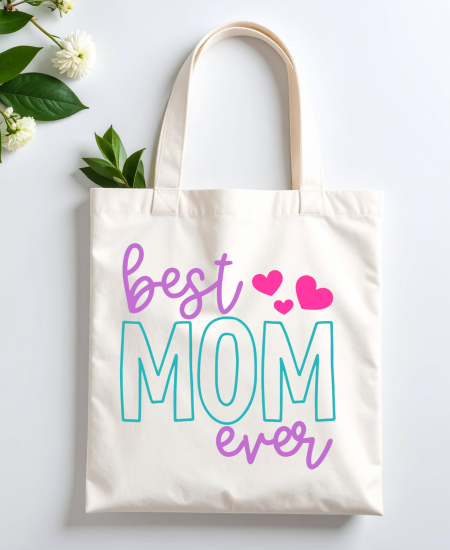
If you love crafting, we have an amazing selection of projects for you! From Cricut crafts to mason jars to kid's crafts, you can find whatever you are looking for here! This Christmas gnome is by far our most popular holiday craft idea. Also, this home sign with a wreath is one that everyone loves!
There are so many craft ideas here! Check out some of our most popular topics in Crafts.

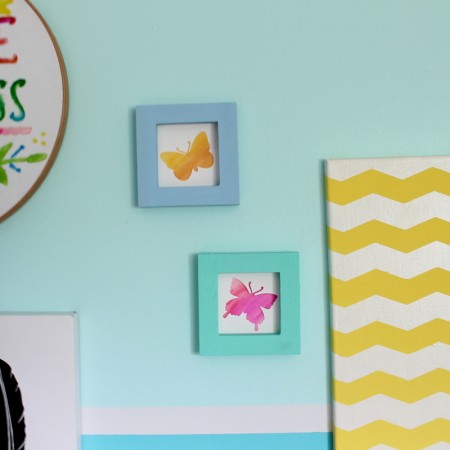
If you love all things colorful, you will definitely love this dream big printable art.
Get it here!Here are some of my most popular craft posts