Angie Holden The Country Chic Cottage
Learn about your Cricut machine, sublimation printer, or any other craft you can imagine! Angie Holden shares her crafting tips so you can craft like a pro!
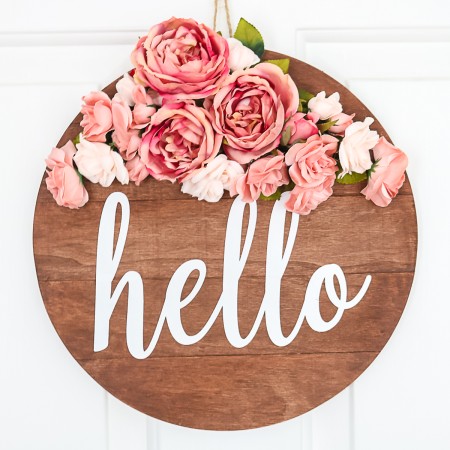
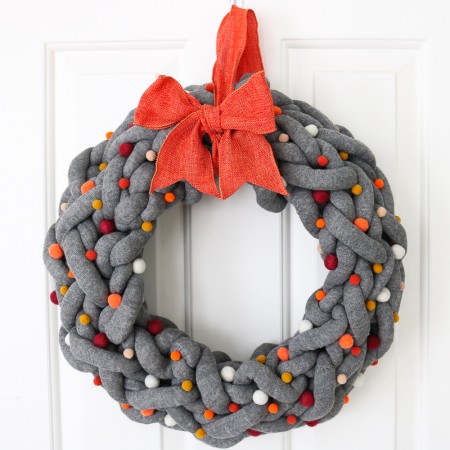
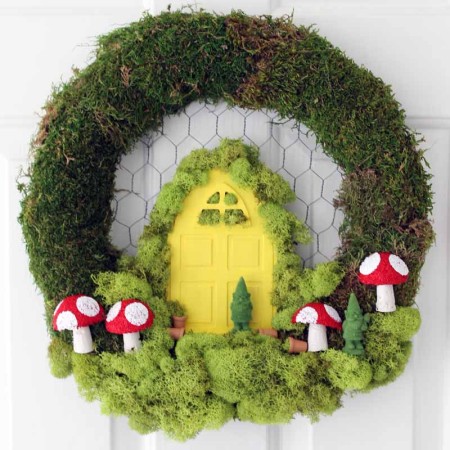
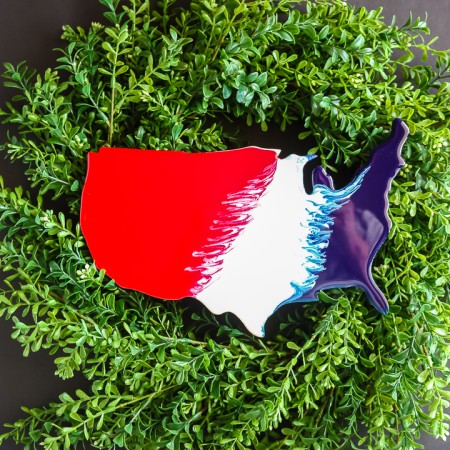
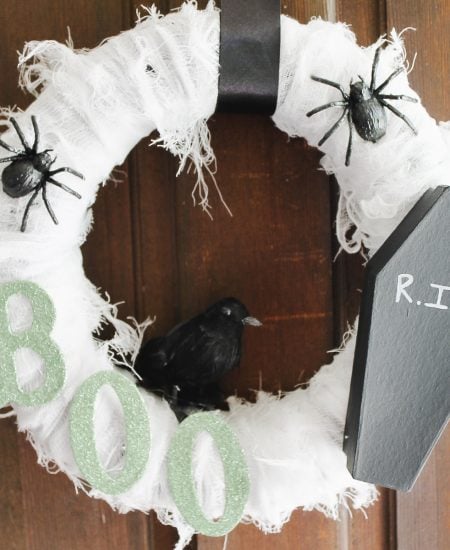
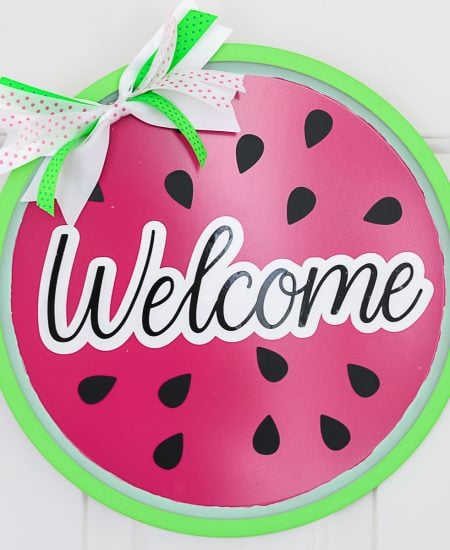
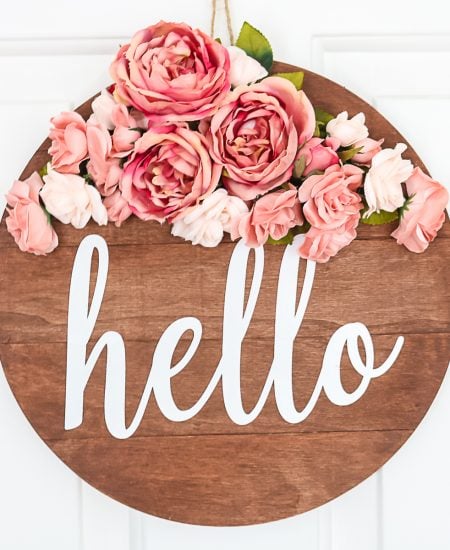
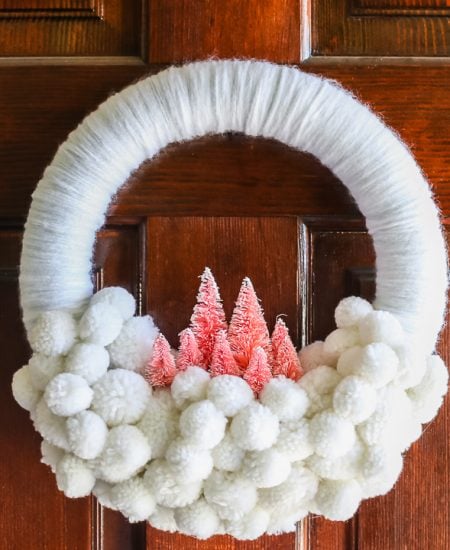
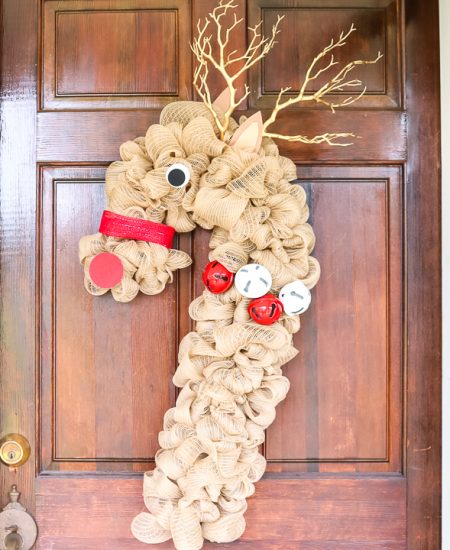
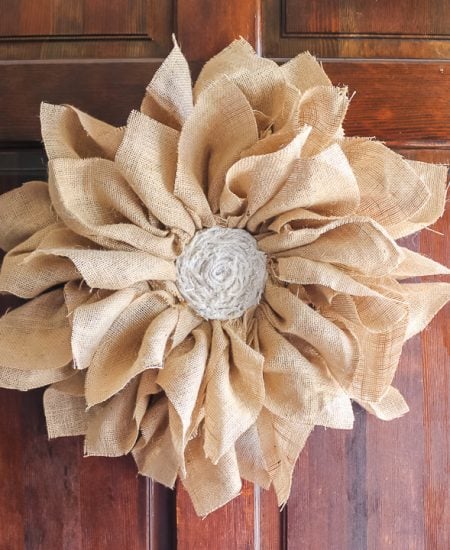
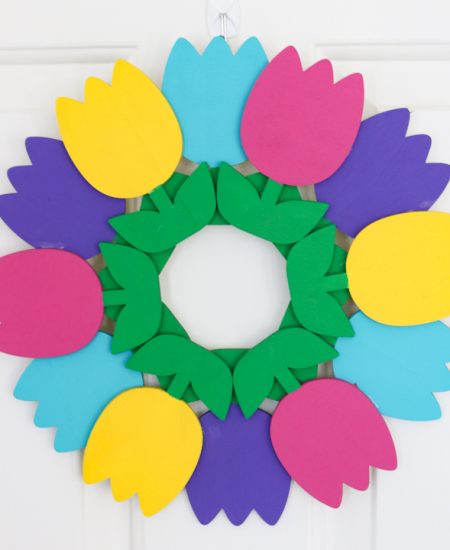
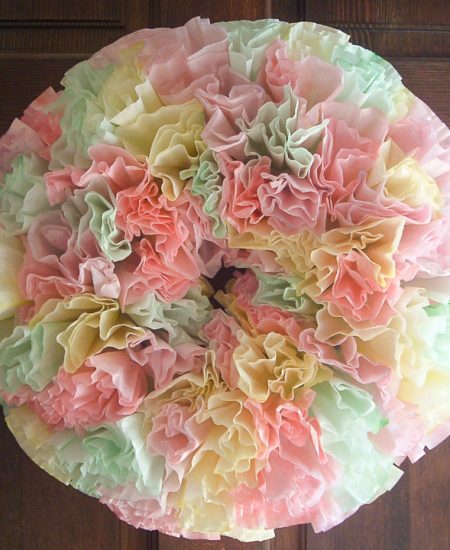
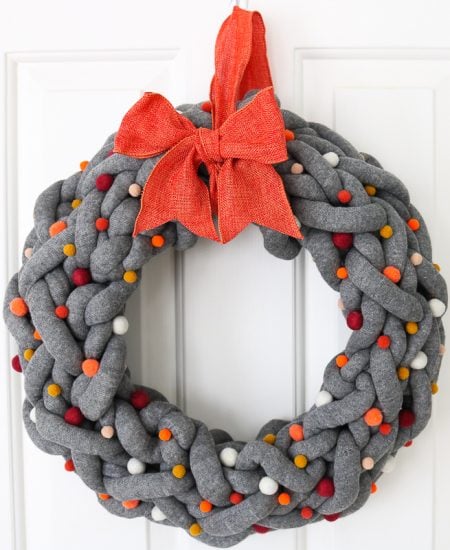
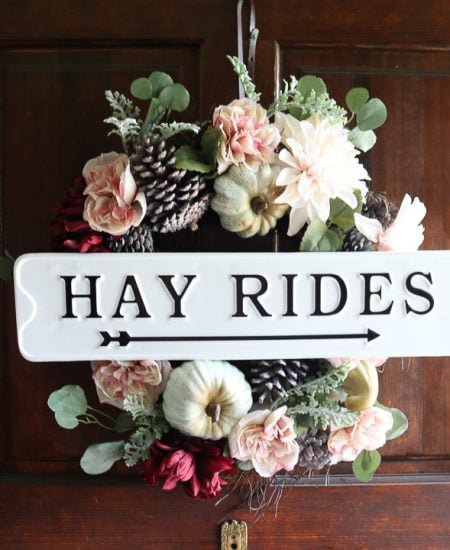
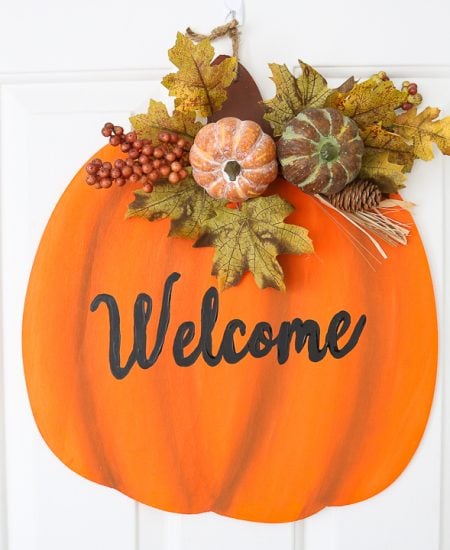
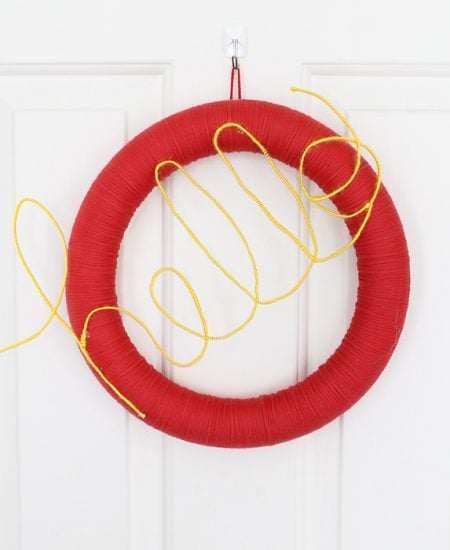
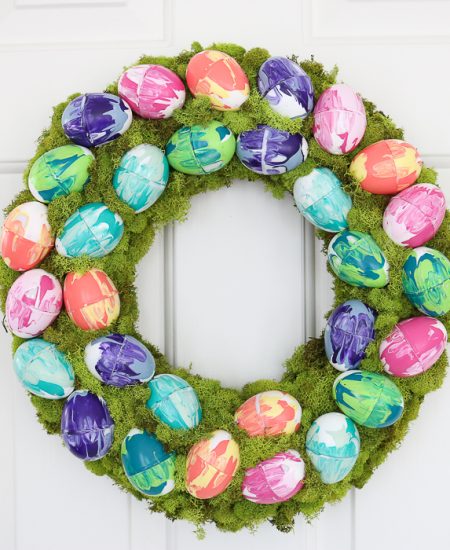
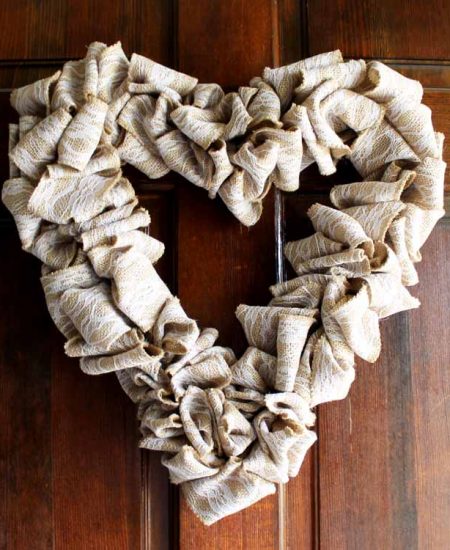
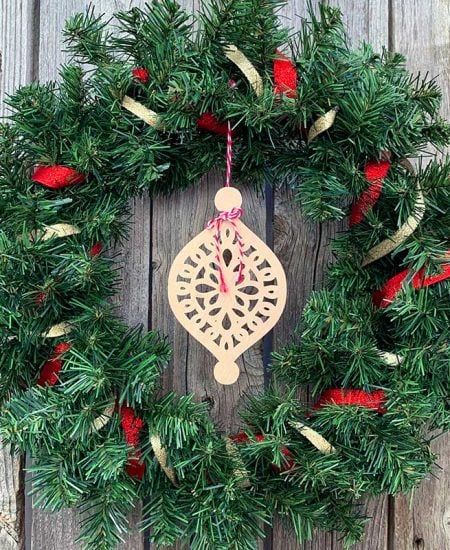
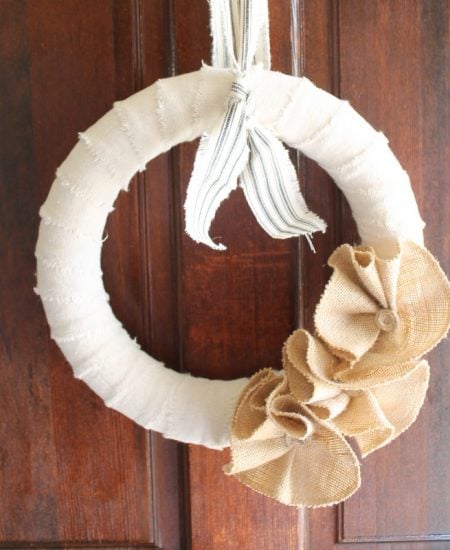
Love making wreaths? We have dozens of wreath crafts just waiting for you to create. From every holiday to seasonal to all occasion, there is a wreath just waiting for your front door! Pick your favorite from our collection for every season and start crafting. A candy cane wreath is a perfect thing to add to your door during the holiday season. Make this burlap flower wreath for a rustic addition to your home that can stay up all year.
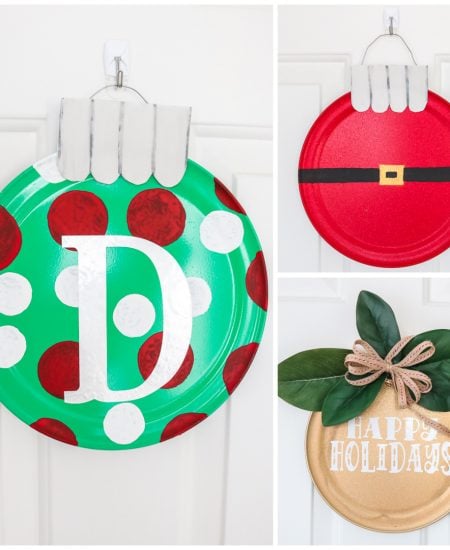
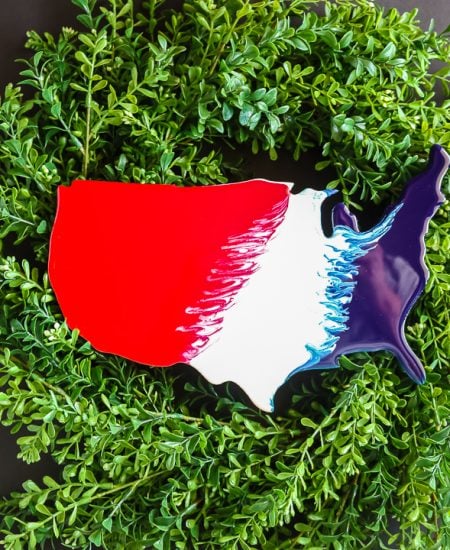
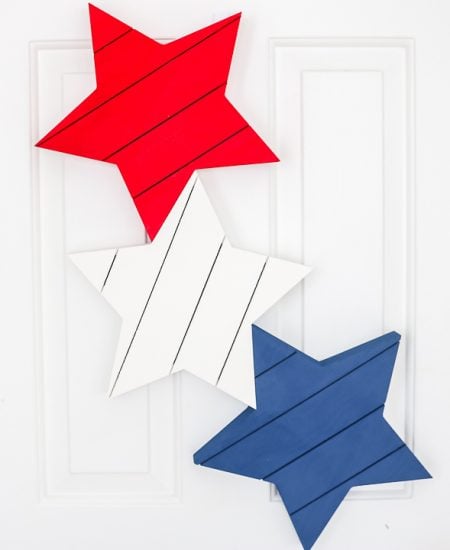
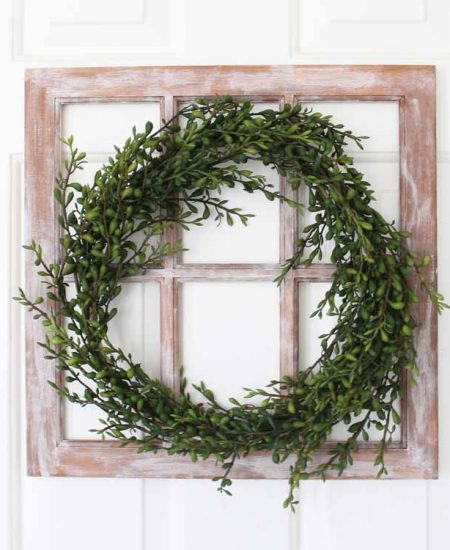
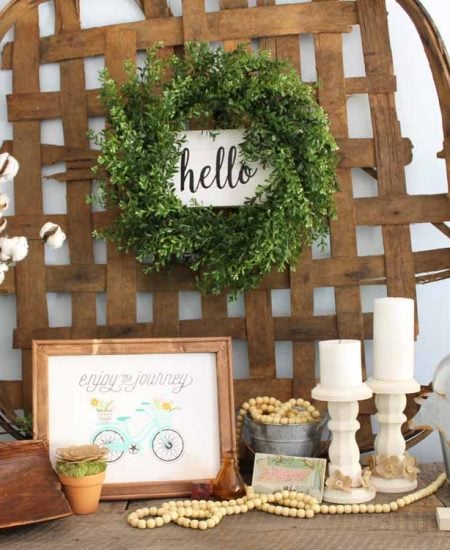
We have wreaths for every time of year. Change up the look of you door or room by changing your wreath.