
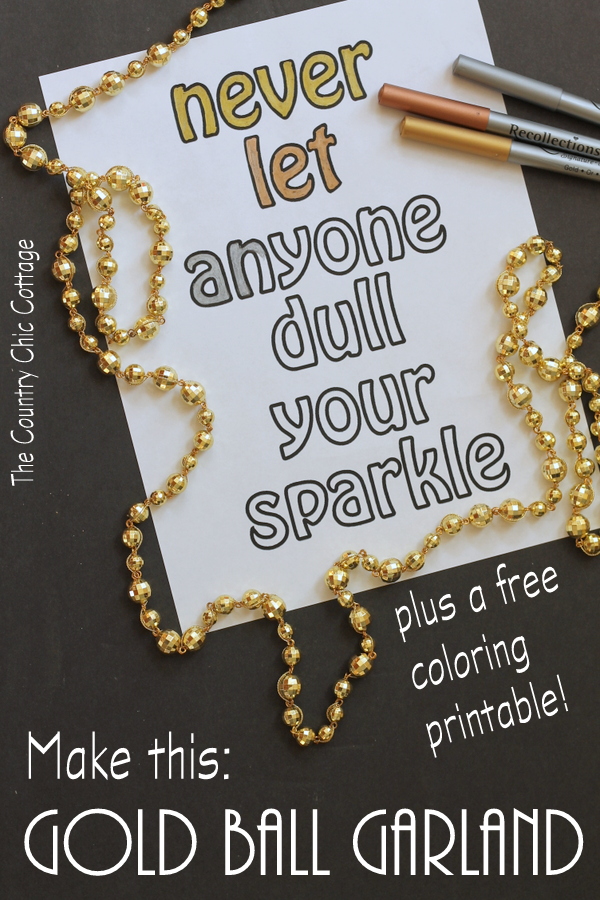
Do you love subtle touches of glamour in your holiday decor? I present – my gold garland project! It takes just two steps to create and can be strung in a million different places for a hint of sparkle at any corner.
I am thinking of going all gold with my Christmas tree this year, which means I need a few things to add to the sparkle.
This gold garland was my first idea and it is so super easy to make. I knew y’all would need to see this one!
The project is perfect for a glitzy Christmas set-up but isn’t overly seasonal. So feel free to use it for New Year’s, Saint Patrick’s Day, Mardis Gras, or any other occasion that needs a bit of shimmer and shine!
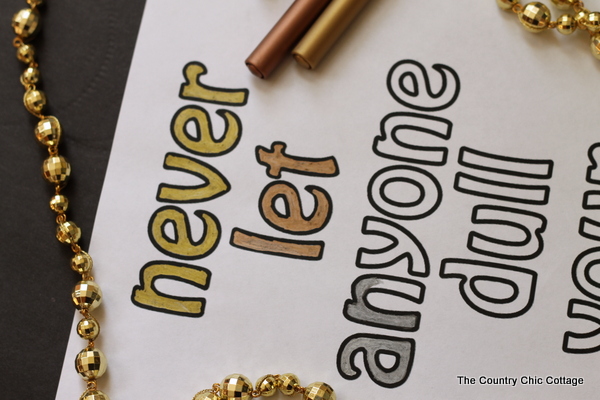
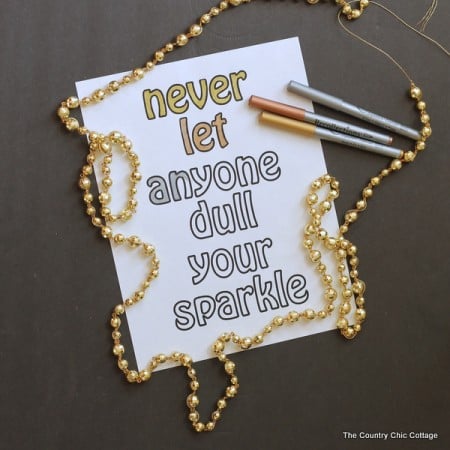
I also made a free coloring page printable cause I just couldn’t resist. So y’all string some garland and print that amazing printable below.
How to Make a Gold Garland
My easy gold ball garland is beyond easy to make and gives your home a gorgeous touch of glitz through the holidays.
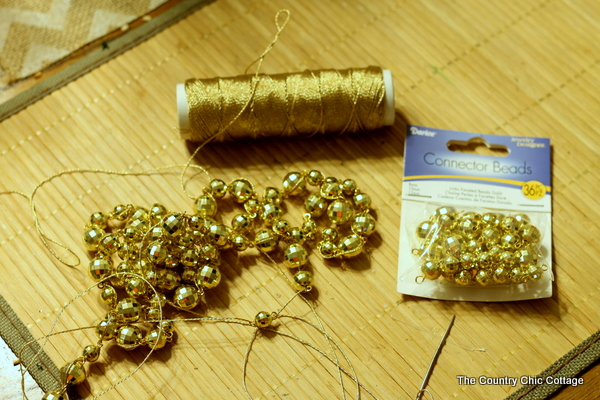
Supplies Needed
- Faceted gold connector beads
- Gold cord
- Large needle
DIY Gold Ball Garland Instructions
Ready to get stringing? Seriously, that’s all this project takes!
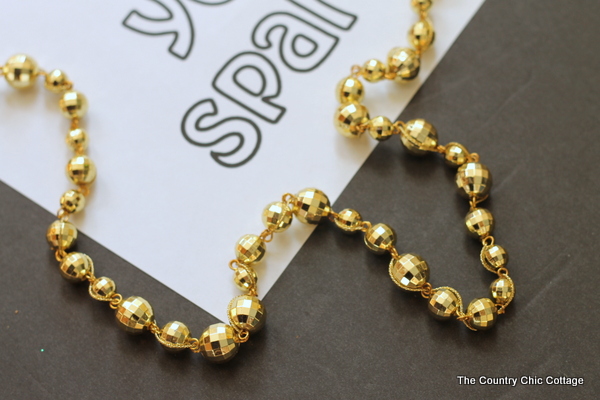
Step 1: String your Beads
Just string those beads using the needle! That is all you have to do y’all.
Buy as many packages of those amazing mini gold mirror balls as you like. I think they look like gold mirror balls anyway, but you can use any kind of beads you prefer (like in my fall beaded garland!).
Step 2: Tie the Ends and Admire Your Handiwork!
Be sure to tie off both ends when your garland is complete. And with that, your garland is ready to hang.
I am in love with this gold ball garland and can’t wait to use it in my Christmas decor.
FAQs
You’ve got questions? I’ve got answers! Let me know if you have any more questions about my gold garland project in the comments down below.
How many balls will you need to make a garland?
It totally depends on how long you’d like your garland to be and how big your connector beads are.
I recommend buying in bulk, with a minimum of 100 beads (200 is better!). Bonus – if you have leftover beads, you can make a new craft!
What can I do with my gold garland?
This garland would look fabulous draped along a fireplace mantle, wound around a railing, or hung on your tree.
You can even use it wrapped throughout decor on an end table or in a bowl on your coffee table. It’s a super versatile project.
What’s the best way to store this gold garland?
There’s nothing worse than a tangled garland.
I recommend wrapping the garland around a piece of cardboard to prevent any tangling. Secure the ends with a bit of tape then pop it in a clearly-labeled storage box. Nice and easy!
Bonus – Free Coloring Page!
Now I promised y’all access to that fun free printable coloring page. Click here to print or on the image below.
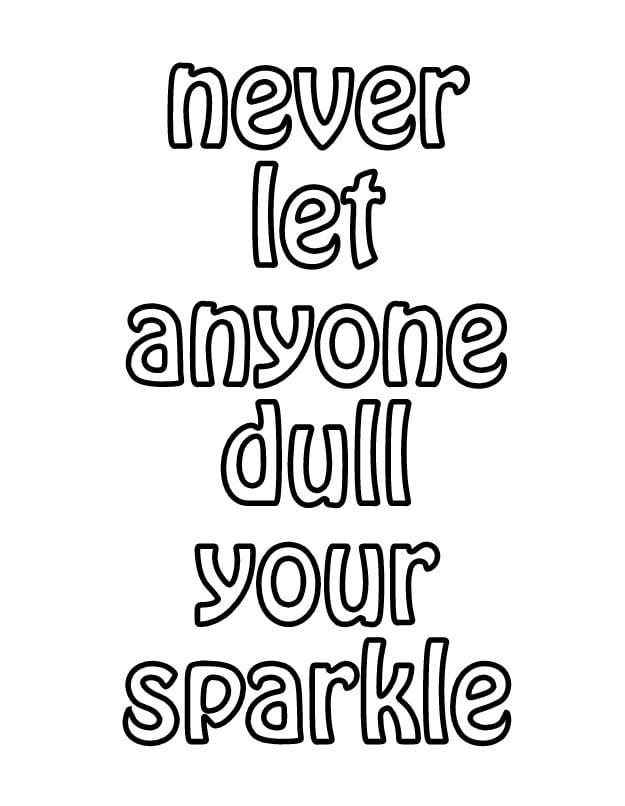
Color with any markers you have. You might want to check out these coloring book techniques as well! I used some metallic markers to start on my printable. This would look great framed as art y’all!
Love free coloring pages? Click here to download these other examples.

More Craft Ideas
If you’re a big fan of this gold garland, I have plenty more garland projects where that came from!
- Sheet Music Doily Garland
- Yarn Tassel Garland
- Christmas Candy Garland
- DIY Magnolia Garland (+ Wedding Table Ideas)
- How To Make A DIY Patriotic Banner in Minutes
Equipment
- 1 Large needle
Supplies
- 100 Gold connector beads (adjust amount by garland length)
- 1 length Gold Cord
Instructions
- Use the needle to string your gold connecter beads onto the cord.
- Tie both ends of the finished garland and hang anywhere that needs a touch of sprakle!
Notes
- Adjust the amount of beads and length of gold cord depending on how long you’d like your garland to be.
- Alternate sizes of gold beads, creating patterns for an interesting effect.
- When not in use, store this garland wrapped around a piece of sturdy cardboard, taping the ends. This will prevent tangling when stored.


