
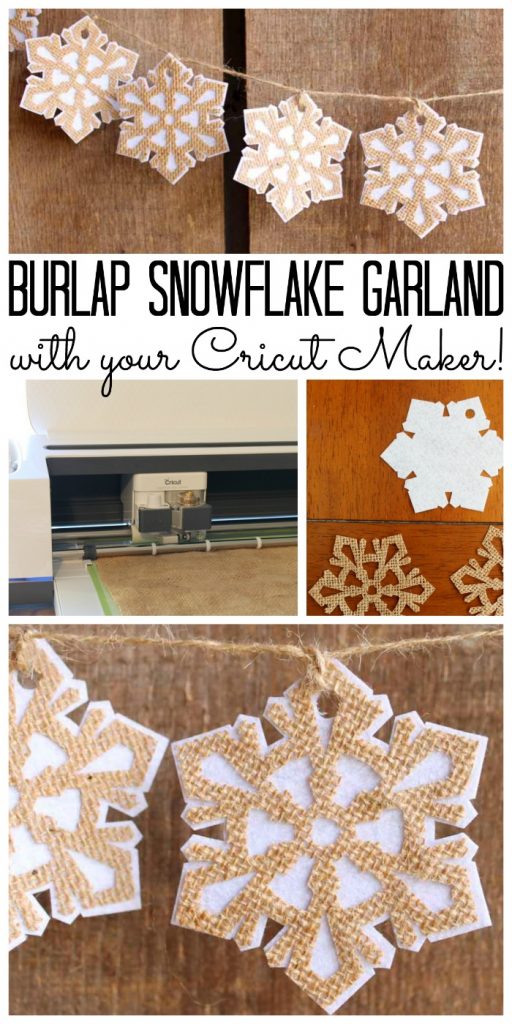
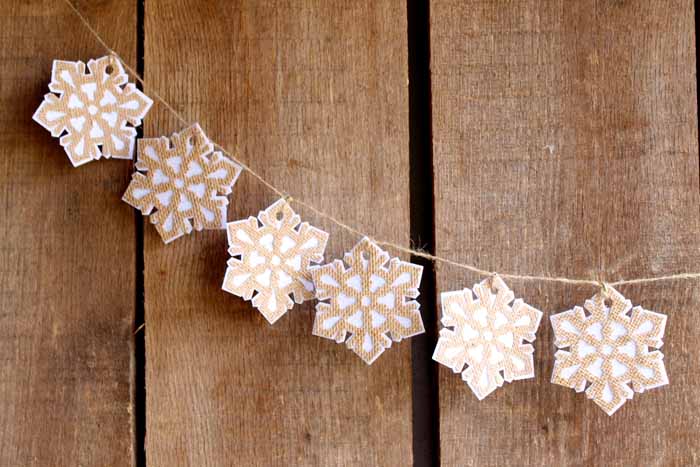
You can make this burlap garland in just a few minutes with your Cricut Maker. An adorable farmhouse-style banner for your winter decor.
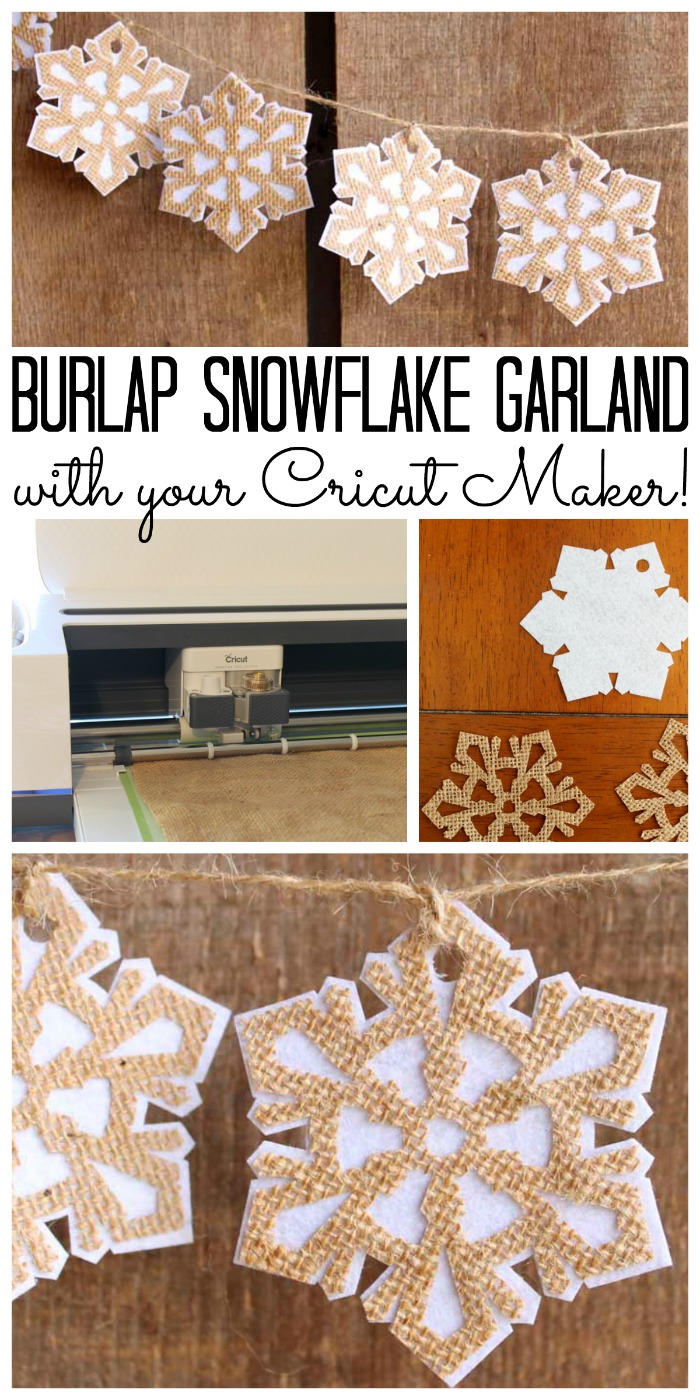
I have an amazing burlap garland for you today and a way for you to cut burlap snowflakes on your Cricut Maker. Yes these were all cut with the Maker and they turned out awesome! How do I get the burlap to actually hold together? Read on to find out about my method and use it to make all the things with burlap!
So are you thinking…I don’t have a Cricut Maker? Be sure to scroll to the bottom of this post to win one as well! This post is sponsored by Cricut however all projects and opinions are my own.
This is the perfect craft for those who love farmhouse-style decor. It’s easy to make with your Cricut Maker with a few steps.
How to Make a Burlap Garland with the Cricut Maker
Supplies needed to make this burlap garland:
Some links below may be affiliate links which means that you do not pay anymore however a portion of your purchase will go to support this site.
- Cricut Cutting Machine (Want to see the difference between the machines? I compared the Cricut Maker and Explore here.) I definitely recommend the Cricut Maker for cutting felt and burlap for this project.
- Cricut felt (you will need the carousel sampler)
- Burlap
- Tacky glue
- Pouncer brush
- Parchment paper
- Strong Grip Transfer Tape
- Twine
- Cricut Spatula (optional)
- Snowflake cut file
You can see just how to make this project in the video below!
Can’t watch the video or missed some of the steps? You can also follow along below!
Step 1: Stiffen the burlap
Start by preparing your burlap. You can see my full method for cutting stiff burlap on the Maker here.
Mix tacky glue and water half and half in a disposable cup. Don’t forget to protect your work surface with parchment paper.
Then, lay 12 x 12 squares of burlap on the parchment paper. Then, use a pouncer brush to apply the glue and water mixture to one side of the burlap squares.
Allow the burlap to dry overnight.
Now that the burlap is stiff, it’s ready to use for your cutting projects. Using this method will ensure that the burlap will hold together when cutting intricate cuts like these snowflakes. I would not attempt this particular project without stiffening the burlap first.
Step 2: Cut the Snowflakes from the felt and burlap.
Working with your stiffened squares, cut your snowflakes from the felt and burlap.
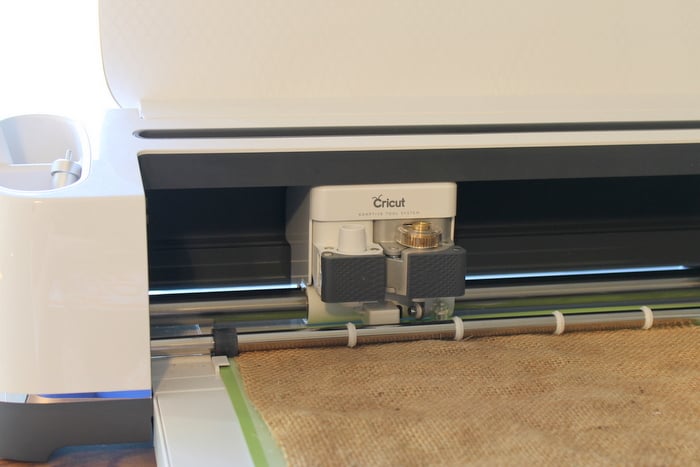
To cut from the felt, place your felt on the fabric mat and press down well. Change your blade to the rotary blade when prompted in design space. Then, cut the snowflakes from the felt.
Then, you need to cut the burlap. You will need two burlap pieces for every one felt piece.
Place strong grip transfer tape on the back of your stiffened burlap piece.
Place this transfer tape side down onto a Cricut mat. I find that either the medium or strong grip mat works best.
Then, cut your burlap snowflakes using your Cricut Maker and the rotary blade. Use the burlap or heavy fabric setting, but set the machine to less pressure.
If you are confused about cutting the burlap with this method, click here for more explanation.
You should now have one felt piece and two burlap pieces for every snowflake you want on your burlap garland.
TIP: This spatula works great for helping to remove the burlap pieces. Just work it between the burlap and the transfer tape. You will need to be extremely careful as the parts are still fragile even though they are stiffened.
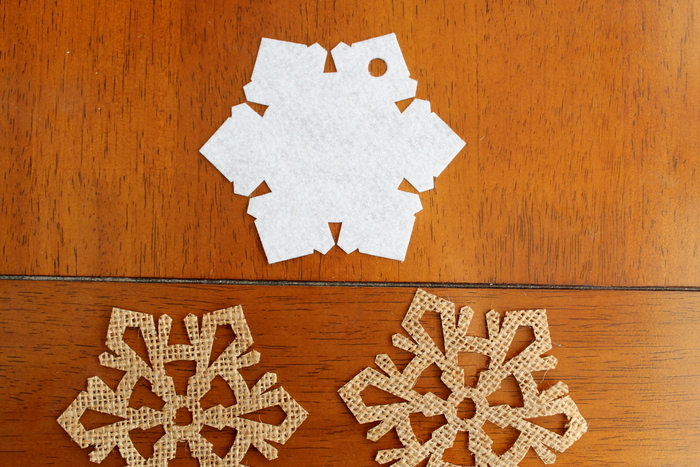
Then use tacky glue to add the burlap pieces to both sides of the felt pieces and allow them to dry completely.
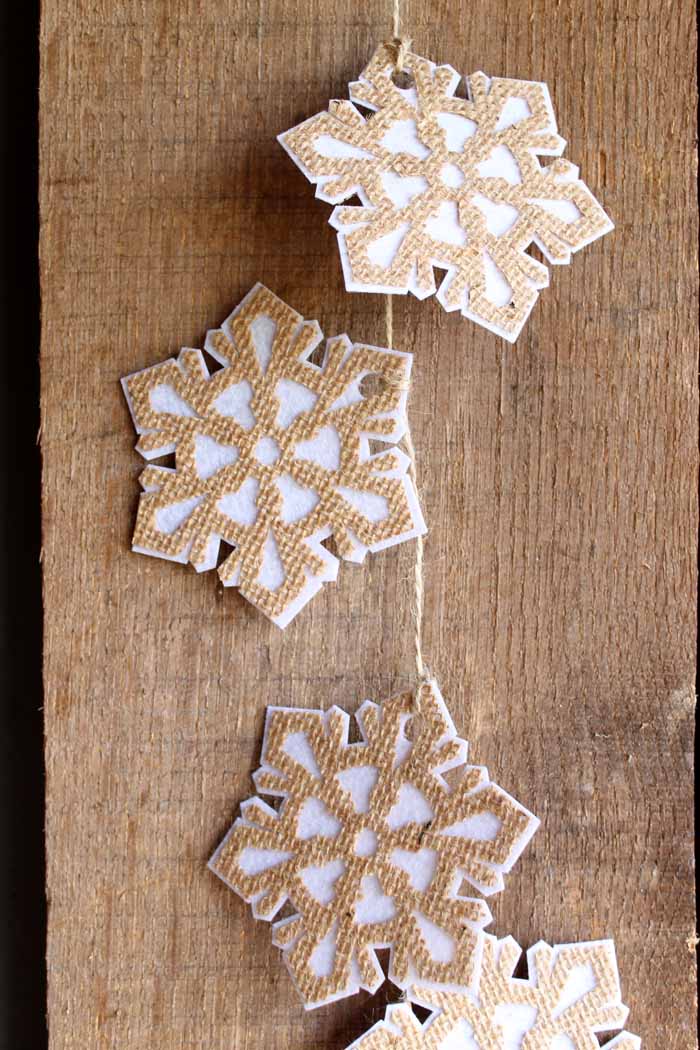
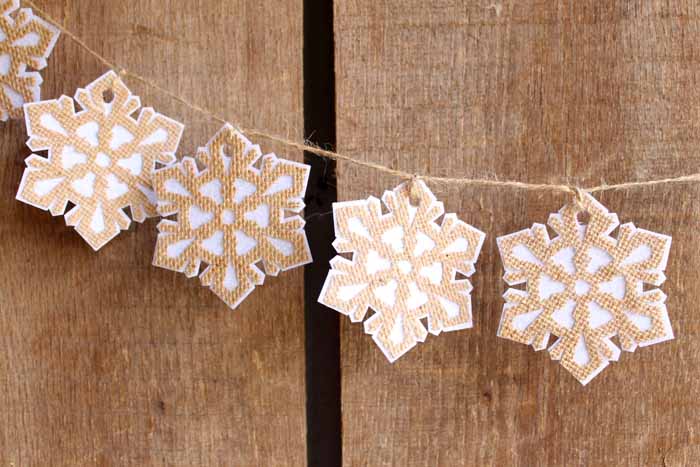
Now, string the snowflakes using twine to create a burlap garland for your home!
This project is perfect for displaying in your home all winter long. These cheerful snowflakes will light up any room.
Now I just had you use your Cricut fabric mat for cutting felt. Chances are you are left with a mat with tons of fuzzies on it! I get tons of questions on cleaning the Cricut fabric mat and thought I would take a moment to show you just how to care for it…without ruining it!
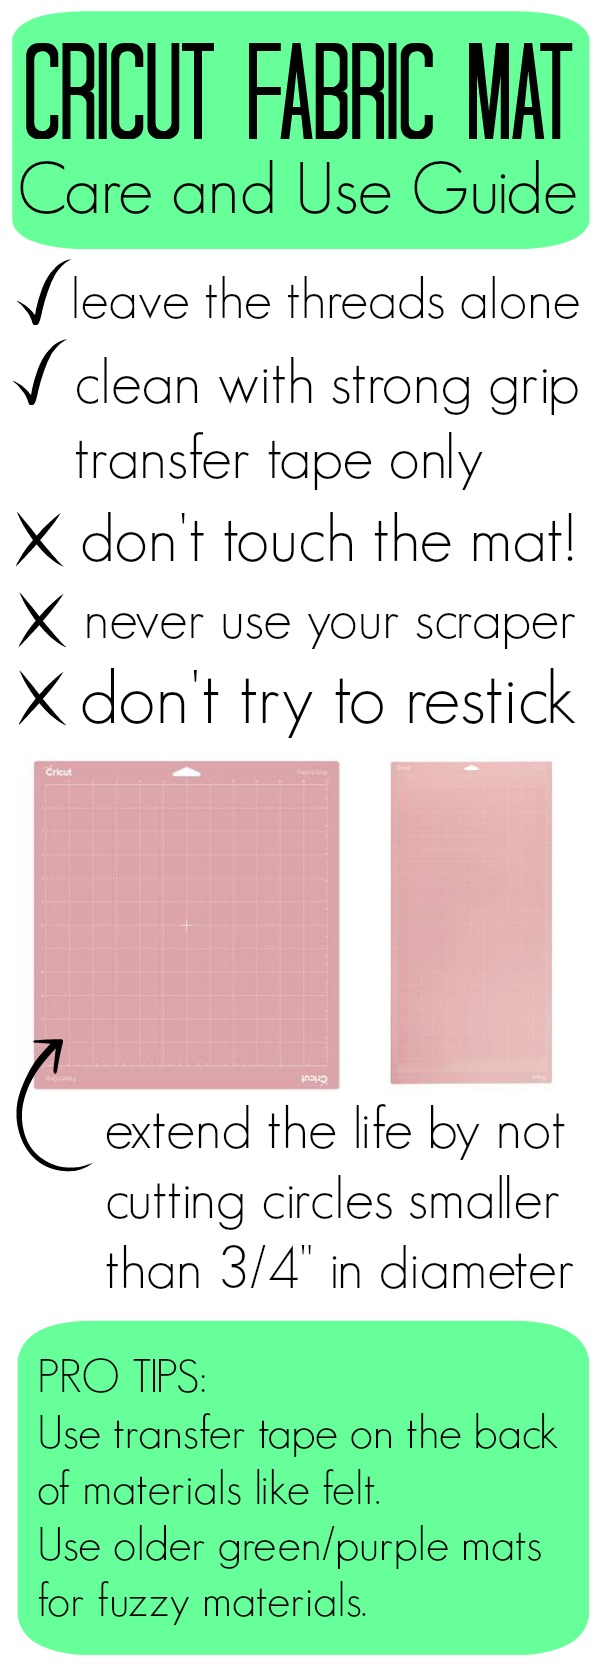
Caring for the Cricut Fabric Mat
- Leave the threads alone! The rotary blade is designed to cut through these as well as your project. I know you want to remove them but resist the urge.
- If you just have the remove some of them, the only good way is the use of strong grip transfer tape. Apply it to the entire mat sticky side down. Press down really well and remove slowly.
- Do not touch your mat! The oils in your fingers will break down the adhesive. Use tweezers to pick up the items from your mat.
- Do not use your scraper!! This is the worst thing you can do for your mat!
- Don’t try to restick. No matter what you read and googled it just simply will not work. The fabric mat is a special adhesive and there is no substitute.
- Want to extend the life of your mat? Don’t cut anything where the circle is less than 3/4 inch in diameter. And yes I broke this rule on this project. I was willing to sacrifice the mat, however.
- You can also try using transfer tape on the back of fuzzy materials like felt. We did something similar above for the burlap and it will work for other materials as well.
- You can also use older green or purple mats that have lost some of their sticky for fabric. They will work great and you get an extended life from the mat.
I hope that helps a bit! I even made you a handy guide below so you can pin this and never forget!
Now that you know everything there is to know about the fabric mat, use it to make this burlap garland and tons of other projects!
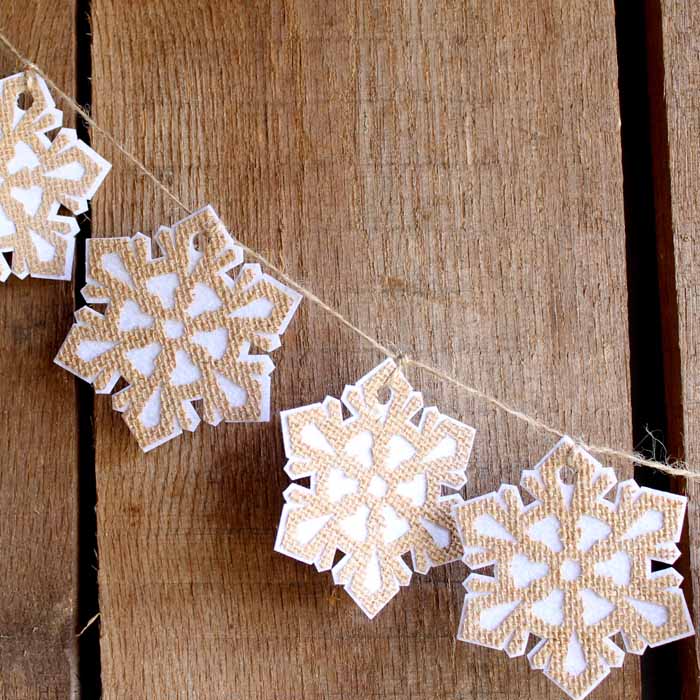
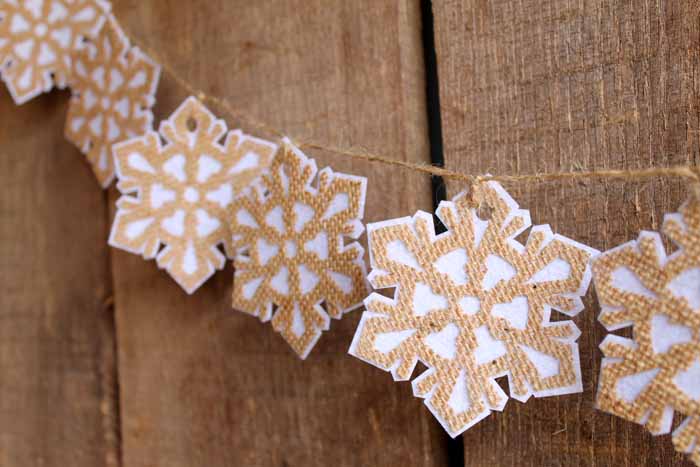
Just look at the intricate detail you can get with this method for cutting burlap on the Cricut Maker. This is one of my favorite things to cut with the Maker. I have never been able to do burlap projects like this before!

I will note that you can cut burlap on the Maker without stiffening it like I did above. You just have to use cut files that are not as intricate and also be really careful when removing your pieces from the mat.
So whether you want to make this burlap garland or another burlap project, the Cricut Maker has you covered!
Win a Cricut Maker!
Now are you ready to enter to win a Cricut Maker of your very own? Use it to make this burlap garland or any other Maker project! Enter to win using the widget below and good luck!
a Rafflecopter giveaway
This is a sponsored conversation written by me on behalf of Cricut. The opinions and text are all mine.

Supplies
- Cricut Cutting Machine
- Cricut felt you will need the carousel sampler
- Burlap
- Tacky glue
- Pouncer brush
- Parchment paper
- Strong Grip Transfer Tape
- Twine
- Cricut Spatula optional
- Snowflake cut file
Instructions
- Start by preparing your burlap. You can see my full method for cutting stiff burlap on the Maker here.
- Mix tacky glue and water half and half in a disposable cup. Don’t forget to protect your work surface with parchment paper.
- Then, lay 12 x 12 squares of burlap on the parchment paper. Then, use a pouncer brush to apply the glue and water mixture to one side of the burlap squares.
- Allow the burlap to dry overnight.
- Now that the burlap is stiff, it’s ready to use for your cutting projects. Using this method will ensure that the burlap will hold together when cutting intricate cuts like these snowflakes. I would not attempt this particular project without stiffening the burlap first.
- Working with your stiffened squares, cut your snowflakes from the felt and burlap.
- To cut from the felt, place your felt on the fabric mat and press down well. Change your blade to the rotary blade when prompted in design space. Then, cut the snowflakes from the felt.
- Then, you need to cut the burlap. You will need two burlap pieces for every one felt piece.
- Place strong grip transfer tape on the back of your stiffened burlap piece.
- Place this transfer tape side down onto a Cricut mat. I find that either the medium or strong grip mat works best.
- Then, cut your burlap snowflakes using your Cricut Maker and the rotary blade. Use the burlap or heavy fabric setting, but set the machine to less pressure.
- If you are confused about cutting the burlap with this method, click here for more explanation.
- You should now have one felt piece and two burlap pieces for every snowflake you want on your burlap garland.
- Then use tacky glue to add the burlap pieces to both sides of the felt pieces and allow them to dry completely.
- Now, string the snowflakes using twine to create a burlap garland for your home!
Notes
New to Cricut?

Sign up for our email list to download the Beginner's Guide to Cricut Design Space for FREE today!
Sign up to get the guide emailed to you!


So excited about your new Cricut Maker. Can’t wait for the highly anticipated deep cutting blade (like x-act) and its housing. When is the expected release on that? Please send information. Thanks
There is not a date yet unfortunately but I am waiting…not so patiently!!
I absolutely adore these!
STIFF burlap-I think that is what I was doing wrong! Thanks so much for the pointers on how to work with burlap on the Cricut!
So cute and just what I was looking for to complete my little woodland winter look I have going on. Thank you for the great tutorial.
Adorable garland!!
This looks great! I’m looking forward to getting a Cricut soon and learning all the fun things like this for it. 🙂 Merry Christmas! Liz