
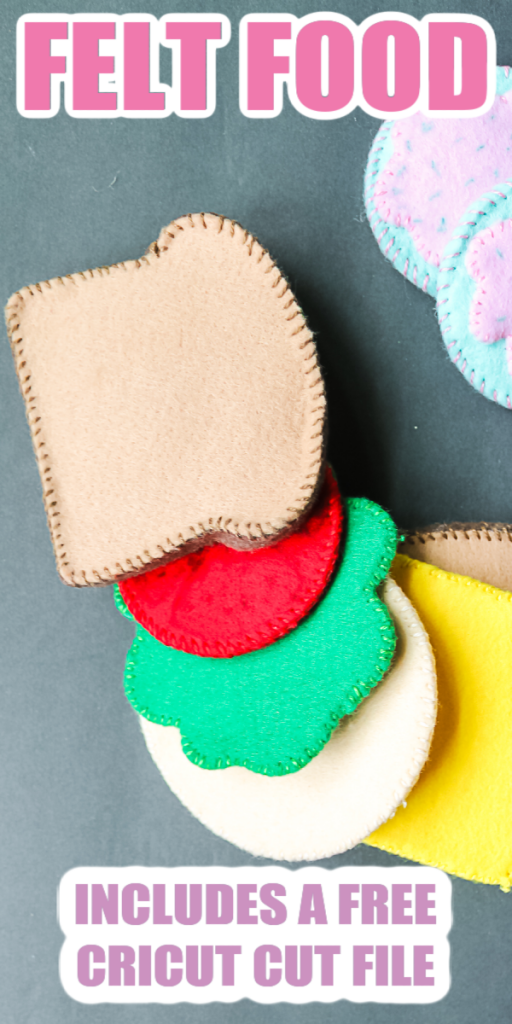
There is still time to make your own DIY felt play food for kids! This makes a great and inexpensive gift for the holidays. Get out your Cricut and get started on this fun gift idea. I have even included a free SVG below just for you. So, download the file and start cutting your own felt food. The kids will love playing with it and you will love giving a handmade gift from the heart.

DIY Felt Play Food
Making felt food is simple when you have a Cricut machine and our free SVG file below. Yep, a free pattern for making felt food with your Cricut! You can use this technique with your Cricut Explore or Cricut Maker machine. So, break out your Cricut and start creating!
Supplies needed to make your felt food:
- Felt (I used a high quality felt but NOT the stiff felt)
- Heat n Bond
- Cricut Machine (Explore or Maker will work)
- Cricut Deep Cut Blade
- Cricut Strong Grip Cutting Mat
- Embroidery Floss
- Sharpie Markers
- Needle
- Scissors
- Stuffing
- Free SVG cut file (see below for how to get this file)

Free Felt Food Pattern for a Cricut
You will want to get the free SVG file for uploading to your Cricut machine. To do this, sign up for the newsletter below and the file will be sent to your email. Just look for a sign-up box below with a picture of the file you want and add in your information. If you already get the newsletter, just add in your information again as you will not be signed up for anything further. Once you add your information, check your email for your file then upload it to Cricut Design Space.
Please note that this file is for personal use only. You can contact me for commercial use or if you have any issues with your files.
How to Make Felt Play Food
Now that you have your supplies it is time to make your felt food. You can actually watch me make some lettuce in the video below to see just how easy it is.
Can’t watch the video or missed some of the steps? You can also follow along below.
Cutting Felt with a Cricut
First, you will need to iron the heat and bond to the back of your felt according to the package directions. I find that this type of felt cuts best when it has a backing attached.
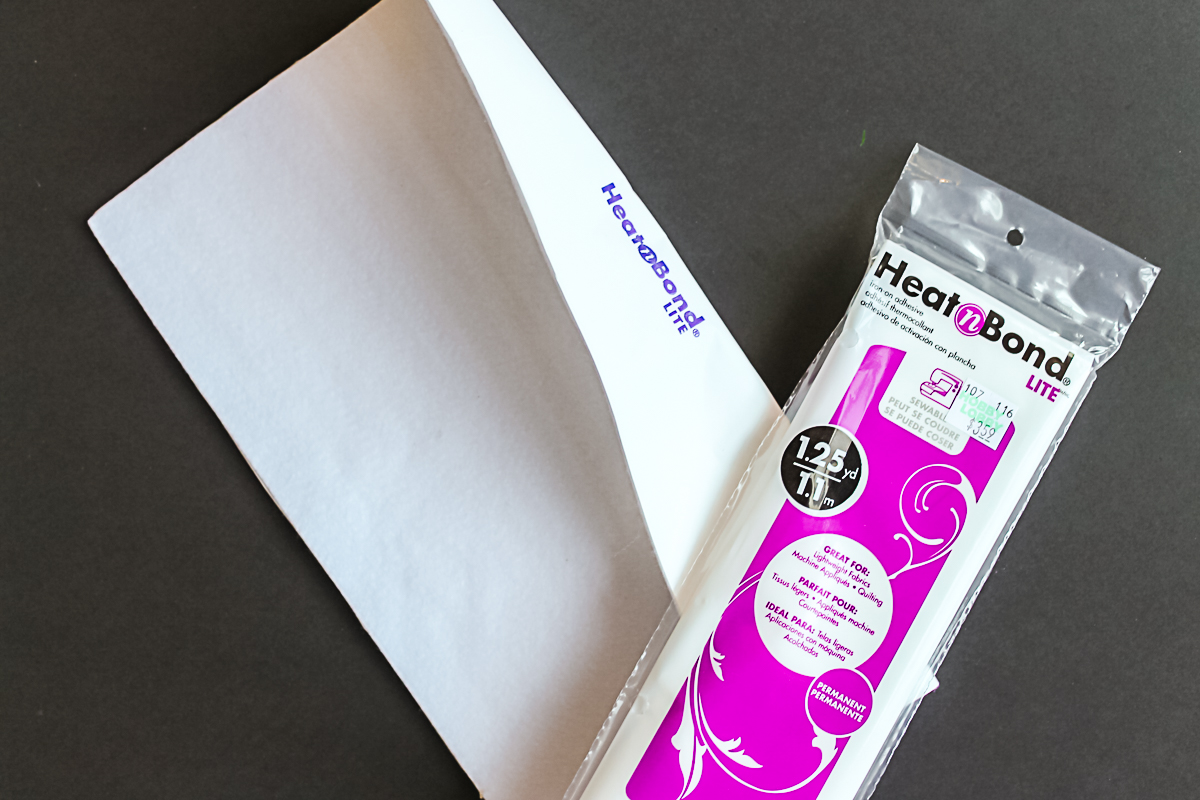
I found that after some trial and error, it was better to leave the white backing on the heat and bond when cutting then remove it after the pieces were complete. So just add the felt with the heat and bond to the strong grip mat. You can actually cut it both ways so feel free to try it for yourself.

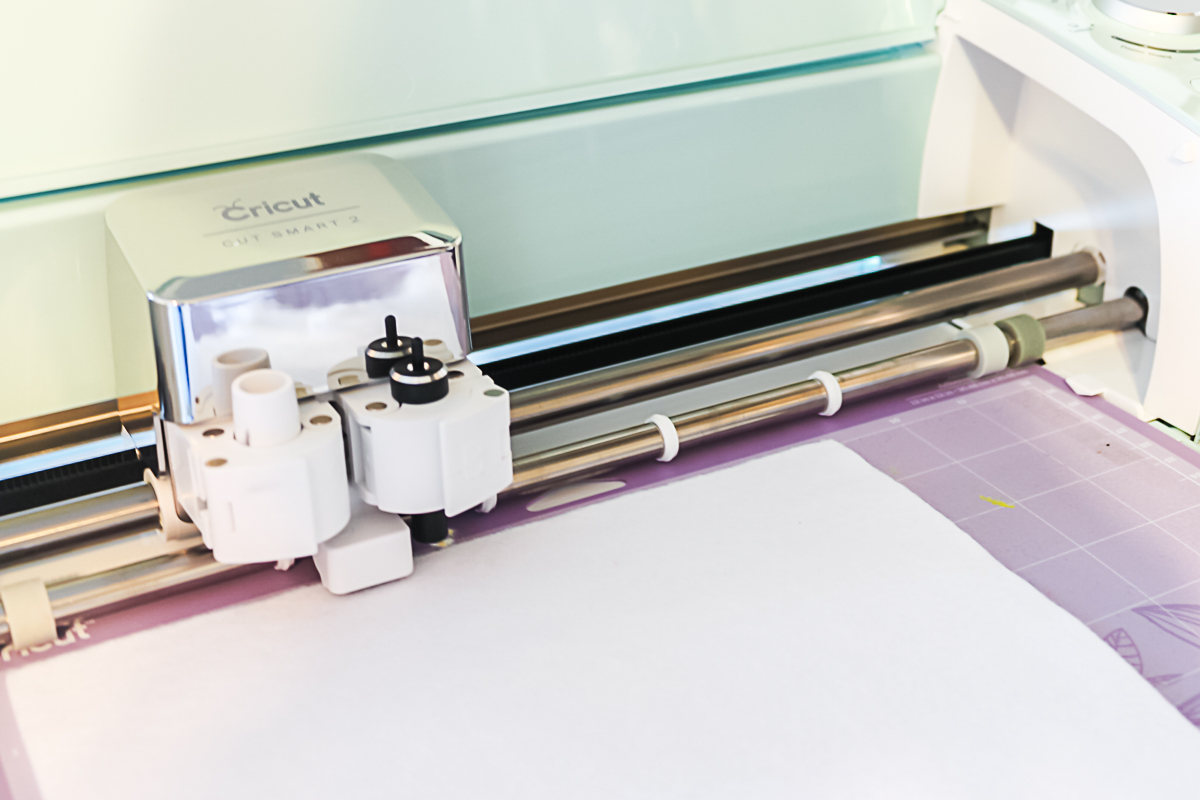
Then you will need to get the free SVG file from the newsletter sign-up above. Once you have that, upload it to Cricut Design Space. Please note that I have all of the food color-coded to different colors of felt. You can change up the colors if you would like. Be sure to set your machine to a custom material and pick felt with backing from the drop-down menu. You will want to add the deep-cut blade to your Cricut machine.
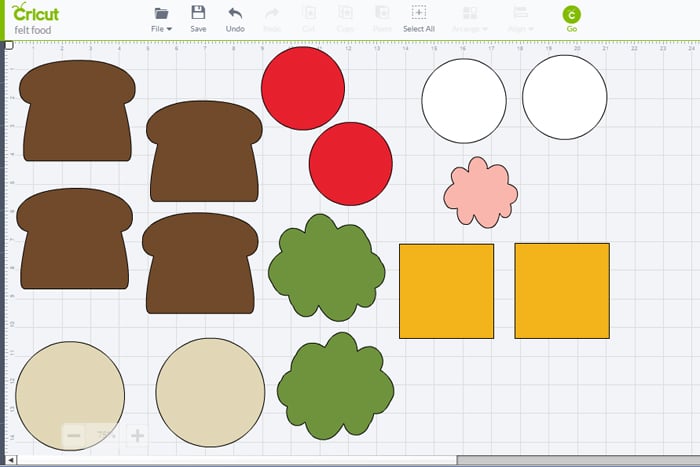
Cut each color with your Cricut to get all of your shapes.
After each cut, remove the excess felt.

Then remove the shapes. You can now peel off the paper liner from the back of the felt.
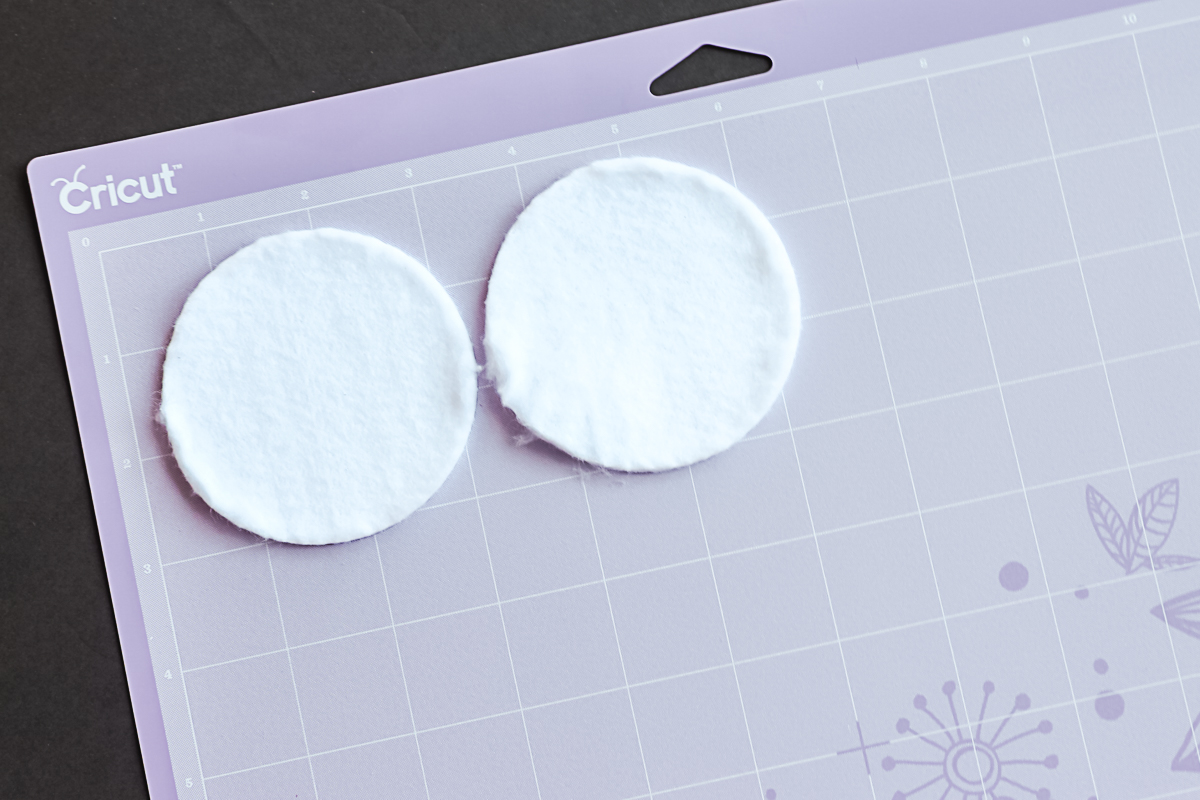
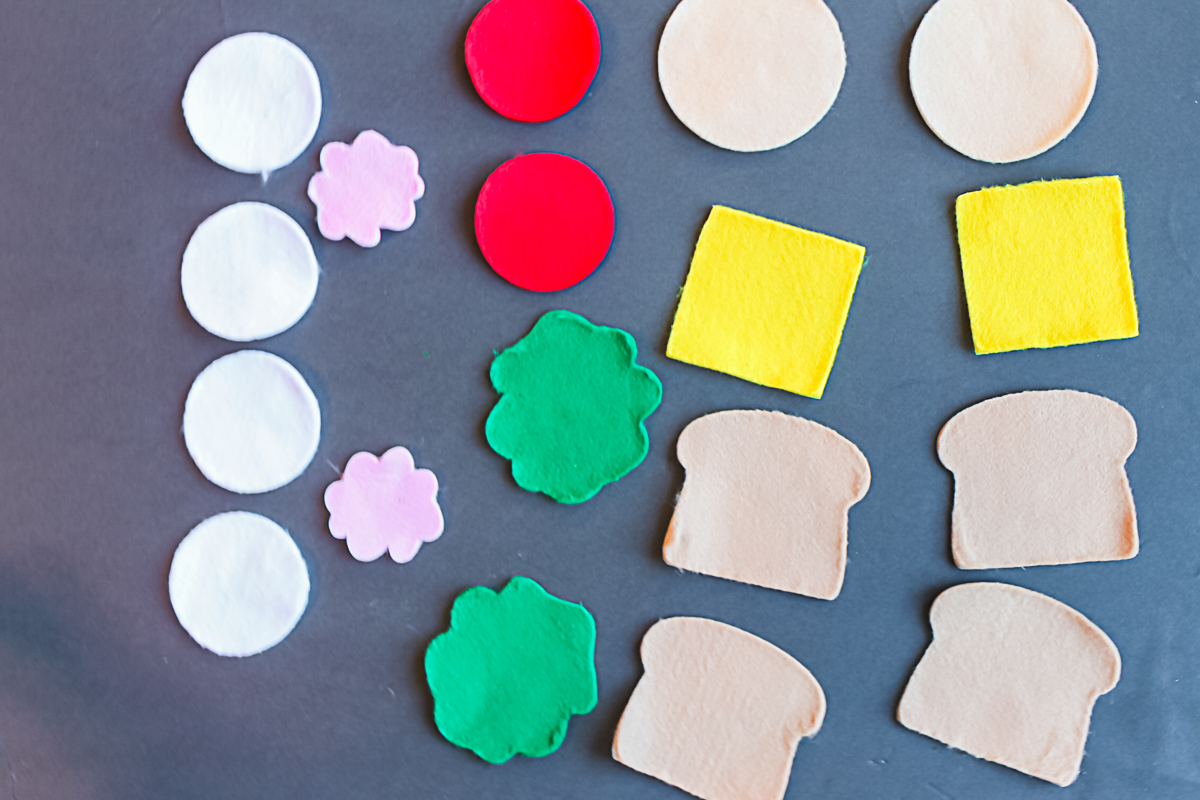
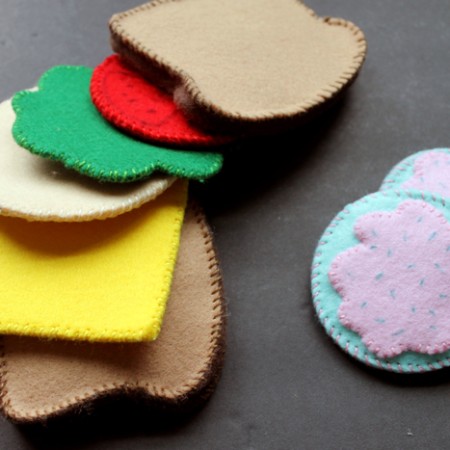
You will be left with a ton of shapes to start making your own felt food. NOTE: Sometimes I had to trim some on the edges with scissors.
Assembling the DIY Felt Food
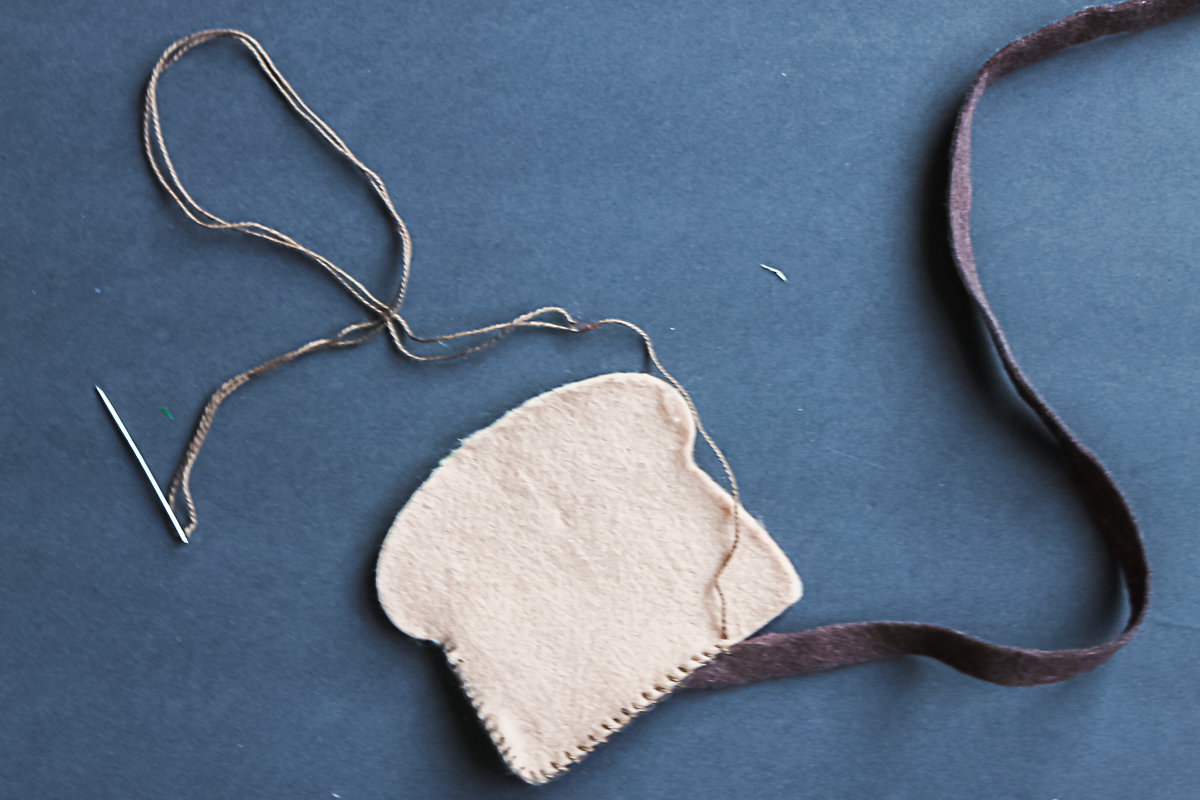
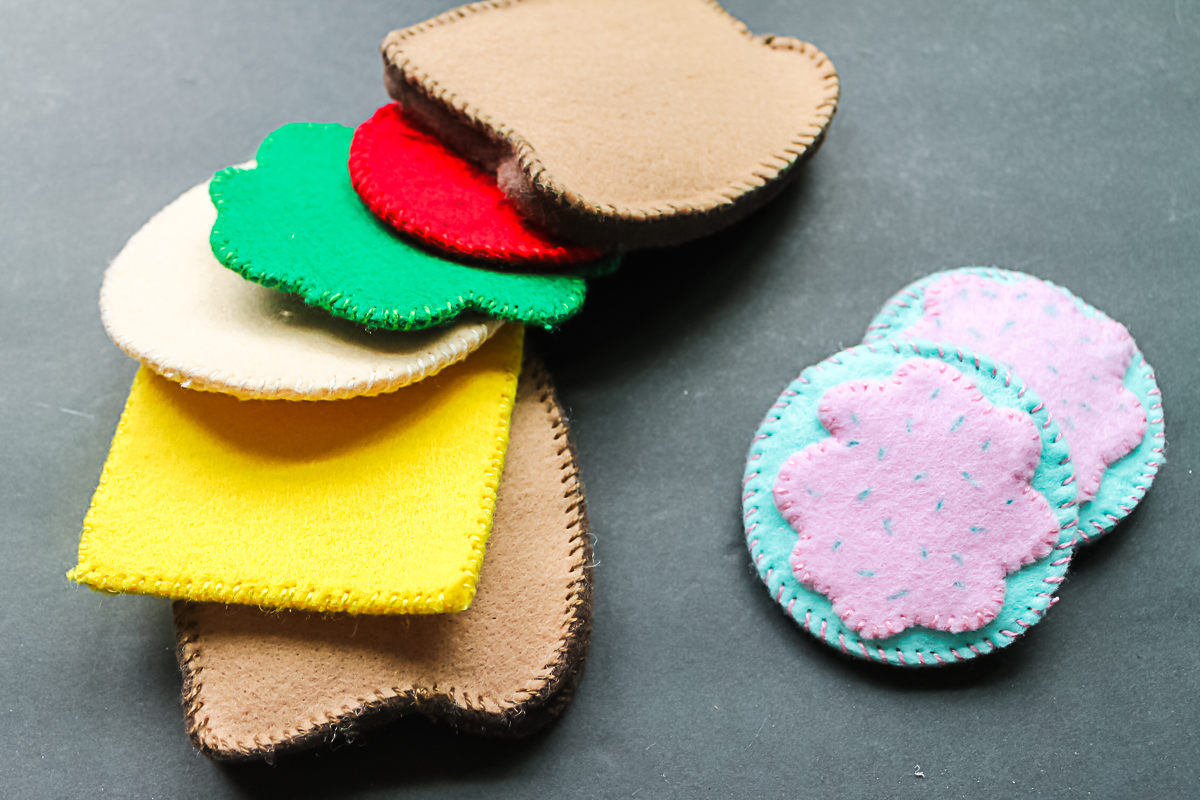
I actually hand-stitched the food with embroidery floss. I tried machine stitching at first and it just did not work for me. I am going to start with the bread. I used a long skinny piece of felt in addition to my bread pieces. I stitched the darker piece around the edges first.
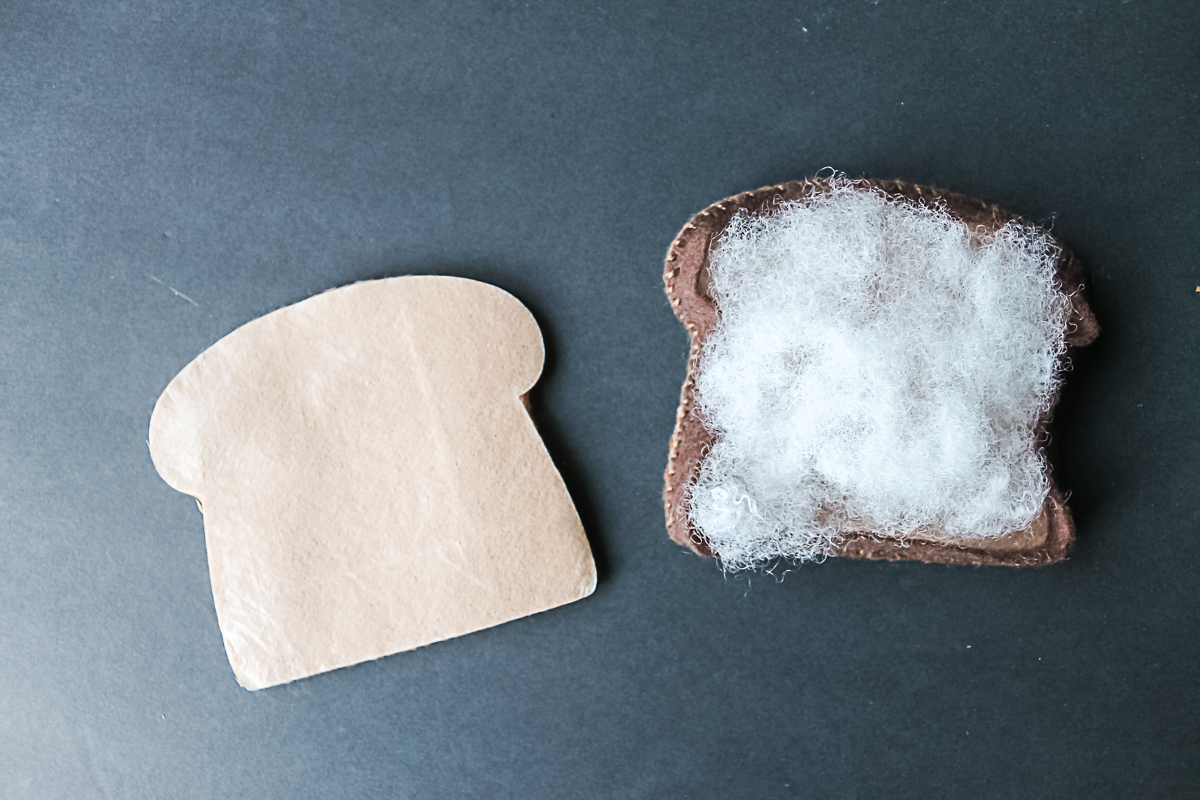
I then added in a bit of stuffing and stitched on the top bread piece in the same manner.
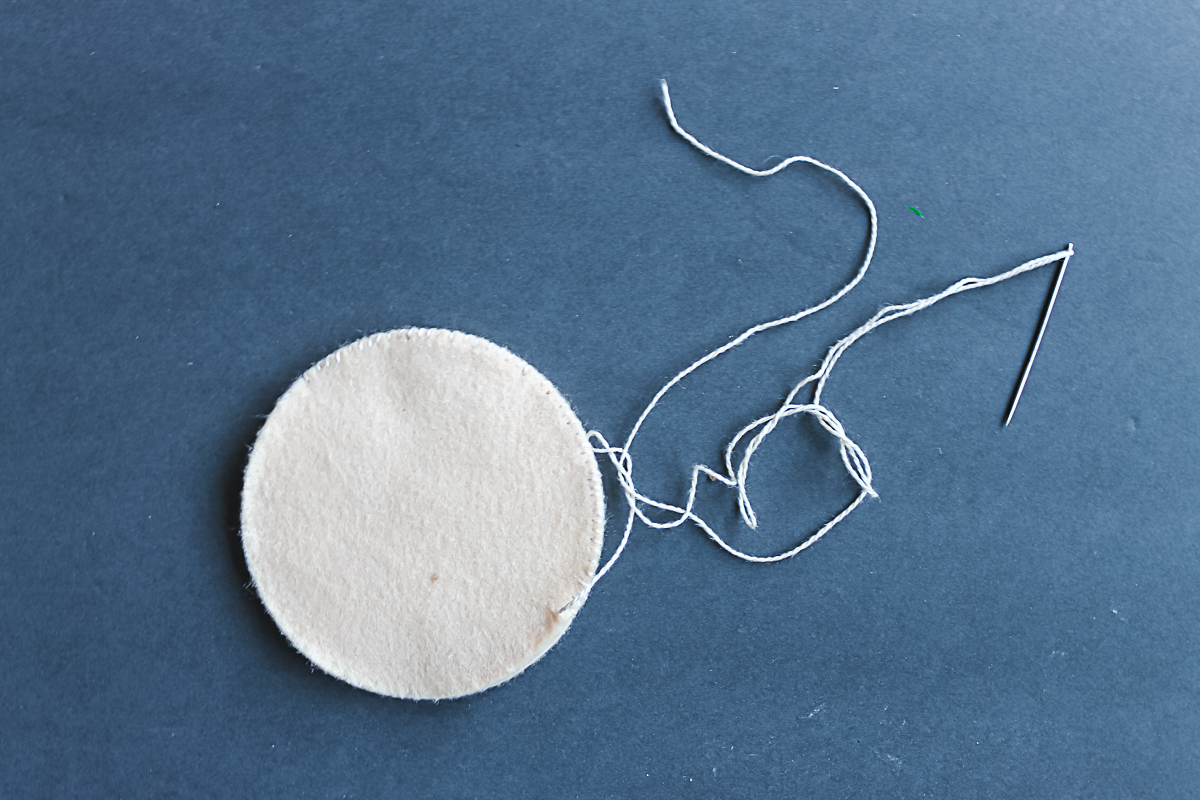
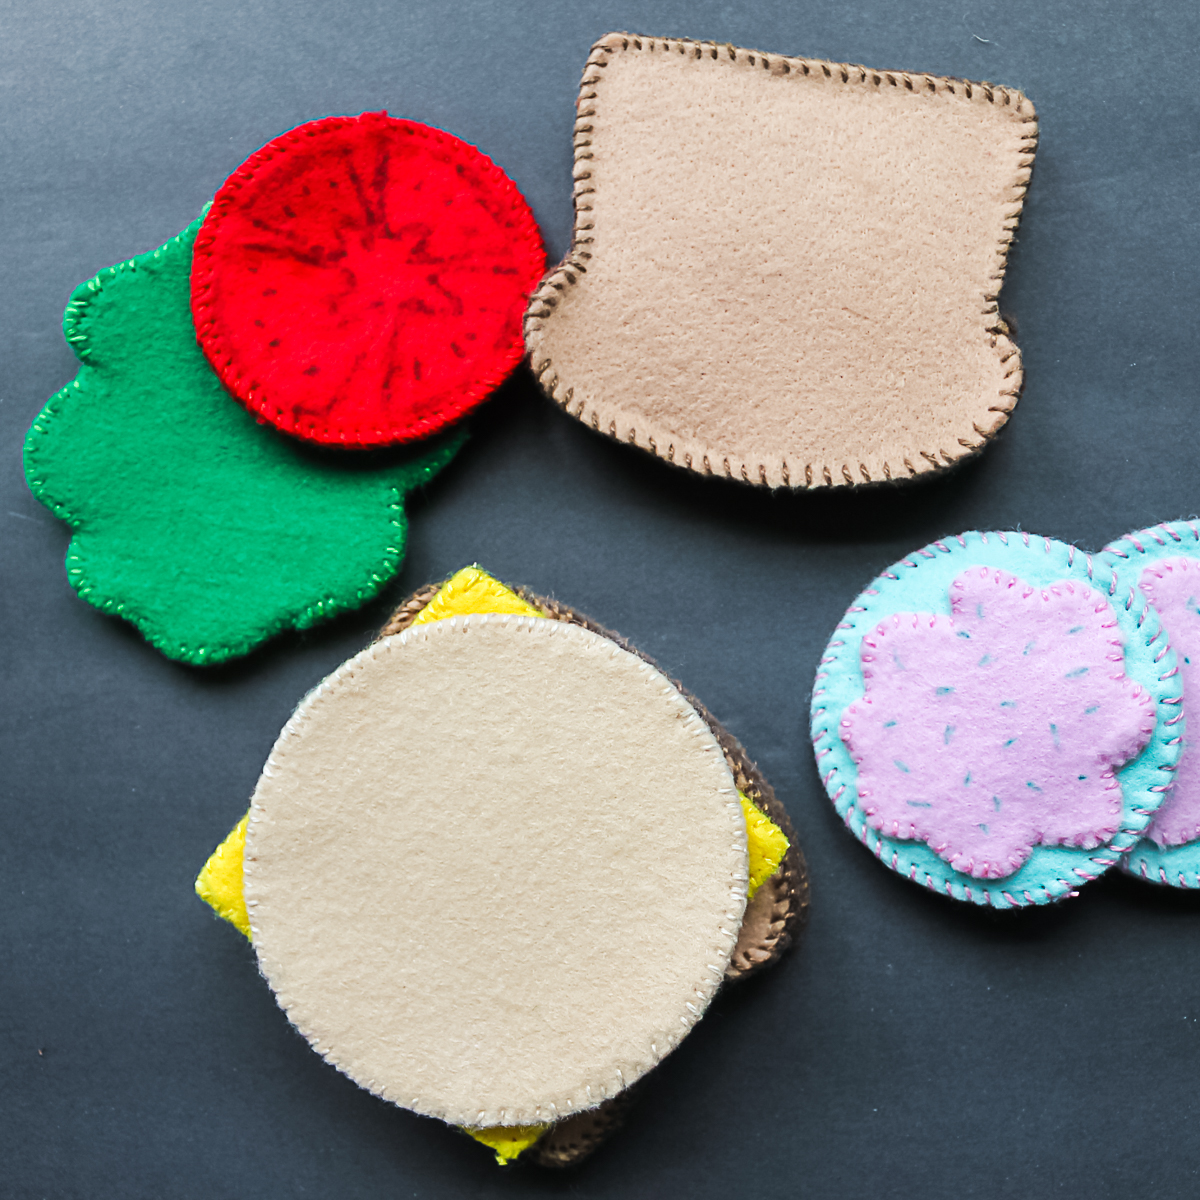
The bologna, cheese, and lettuce just get the two halves stitched together around the edges with no stuffing.
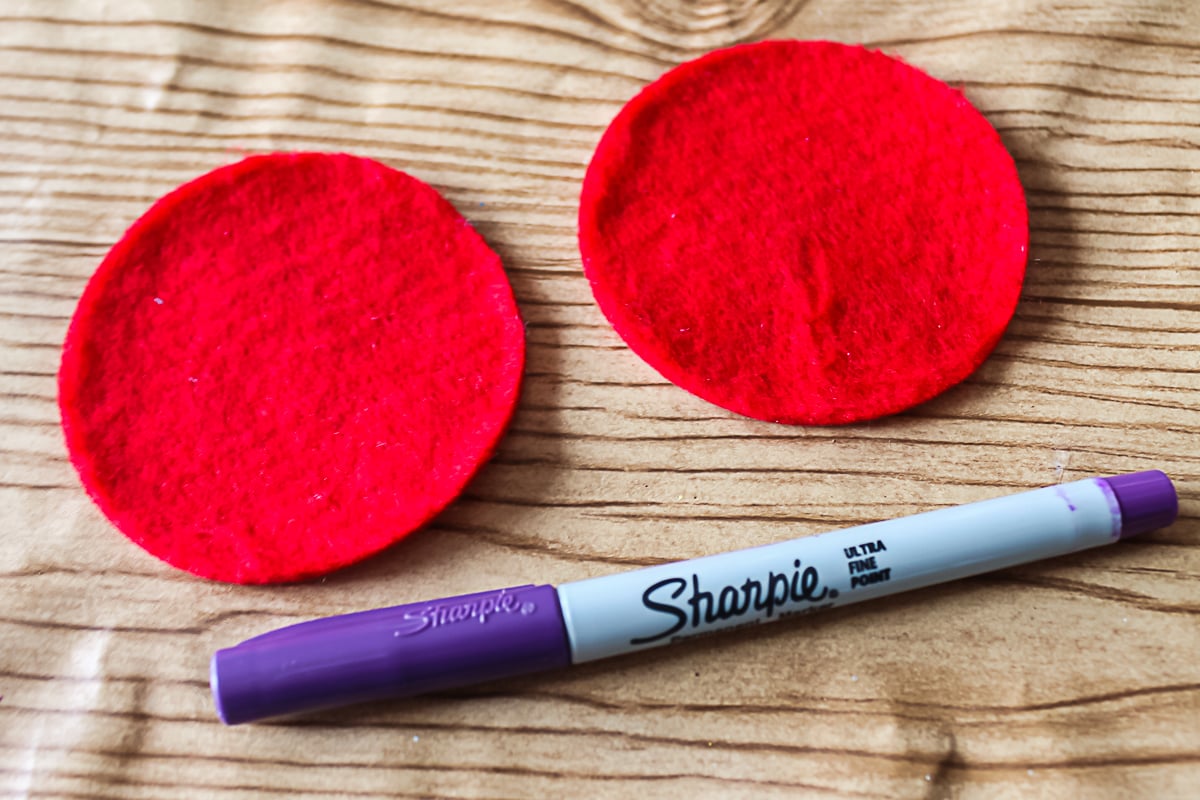
You will want some seeds on your tomato first so add those with a permanent marker. Then stitch the two halves together with no stuffing.
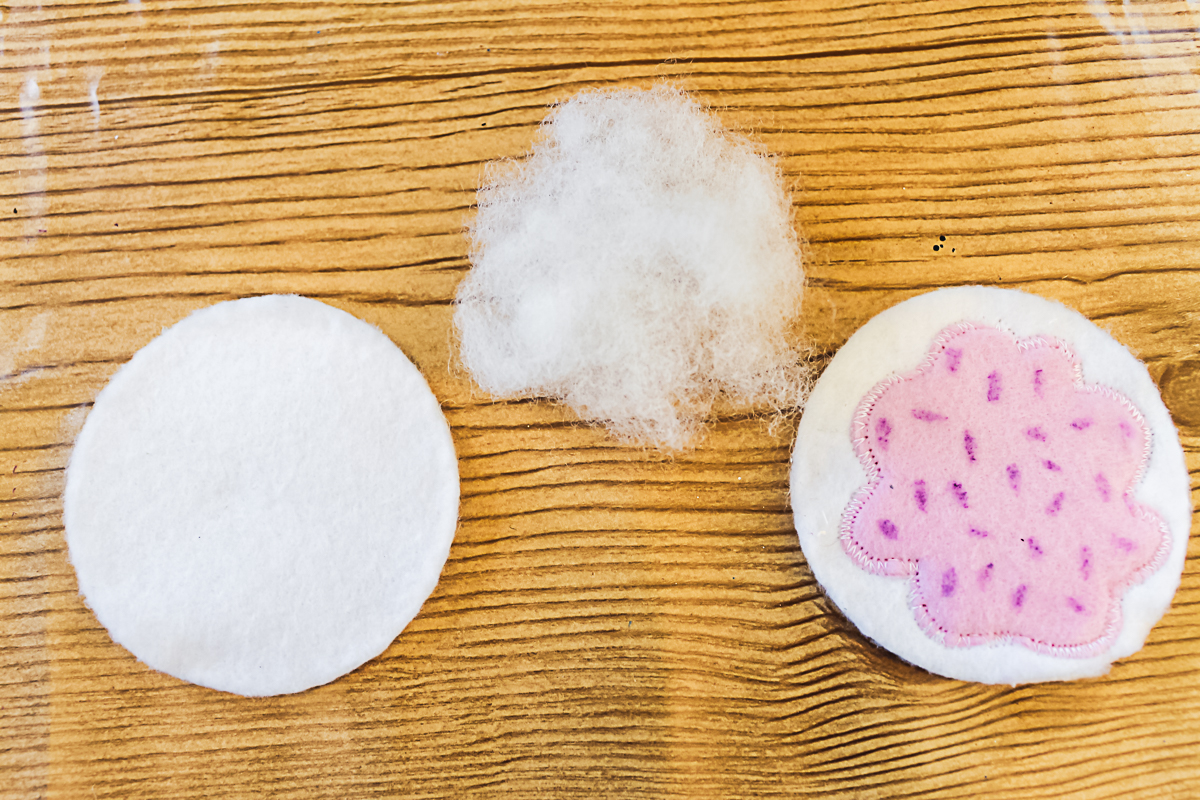
I also made some cookies. Just use a permanent marker on the icing to create sprinkles. Then stitch the icing to the top of the cookie. Add in just a little bit of stuffing before adding the other cookie half.
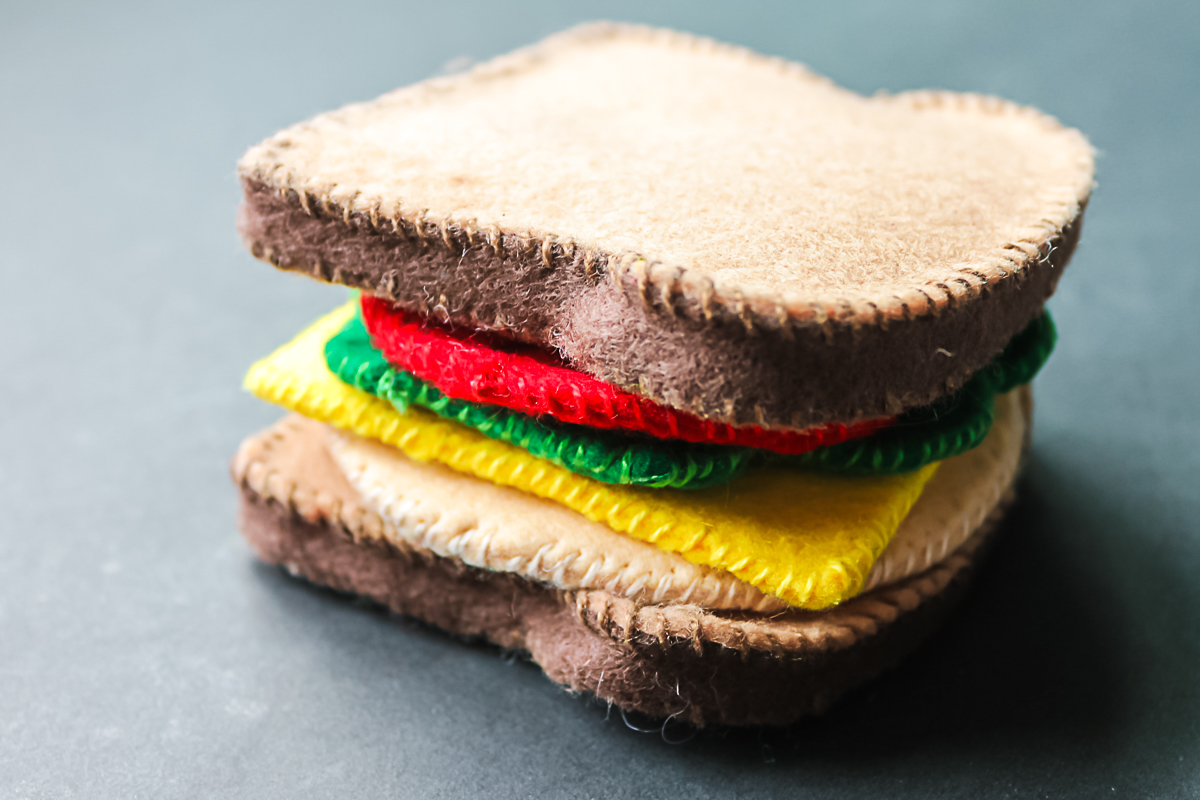
You now have made felt food for a fun gift for any child in your family!
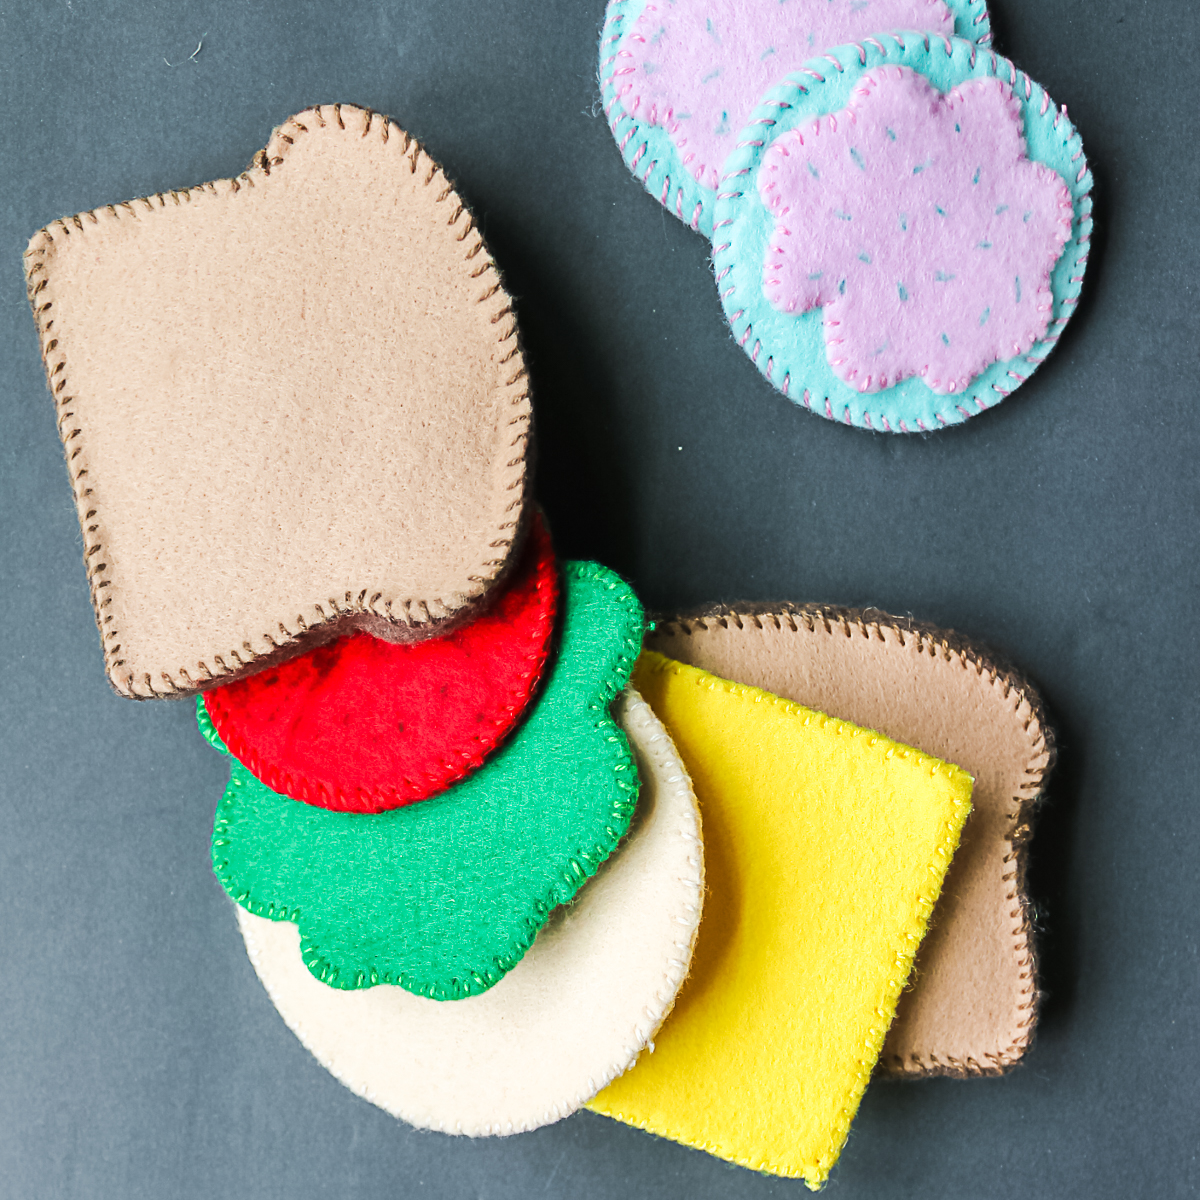
This play food is great for toddlers and babies and it is so easy to make with your Cricut. I love giving handmade at the holidays and it is all the better when it is an easy project like this one.
Stack up a felt sandwich with your child this Christmas!
It is easy to make DIY felt play food when you have a Cricut machine. So, download the free felt food patterns above and upload them to your machine. Then just cut your pieces and assemble this cute toy.
Toddlers will love this cute handmade gift and you will love giving a gift from the heart. So, be sure to make some DIY felt play food this year. You will be so glad you did!
Love this and want more Cricut craft ideas? Try the links below!
Print out all the steps to make easy felt food using the tutorial card below!
Equipment
- Cricut Explore Air 2
- Cricut Deep Cut Blade
- Cricut Strong Grip Cutting Mat
Supplies
- Felt I used a high quality felt but NOT the stiff felt
- Heat n Bond
- Embroidery Floss
- Sharpie Markers
- Needle
- Scissors
- Stuffing
Instructions
- You will need to iron the heat and bond to the back of your felt according to the package directions. I found that after some trial and error, it was better to leave the white backing on the heat and bond when cutting then remove it after the pieces were complete. So just add the felt with the heat and bond to the strong grip mat.
- Load Cricut Design Space onto your computer. Be sure to set your machine to a custom material and pick felt with backing from the drop down menu. You will want to add the deep cut blade to your Cricut machine.
- Cut each color with your Cricut to get all of your shapes.
- After each cut, remove the excess felt.
- Then remove the shapes. You can now peel off the paper liner from the back of the felt.
- You will be left with a ton of shapes to start making your own felt food. NOTE: Sometimes I had to trim some on the edges with scissors.
- I actually hand stitched the food with embroidery floss. I tried machine stitching at first and it just did not work for me. I am going to start with the bread. I used a long skinny piece of felt in addition to my bread pieces. I stitched the darker piece around the edges first.
- I then added in a bit of stuffing and stitched on the top bread piece.
- The bologna, cheese, and lettuce just gets the two halves stitched together around the edges with no stuffing. You will want some seeds on your tomato first so add those with a permanent marker. Then stitch the two halves together with no stuffing.
- I also made some cookies. Just use permanent marker on the icing to create sprinkles. Then stitch the icing to the top of the cookie. Add in just a little bit of stuffing before adding the other cookie half. You now have made felt food for a fun gift for any child in your family!


What is the purpose of the heat n bond if you are simply stitching two pieces together? Is it just to keep the felt on the cutting mat?
Thanks!
Yes ma’am. It will not cut well without it.
How cute! Thanks for sharing!
How did you design this in the cricut design space? or did you upload the file from somewhere? I’ve been desperately trying to figure out how to upload some of my old felt projects into svg files so I don’t have to hand cut my projects now that I have a Cricut. Any suggestions would be helpful. Thanks
What format are the files in now Trisha? If they are SVG, JPG, or PNG, you can see how to upload those here: https://www.youtube.com/watch?v=_CW24c_rbv8&list=PLGrS9NYoVb5mh3DAVXwonXcSyoMwiLZom&index=14
Where do I get the file for the flowers and leaves. also for the play food?
You can find the file for the felt play food here: http://shrsl.com/?fkp3
Not sure which flowers and leaves you wanted?
i cannot seem to get this to open in design space. what am i doing wrong!? could you email it to me by any chance!? :):):)
I really would love to get your svg patterns but when I try the link to CDS it doesn’t open on my computer or my phone. Is there somewhere else I can get it? I love it!!
Ugh! Let me try to find it. These older projects are giving me a fit!
Thank you so much!