
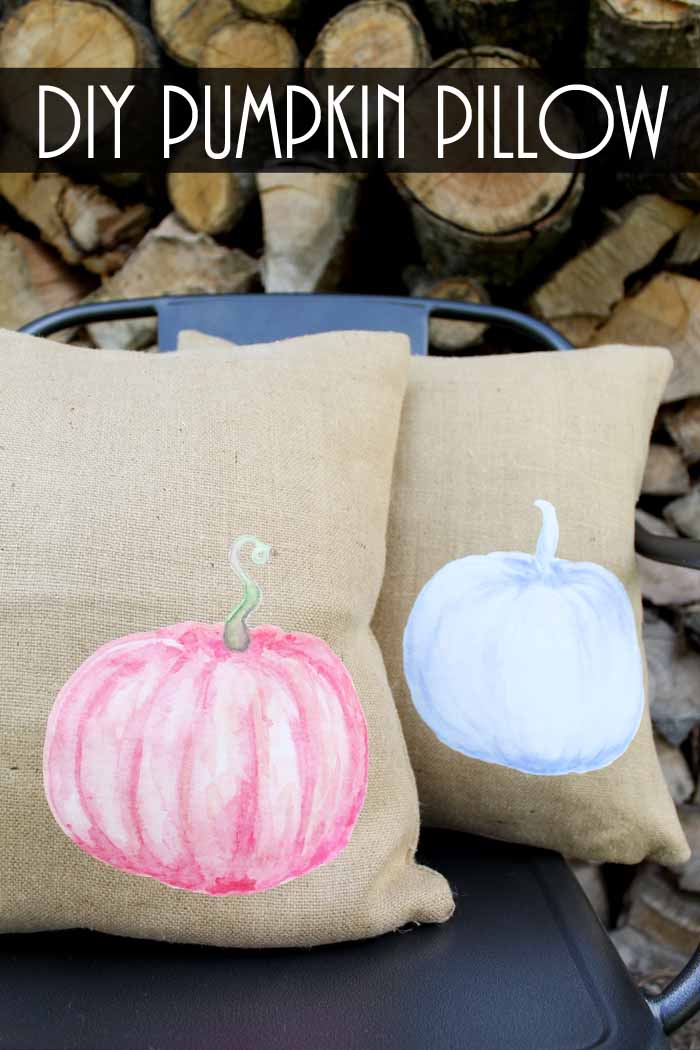
I am kicking off Craft Lightning this morning with a tutorial on how to make a pumpkin pillow in just minutes. This quick and easy project will blow you away and look amazing in your farmhouse style home. Who says that Halloween decor has to be childish? You can add these for a touch of fall and they will look amazing. Y’all will also want to scroll to the bottom of this post where I am giving away the all new Cricut Maker plus I have more 15 minute craft ideas from my blog partners for this series. You don’t want to miss a minute of Craft Lightning!
Supplies needed to make a pumpkin pillow:
Also, some products may have been given to me free of charge, however, all projects and opinions are my own. The giveaway is sponsored by Cricut and they will handle all shipments.
- Cricut Cutting Machine (Want to see the difference between the machines? I compared the Cricut Maker and Explore here.)
- Burlap pillow cover
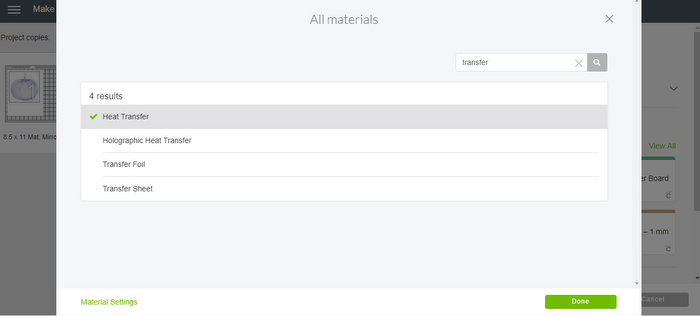
- Printable heat transfer (I really like these from Nufun)
- Parchment paper (if required for your brand of transfer)
- Iron
- Printer and ink
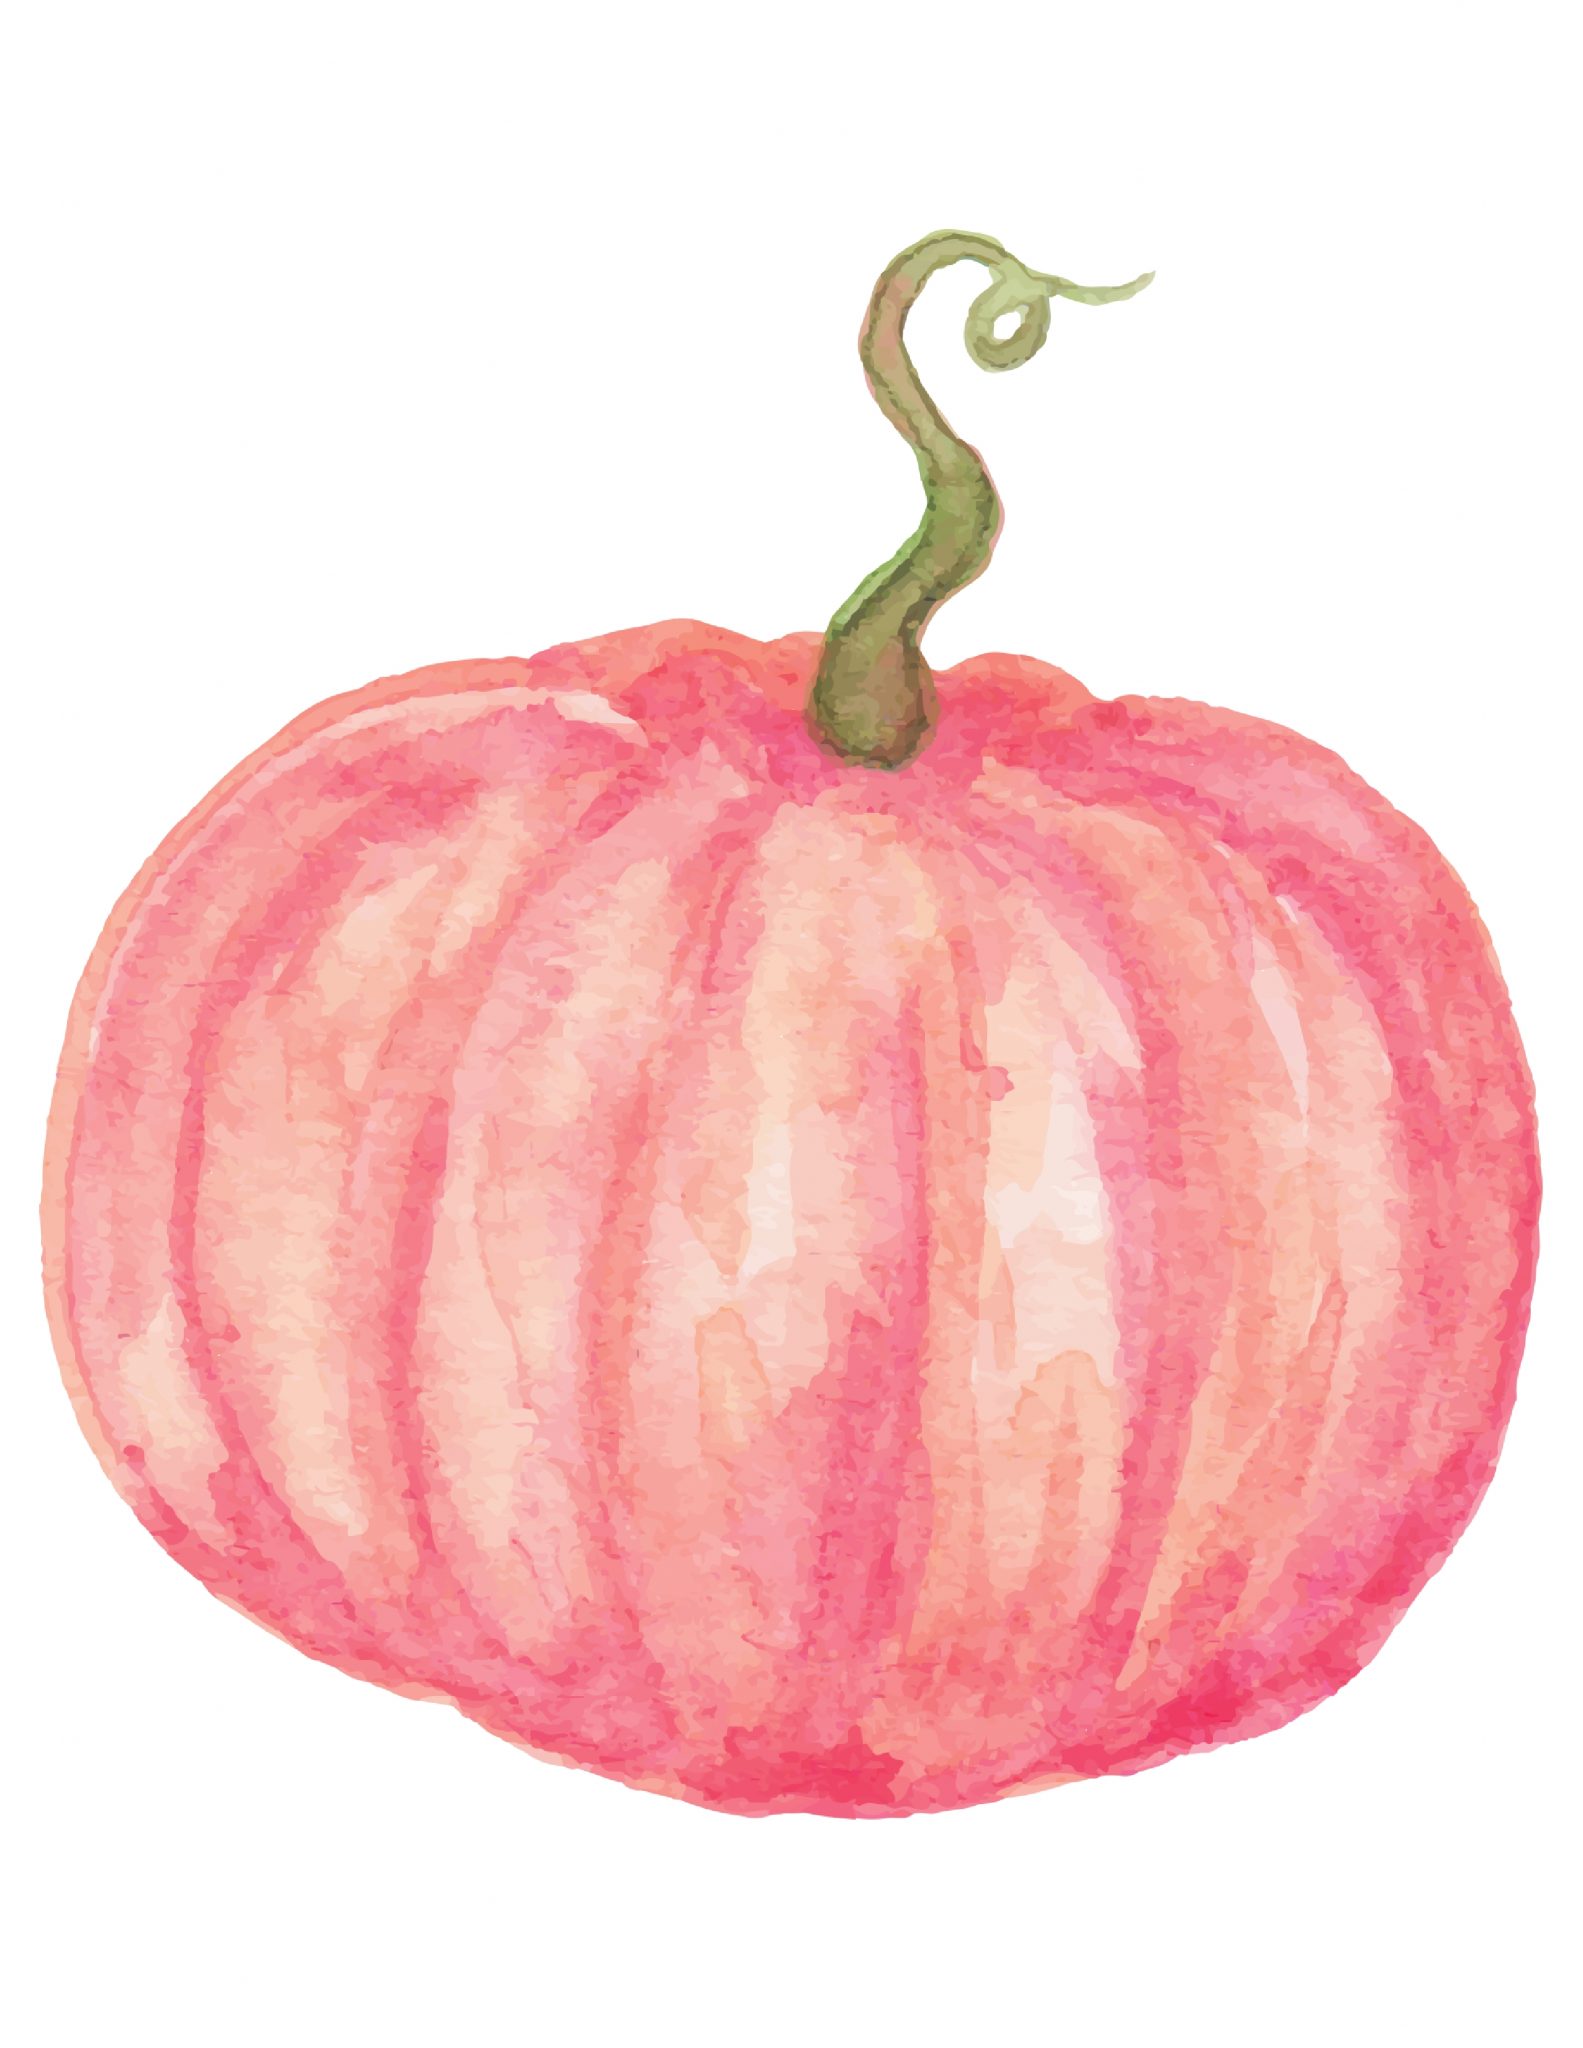
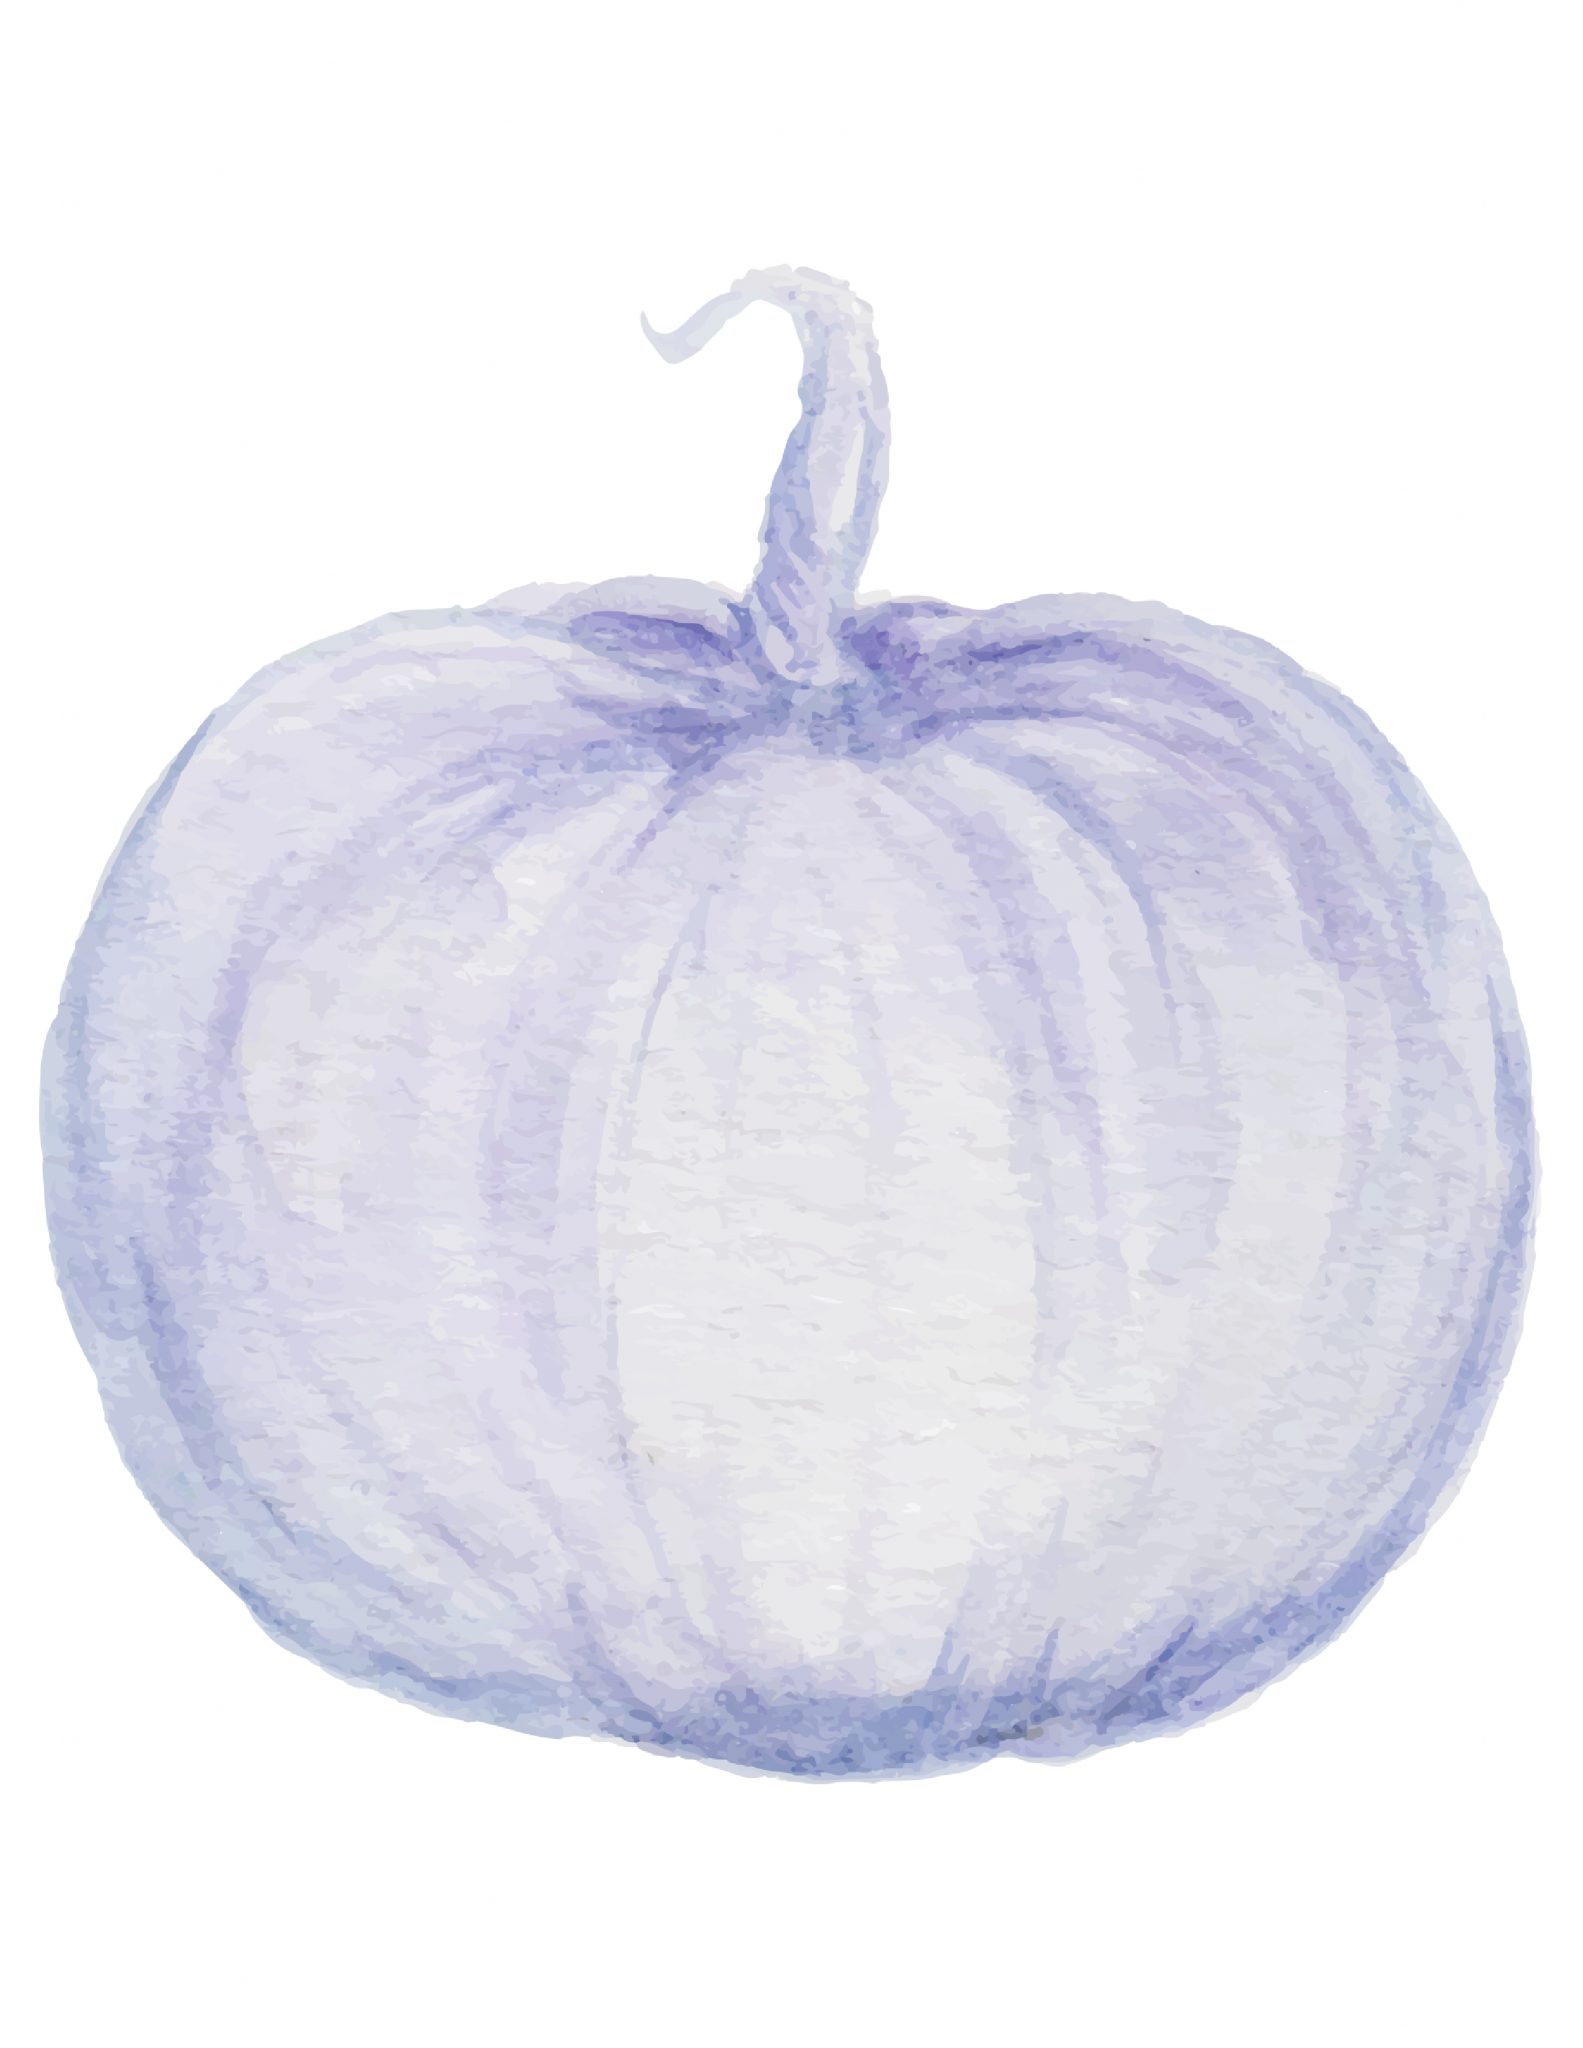
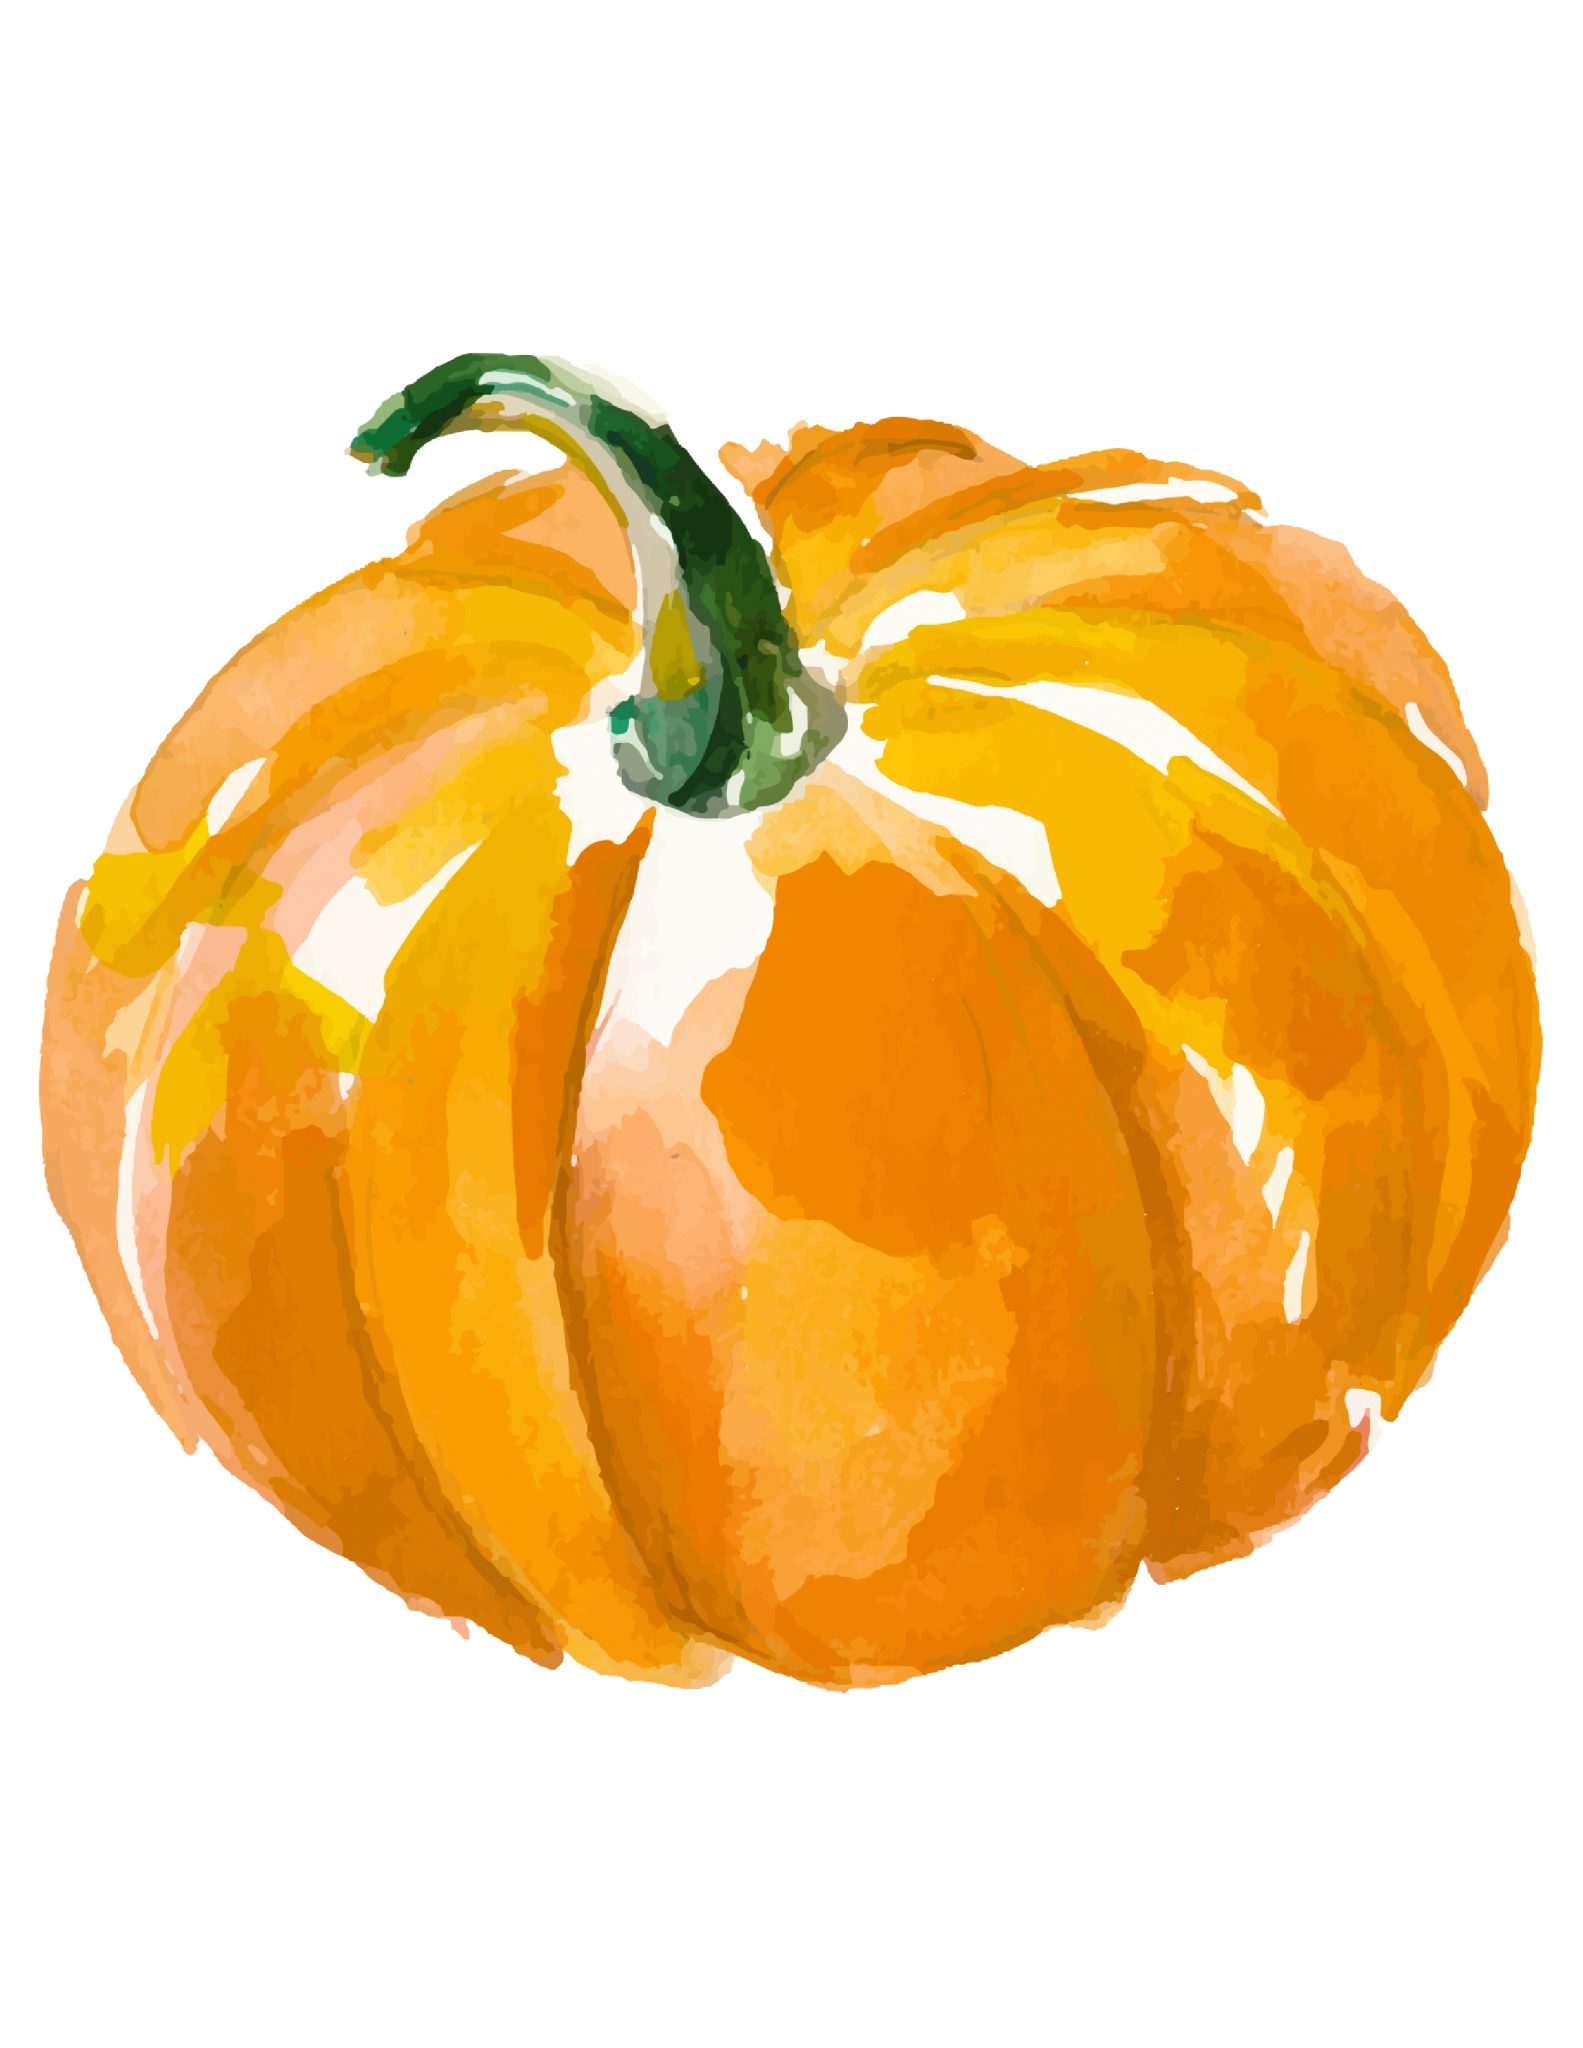
- Pumpkin file of your choice (download the pink, blue, and orange)

How to Resize & Print the Pumpkin Graphic
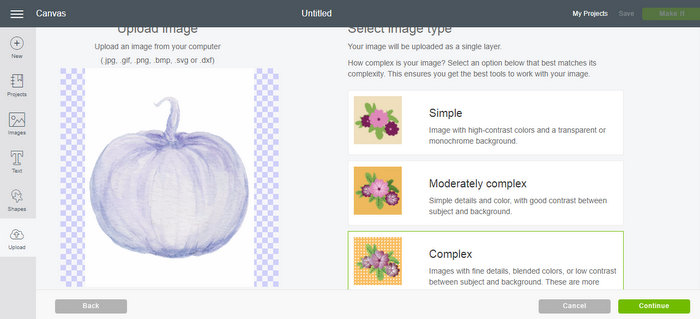
Download the pumpkin files that you would like to use to your computer as a jpg file. Use the upload button in design space to import. For the blue pumpkin especially, be sure to choose the complex image type. The other two imported fine with the moderately complex setting.
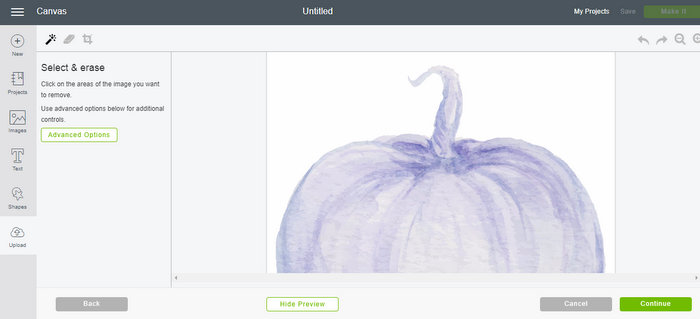
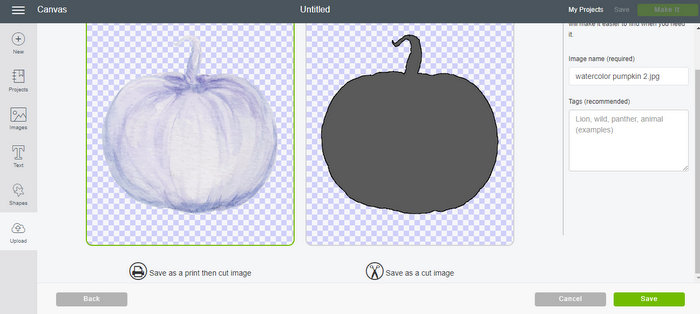
Now you can select and erase any area that you do not want. This definitely includes the background but also say the inside of a curly pumpkin stem.
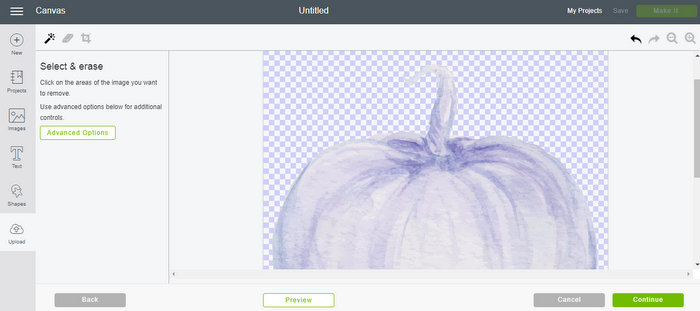
Once selected those unwanted areas will turn into blue checks as shown below. You want to make sure that the entire pumpkin looks complete.
Once you click continue, you will be given two options for saving the file. One for a print then cut and one for only a cut. We are going to need that print then cut option.
You will now see it on your recently uploaded images area. You can then pick it from here to add it to your canvas.

Once you add to the canvas, you can see that it is a print then cut by the layers menu on the right hand side.
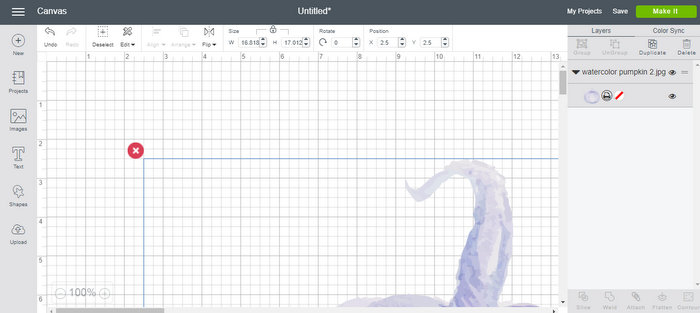
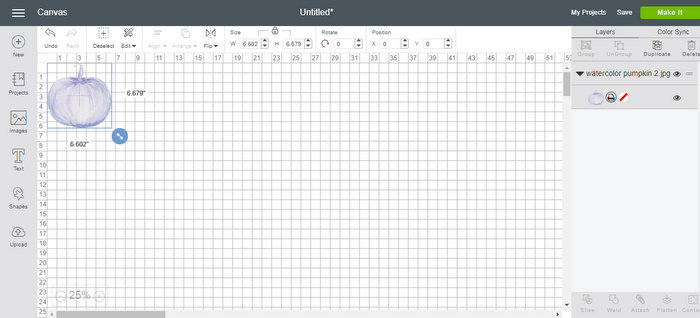
Resize to whatever size that you need for your pumpkin pillow. You will need to remember the size of your heat transfer. The Cricut will also print a border around the image in order to see it on the machine. It will prompt you however if the image is too large to fit with the border.
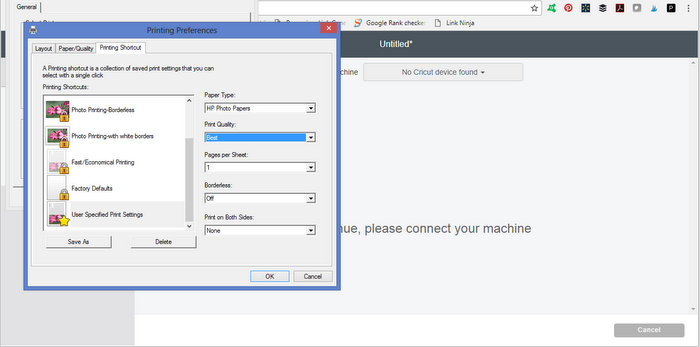
Click make it and the software will prompt you to print then cut your file. Make sure that the material size is correct for your brand of heat transfer. Also, my brand does not require that you mirror the image. If yours does, be sure to pick the mirror option at this point.
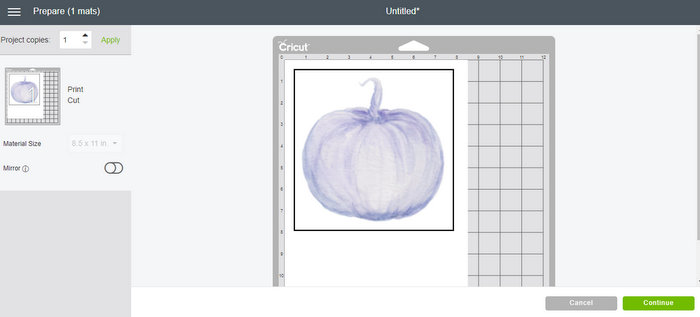
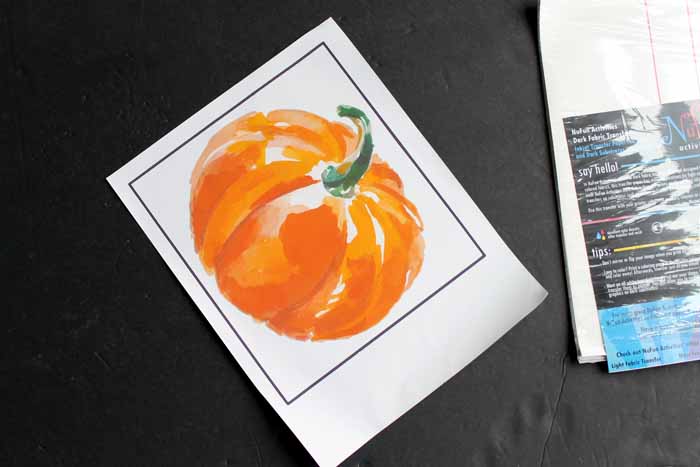
First the software will allow you to print your image. Be sure to use best quality printing no matter what brand of printer you are using.
You will then have a paper that looks something like the below. It will print your image along with a black box all the way around.
Time to Use Your Cricut to Cut Your Pumpkin Graphic
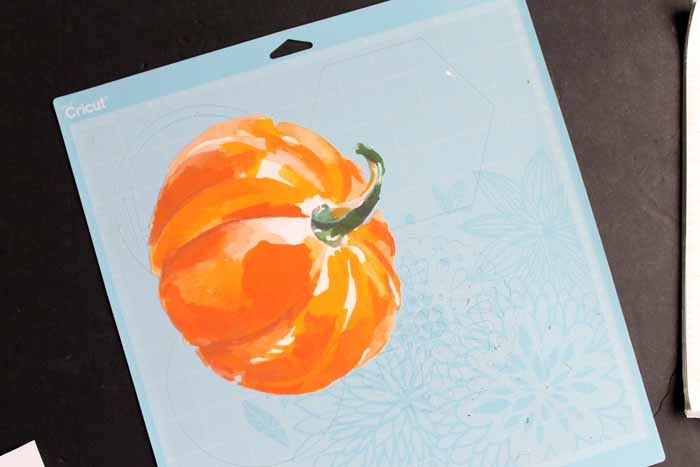
Now it is time to cut! With the Cricut Maker, you choose all of your materials manually. To access this screen on another Cricut model, just turn the dial to custom. Pick the heat transfer material.
Then, on this particular brand, I found that setting the pressure to “less” worked best. You may find that this changes based on your brand.

Then the machine will “see” your image and cut it out perfectly! I am beyond excited by this! No more white area around your heat transfers. I only had trouble with a few slim areas of some of the stems. I just cut those off. You can probably work with your settings some more to get those small pieces as well.
I was so excited, in fact, that I did a short Facebook live on it. You can watch that below.
Creating a DIY Pumpkin Throw Pillow Using Cricut Heat Transfers
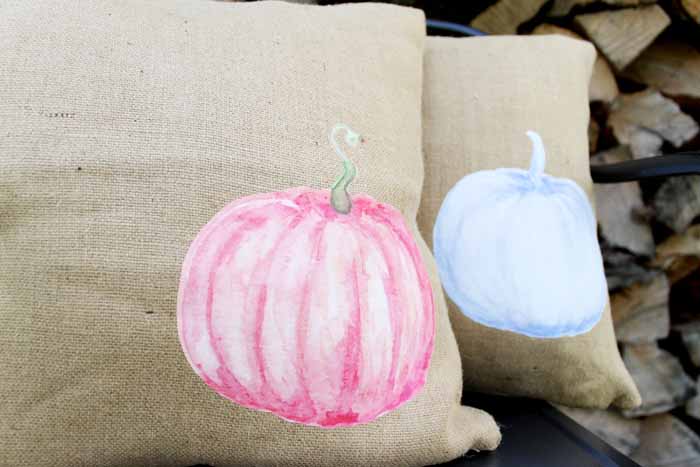
You then just use your cut out heat transfer and apply it to your pillow cover with an iron. Be sure to follow the instructions on your brand to get a good transfer.

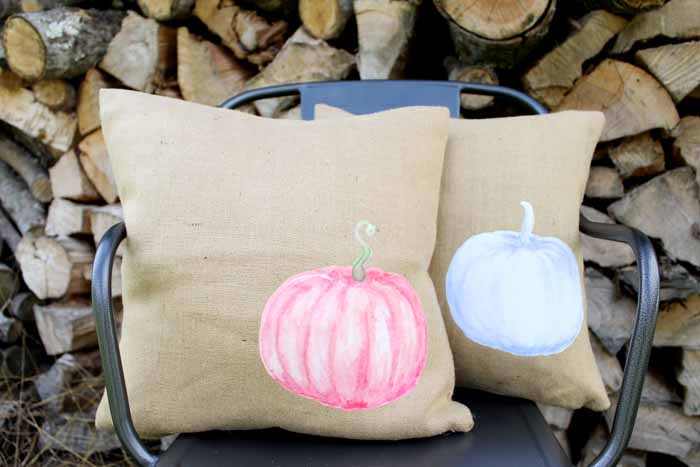
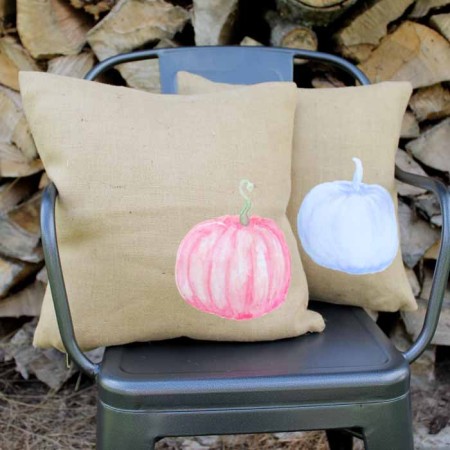
Once you have completed your transfer, you will have a pumpkin pillow that will look great in any room of your home. Add a pillow form to the cover and this one is ready for display.
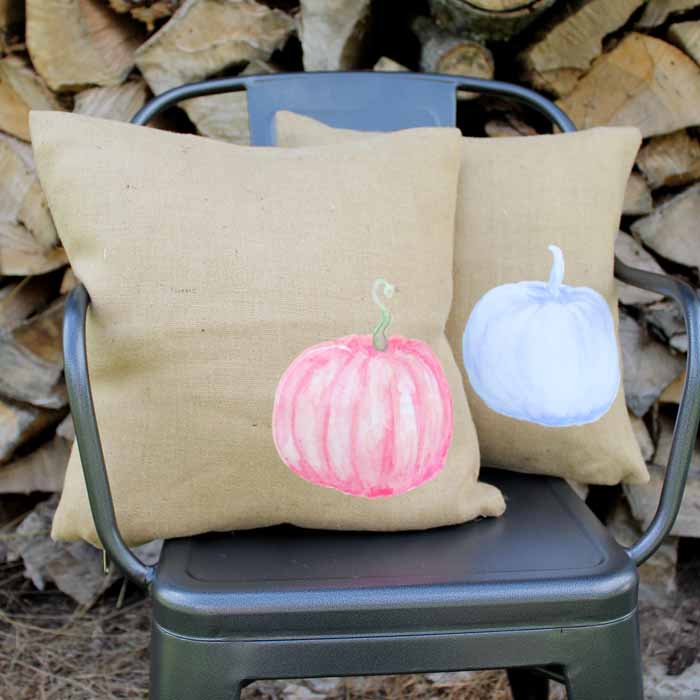
You can even add them outdoors as a friendly welcome to the trick or treaters.
Who says that Halloween decor has to be scary? You can whip up a pumpkin pillow to bring the gorgeous back into fall!
Print out the instructions for this pumpkin throw pillow using the how to card below!
Equipment
- Cricut cutting machine
- iron
Supplies
- Burlap pillow cover
- Printable heat transfer
- Parchment paper
- Printer and ink
- Pumpkin file of your choice (download the pink, blue, and orange)
Instructions
Uploading and Printing the Pumpkin File
- Download the pumpkin files that you would like to use to your computer as a jpg file. Use the upload button in design space to import. For the blue pumpkin especially, be sure to choose the complex image type. The other two imported fine with the moderately complex setting.
- Now you can select and erase any area that you do not want. This definitely includes the background but also say the inside of a curly pumpkin stem.
- Once selected those unwanted areas will turn into blue checks as shown below. You want to make sure that the entire pumpkin looks complete.
- Once you click continue, you will be given two options for saving the file. One for a print then cut and one for only a cut. We are going to need that print then cut option.
- You will now see it on your recently uploaded images area. You can then pick it from here to add it to your canvas.
- Once you add to the canvas, you can see that it is a print then cut by the layers menu on the right hand side.
- Resize to whatever size that you need for your pumpkin pillow. You will need to remember the size of your heat transfer. The Cricut will also print a border around the image in order to see it on the machine. It will prompt you however if the image is too large to fit with the border.
- Click make it and the software will prompt you to print then cut your file. Make sure that the material size is correct for your brand of heat transfer. Also, my brand does not require that you mirror the image. If yours does, be sure to pick the mirror option at this point.
- First the software will allow you to print your image. Be sure to use best quality printing no matter what brand of printer you are using.
- You will then have a paper that looks something like the below. It will print your image along with a black box all the way around.
How to Cut Your Pumpkin File Using Your Cricut Machine
- Now it is time to cut! With the Cricut Maker, you choose all of your materials manually. To access this screen on another Cricut model, just turn the dial to custom. Pick the heat transfer material.
- Then, on this particular brand, I found that setting the pressure to "less" worked best. You may find that this changes based on your brand.
Apply the Pumpkin Grphic to Your Pillow
- You then just use your cut out heat transfer and apply it to your pillow cover with an iron. Be sure to follow the instructions on your brand to get a good transfer.
Love this project and want to win a Cricut Maker?? We have a giveaway for you!

You can enter to win in the widget below. Good luck y’all!
Now I also promised you some more 15 minute Halloween crafts from our blog partners for this series. You can see those below and click to get to the instructions. Start with this Halloween felt BOO banner from Frog Prince Paperie. And yes the Maker can cut felt into intricate shapes!

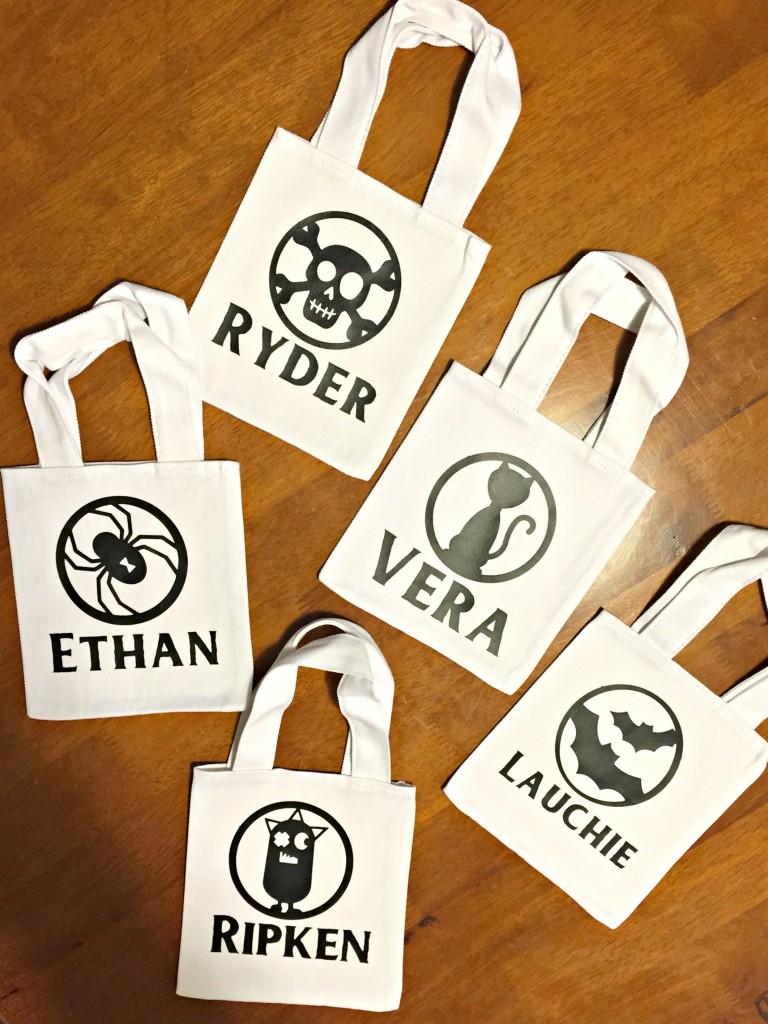
Who wouldn’t want a customized treat bag with their name? See how to make these on Sew Woodsy.
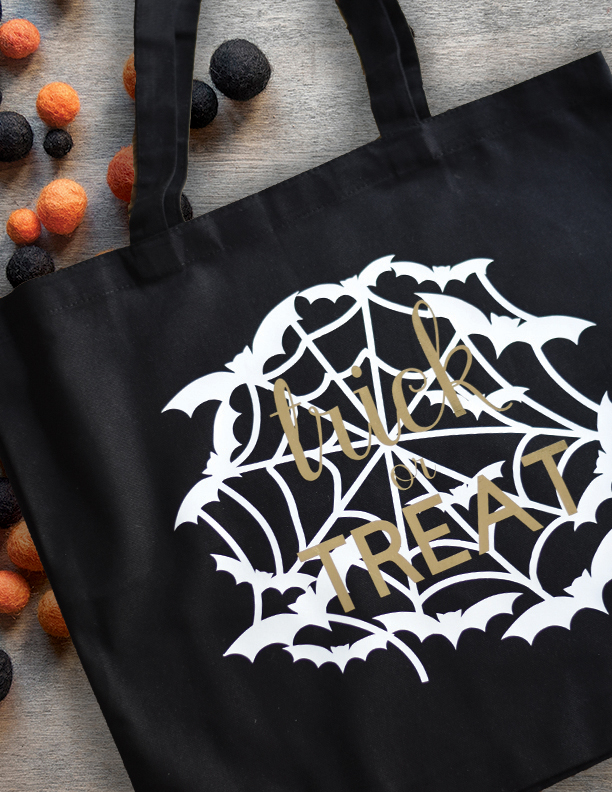
You can also try making this Halloween tote from Pineapple Paper Co! Look at the intricate detail on that vinyl.
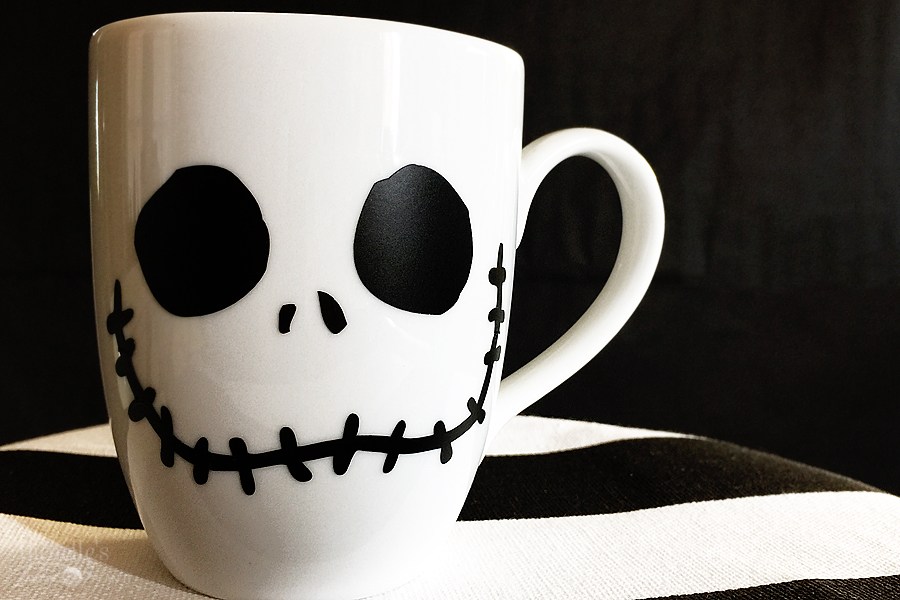
Don’t need a tote bag? Maybe make yourself a Jack Skellington inspired mug like this one from Michelle’s Party Plan It.
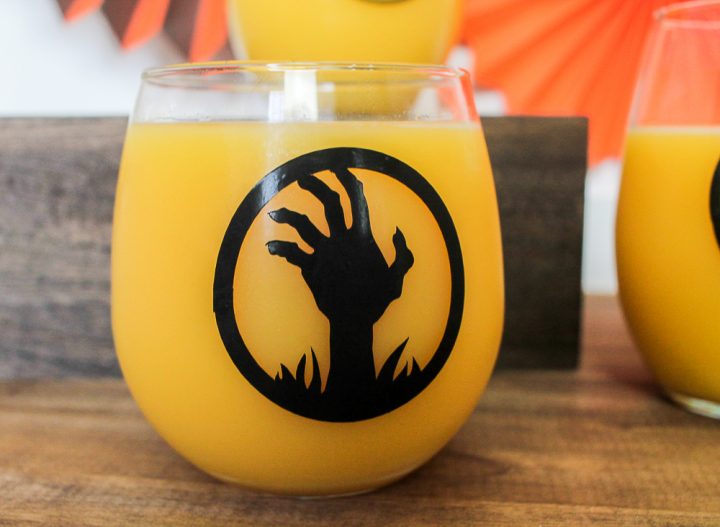
Don’t need a mug? Try these Halloween inspired party glasses from A Turtle’s Life for Me.
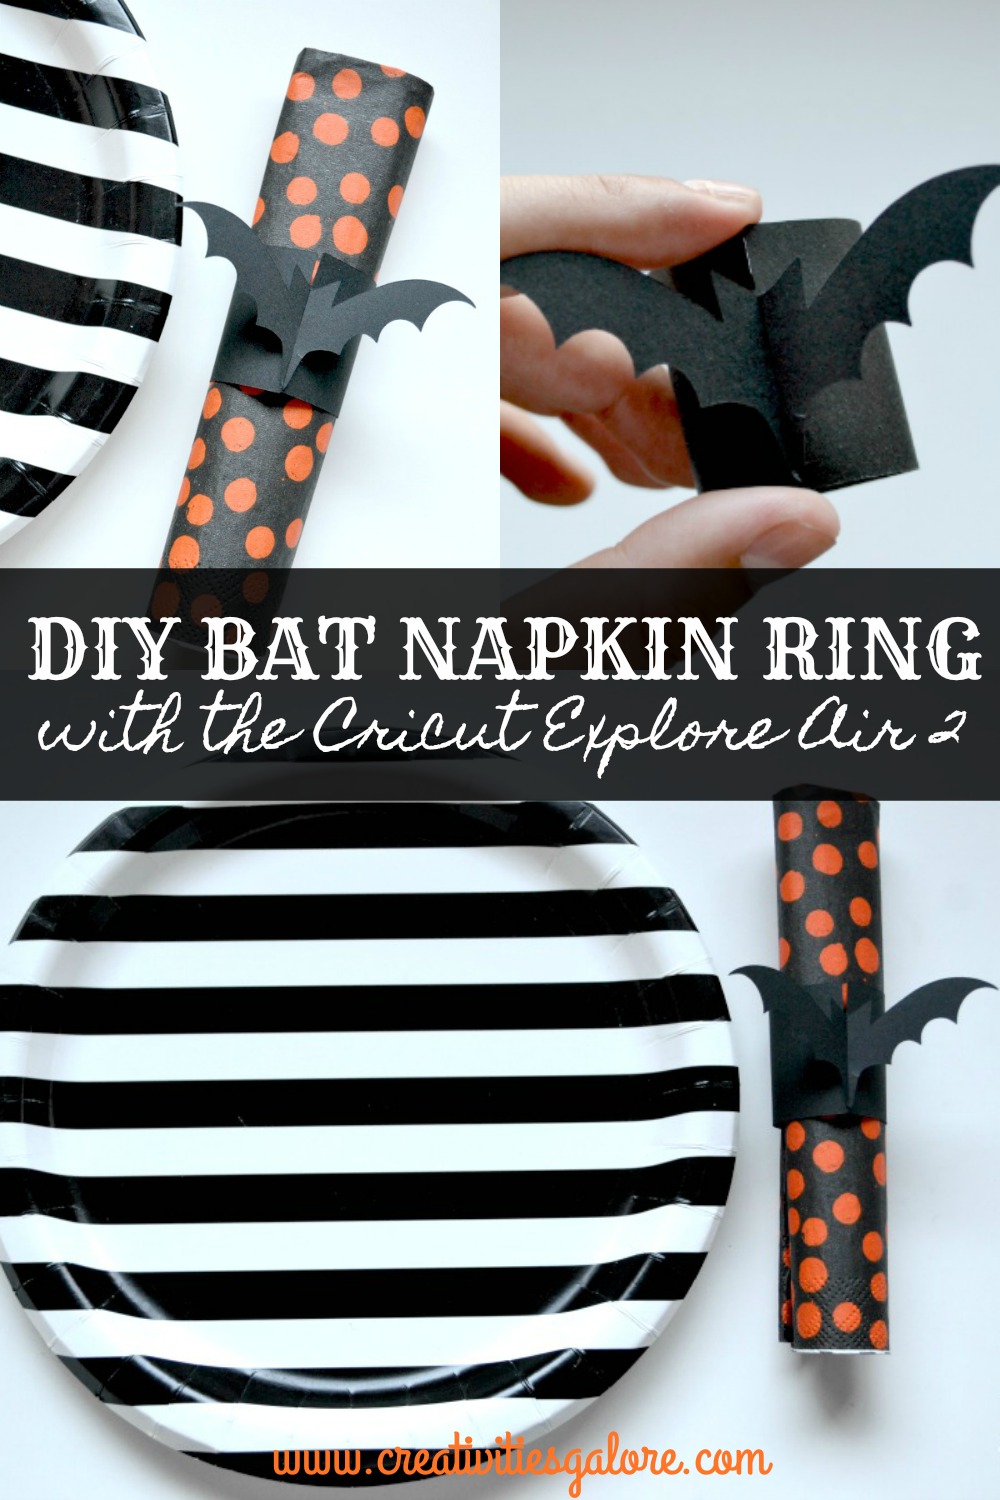
The other thing you need for your Halloween party is these paper bat napkin rings from Creativities Galore.
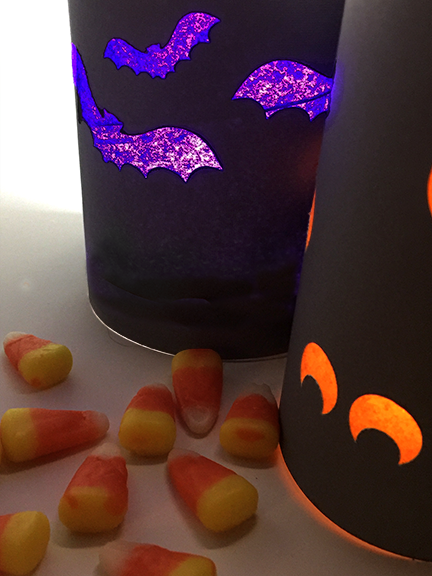
I love decorating my home for Halloween. The addition of these spooky luminaries from Try It Like It would be perfect for any room.
Now are you ready to get crafty for Halloween? Stay tuned as we have even more quick and easy 15 minute Halloween crafts all week. So if you love my pumpkin pillow or any of these other crafts, you are sure to find more you love in the remaining four days!


Angie, these have to be some of the prettiest pumpkin pillows I have ever seen. I thought they were hand painted at first. I can’t wait to make these. I think I’ll make a few for my dining room chairs and then make some matching placemats or a table runner. Thanks so much for sharing!
Love these pillows! Such a great idea to use the Print and Cut feature!
Wow, what a jampacked post from you today.Will have to come back tomorrow to see what all have missed. Getting late now, time for my shower and bed. Will be working on making things for craft show at Tractor Supply on 10/7, free. Will be first craft show will be in since 12/14 so am bit out of practice.Been making list of projects/items to make which will be good for sales (I hope).
Thank you so much for those pumpkins, will be great for pillow covers and table runners. Will need to get more ink for printer and transfers..
Love how your pillow covers look with these pumpkins on them. Have great week, happy creating.
Another great find in this week’s link up parties. LOVE the burlap covered pillow cases that you can paint on = GREAT idea.
Come share this too at Reader Tip Tuesday http://www.jodiefitz.com/2017/09/12/reader-tip-tuesday-weeks-craft-recipe-party-3/
We’re open & growing all week!
These are too cute! 🙂
I would love for you to share this with my Facebook Group for recipes, crafts, tips, and tricks: https://www.facebook.com/groups/pluckyrecipescraftstips/
Thanks for joining Cooking and Crafting with J & J!
Love these pillows! They look very complicated, but are so easy to make!
Your pillows are charming!
I love the pillows. I really need to get a Cricut.
Love the pillows! They have a pretty farmhouse vibe! Awesome giveaway you’re doing too! Thanks for sharing at Sweet Inspiration!
Gorgeous pillows Angie, their just beautiful!
I thought they were hand painted. I simply must get myself a Cricut. Beautiful designs. #merrymonday