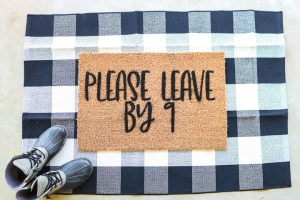
Make Your Own Doormat
A doormat is super easy to make with a Cricut machine and our instructions.
What You Will Need
- Coir doormat
- Freezer paper you can usually get in the wrap section of your grocery store
- Spray paint
- Iron or EasyPress Mini
- Cricut machine
- SVG file find 11 total free files below
- 12x24 Cricut mat blue preferred
- Painter's tape
Instructions
- Add your freezer paper to your Cricut mat with the shiny side down on the mat. Remember that for large doormats you will need the 12x24 mat for cutting. I like the blue mat but the green should work as well.

- Cut the design from the freezer paper using a light cardstock setting on your Cricut. Be sure to resize the design to fit your doormat. I also like to center the design on my mat so I will have as much as possible around the outside edge to prevent paint overspray.
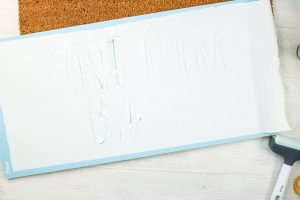
- Start removing all of the letters from the design. You will need to keep things like the centers of letters.
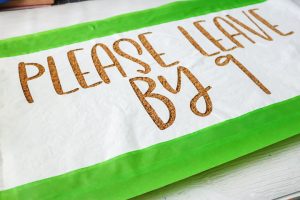
- Once your design is fully weeded, you will be left with something like the image below.
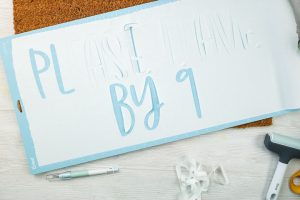
- First, carefully remove the outer piece from the mat. Go slowly so you will not tear your design.
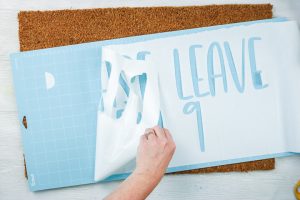
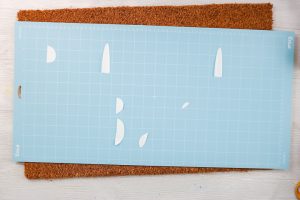
- Leave the centers of the letters on the mat for now so you will not lose them and set aside.
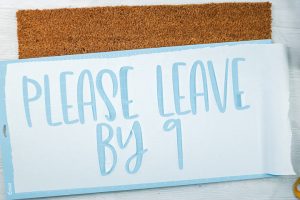
- Apply the freezer paper to the doormat with an iron or EasyPress Mini. You will need to press for a while as there is not much area to adhere to on the doormat. Work your way all the way around the design. If you have issues with some areas lifting, use something to hold them down while they are hot and lift when cool. This usually helps them to stick.
- Once your outside design is in place, start adding the centers of the letters in the same manner.

- Keep adding with the iron until your entire design is in place on your mat.
- I also like to cover any exposed area on the mat with painter's tape to prevent overspray from getting where it shouldn't.
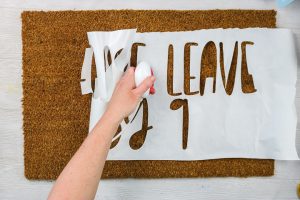
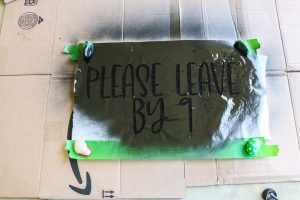
- Carefully lift your mat and transfer outside for painting. I like to use spray paint and paint from the top down in several light coats.
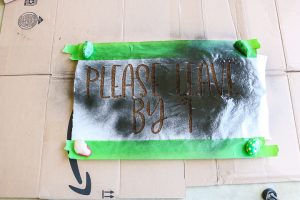
- Be sure to cover all of the stencil completely. NOTE: it was a windy day so I put rocks in the corners to help hold everything down. The tape does not stick really well to the doormat so it was not enough to hold it by itself.
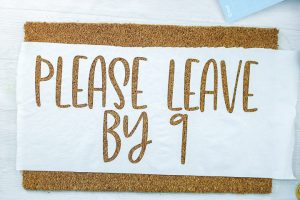
- While the paint is still wet, peel back the freezer paper to reveal your design. It will easily lift off your mat.

- Then remove the centers of all of your letters in the same manner and allow your doormat to dry completely.

- You can then place your doormat on your front porch to let everyone know to leave by nine when they come to your home.