
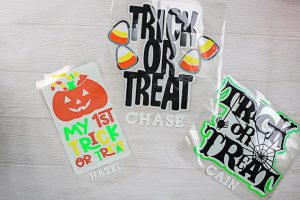
DIY Tote Bags for Halloween
Make these cute DIY Halloween bags in minutes with a few supplies and your Cricut machine.
What You Will Need
- Siser heat press
- Siser HTV
- Weeding tool
- Cricut machine
- Tote bags
- Cut files for all designs
Instructions
- Cut the HTV for the design you would like. You will need to cut all of the colors of the design. Be sure to size to fit your bag and mirror before cutting. You will also want to change the name to the name of whoever you are giving the bag to. Place the HTV shiny side down on your mat before cutting.

- Weed away all of the excess from all colors using the weeding tool. Be sure to remove things like the centers of letters as well.
- Press each color with the heat press. You will want to press the bottom layer first. My designs were larger than my heat press base. Just press once and cover as much as possible. Then move and press again.
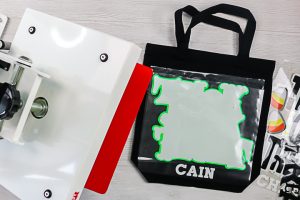
- Remove the carrier sheet from layer 1. Add layer 2. Replace the carrier sheet to protect layer 1 and press again. Remember to get the time and temperature from the Siser website.
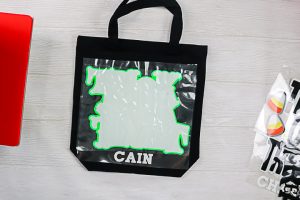
- Continue this same procedure until all layers are pressed and adhered to your tote bag. Then remove the carrier sheet and you have one bag done!

- Repeat for as many designs and Halloween bags as you would like to make for your little ones.