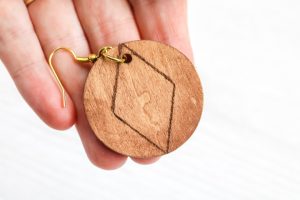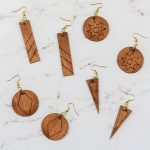
Engraved Wood Earrings
Learn how to engrave wood with the Cricut Maker and use it to make some earrings you will love!
What You Will Need
- Cricut Maker
- Knife Blade
- Engraving tip with QuickSwap Housing
- Basswood
- StrongGrip Mat
- Masking tape
- Brayer
- Wood stain
- Jewelry pliers
- Jewelry findings
- Sandpaper light 150 grit
- Hole punch I love my Crop-a-dile.
- Cut file for earrings
Instructions
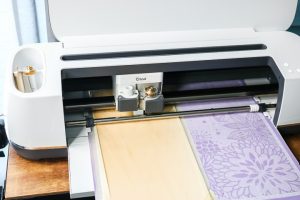
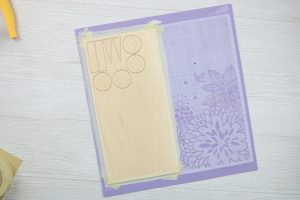
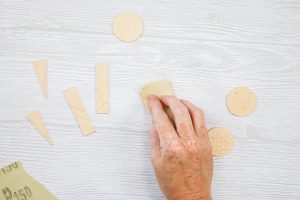
- Add your wood to a StrongGrip mat and then bray it down really, really well, make sure it's stuck. Tape it down along all of the edges. Click Make It in Cricut Design Space and move your shapes around to fit your material size if needed. Wood will NOT be in the materials list as it is not an engraving material. I choose Tooling Leather 6.7 ounce as that will work fine. Load and unload your tools as prompted by your computer to engrave and cut your design.
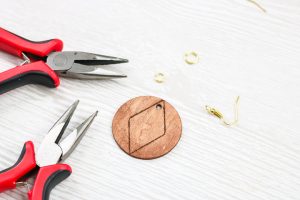
- Once the cut is complete, remove the shapes from the wood panel. You may have to finish off the corners with a craft knife and a cutting mat.
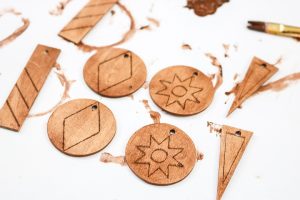
- The engraving right off of the machine will be really rough. Tear off a small piece of sandpaper and sand each one with the grain of the wood. You just want to remove that rough texture from the top of each one. The engraving will still be light but we are going to make it pop with some wood stain.
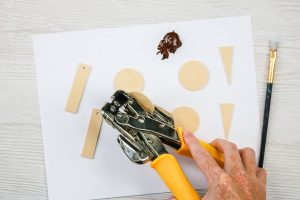
- Add holes to each one with an industrial hole punch. Just make sure they are in the top center of each of your earrings.
- All right, now that we have a hole in all of our blanks it is time to stain our wood. First, stain the front of each piece and allow that to dry. Be sure to get down into the engraving lines and stain the sides as well. Wipe on your stain, allow to sit a few seconds, and remove any excess with a rag.
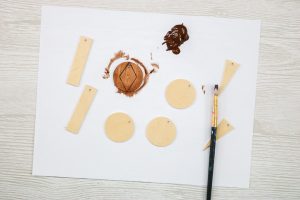
- Once your first side is dry, turn over each piece and stain the back in the same manner. Allow that to dry as well then you are ready to assemble your earrings.
- For each earring, you'll need the hook itself, two jump rings (a large one and a small one), and two pairs of jewelry pliers. Open the larger of the two jump rings with the pliers and add to the earring itself. Close that back up then open the smaller jump ring. Put it through the larger one, add the hook, and close it back up.
- You now have a cute engraved wood earring to wear! Repeat for the remaining cut earring pieces.