
Rustic Wedding Signs
These rustic wood wedding signs are such a joy to create! Perfect for outdoor wedding celebrations, receptions, luncheons, or bridal showers, these DIY personalized wedding signs are almost effortless and create a super rustic aesthetic for the wedding couple and their guests.
Makes 2 signs
What You Will Need
Instructions
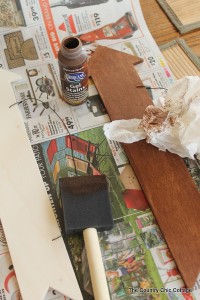
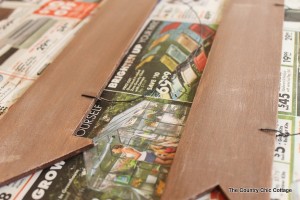
- First, start with the gel stain and coat the front and sides of your wedding sign. Wipe off any excess with a rag or paper towel. Allow to dry.
- The use of a “dry brush” method is very helpful in getting the correct look on your signs. Dab a very small amount of paint onto your brush and wipe most of it off on a paper plate or towel. Then swiftly move it over the entire front of your wedding sign. Allow to dry.
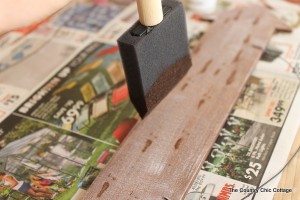
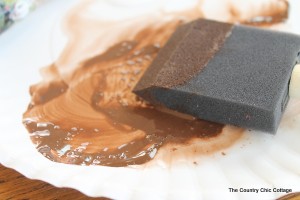
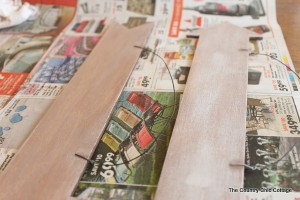
- Use your sponge brush with stain once again and make “lines” of darker areas as shown below. Wipe off excess after 3 minutes or so. Allow to dry.
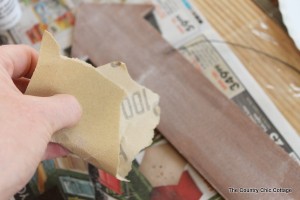
- Sand the wood.
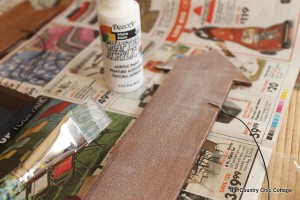
- Mix one part gel stain with one part water to make a thinned out version of your dark stain.
- Brush this mixture over your wedding sign then immediately wipe off with a rag or paper towel. The wedding sign on the below left has been completed. Allow this to dry.
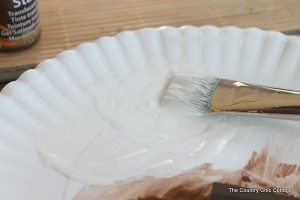
- Mix one part paint to one part water but this time with the white. This makes a white wash for the sign.
- Again brush over the entire sign then immediately wipe away with a rag. Allow to dry.

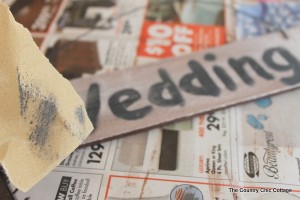
- Next, use sandpaper to rough up the surface and edges. You can concentrate in an area to make it rougher than other areas.
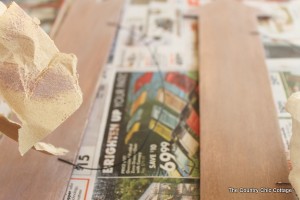
- I then dry brushed white over the top of the signs one last time. Allow this to dry.
- Your sign base is complete and we are ready to add the lettering. Be sure your sign is dry completely before continuing. I used black paint with just a touch of white mixed in for a very dark grey color. You can play with the amounts until you like the look.

- We have been concentrating on the front of our sign and neglected the edges. Remember to go back with that white paint and a dry brush and touch these edges. Just to make them appear to be not so new. You can also finish the back if you desire (I did not).
Notes
- You can use any colors you would like– maybe even add some gold leaf!
- Make sure the paint is fully dry before painting the letters.
- Make sure to sand down the areas to give the signs a "weathered" look.