
Today, I have a fun kids' craft project: string art! This activity brings string art back in a creative and enjoyable way that children will love. They can choose any design they want, allowing for some quiet time as they wind the string around the nails. My children are older, so they were able to complete most of the project on their own with just a little supervision. However, younger kids may need more hands-on assistance to finish this project.
How To Make String Art For Kids
The first step is to pick an image that you want to turn into string art. You can literally print any image or even a letter from your computer. Be sure to print it as large as possible to fill your board. Then follow the instructions below to turn that piece of paper into art that the kids will love!
Also, if you are looking for more string art crafts, check out our Geometric String Art or our DIY Christmas String Art Ornaments!
Supplies Needed To Make String Art For Kids
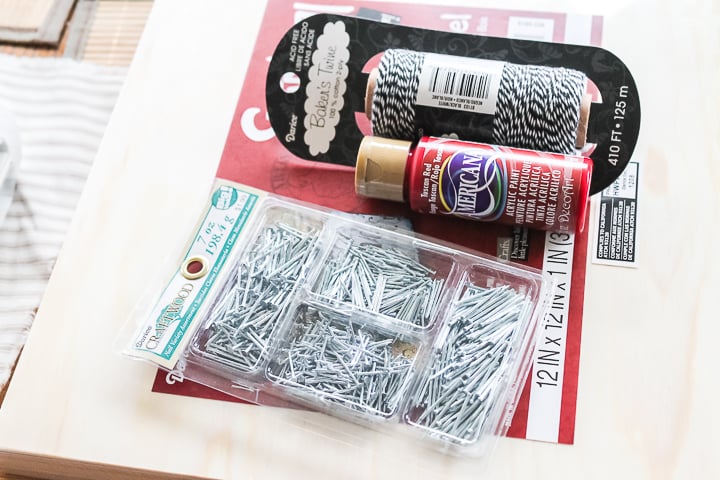
- 12 x 12 unfinished wood panel
- Assorted nails
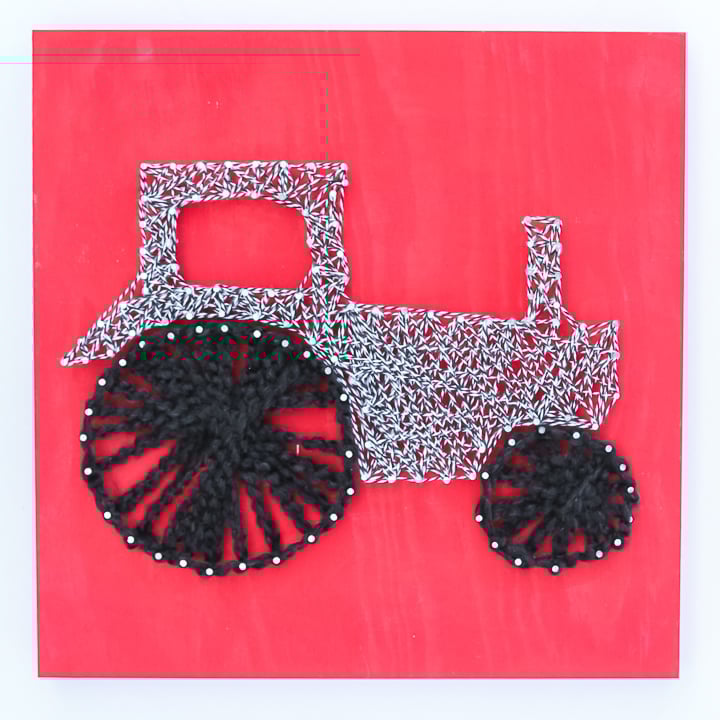
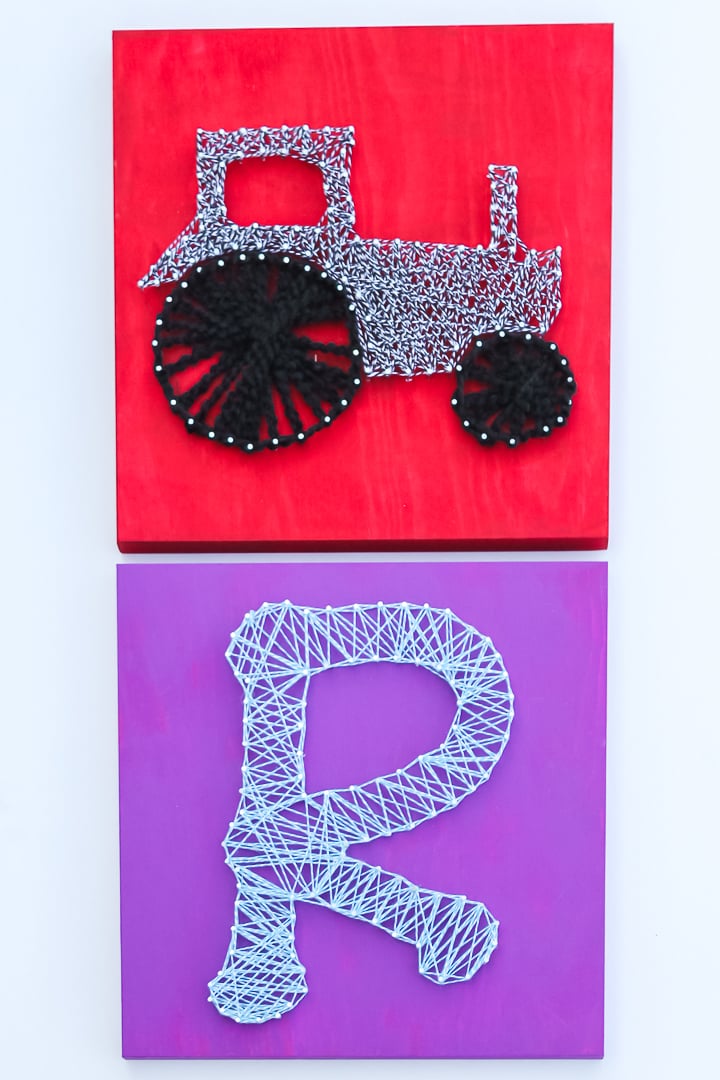
- Baker’s twine, string, or yarn (For the tractor, we used black and white baker’s twine plus black yarn. For the “R” initial, we used blue and white baker’s twine.)
- Acrylic craft paint in your choice of colors
- Paintbrush
- Computer and printer
Step 1: Print Image For String Art Design & Paint Wood Board
Print the image for your string art. Have your kids paint the board in the color of their choice. Allow the paint to dry, then add the paper to the board, making sure it is centered and straight.
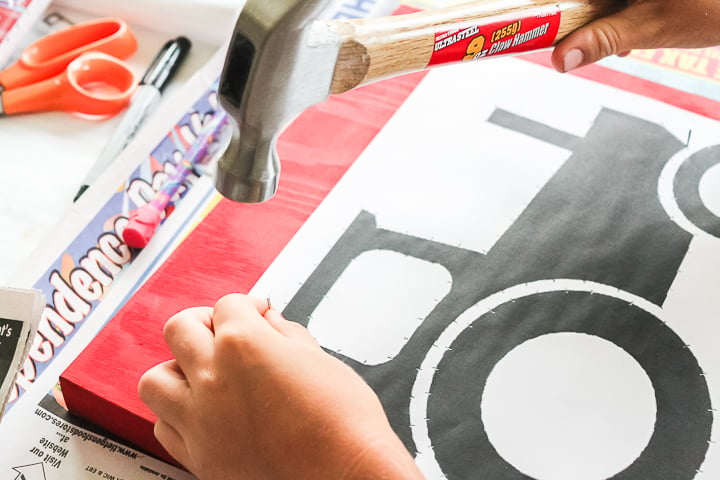
Step 2: Hammer Nails Into Your Wood Board
Add two nails around the edge of your image and through the paper to hold it in place. Be sure to use nails with a large head. Do NOT put the nail all the way into the board. The nails should stick up so you can wrap the string around them. Use a pencil to mark approximately every 1/2 inch all the way around your image.
Older kids can now take over and nail on every pencil mark. Again, ensure they are using nails with heads and that they check all the nails are poking out of the board at approximately the same height.
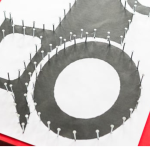
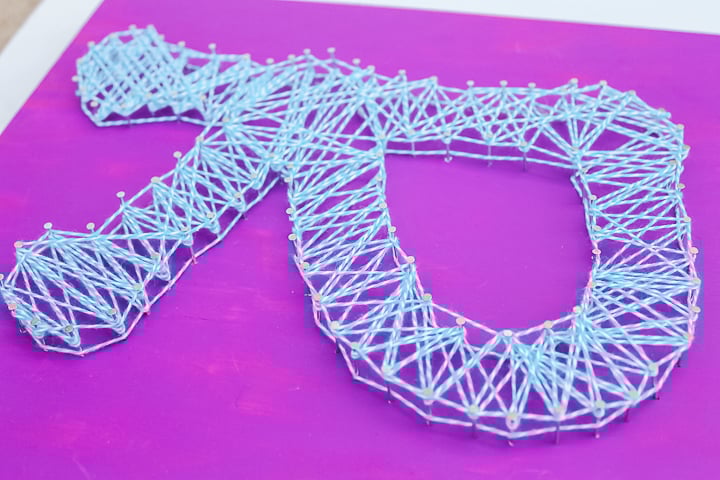
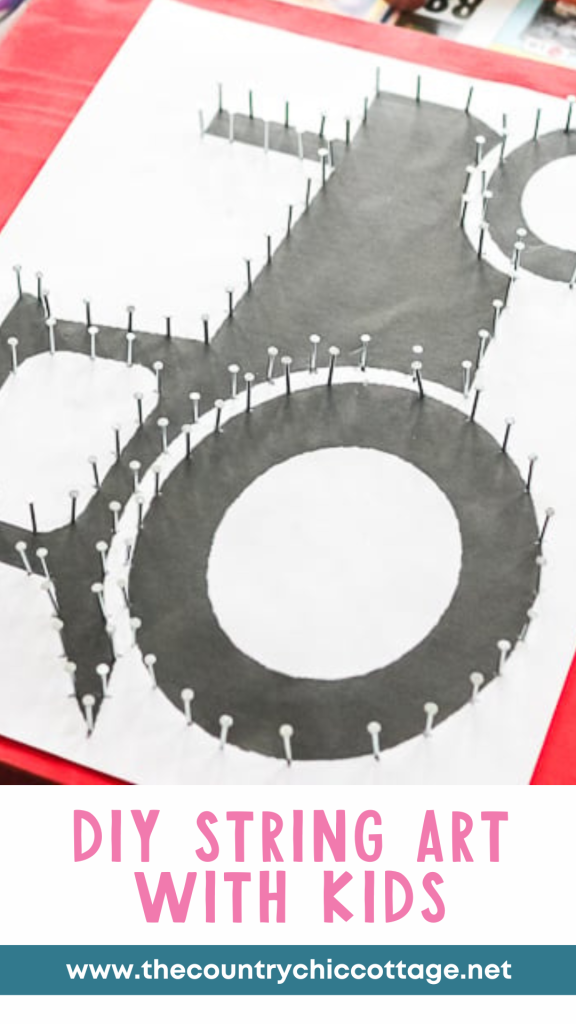
When you are finished inserting the nails, it will look like the picture below. If you have younger children, please assist them with the nailing and allow them to work on the string in the next step.
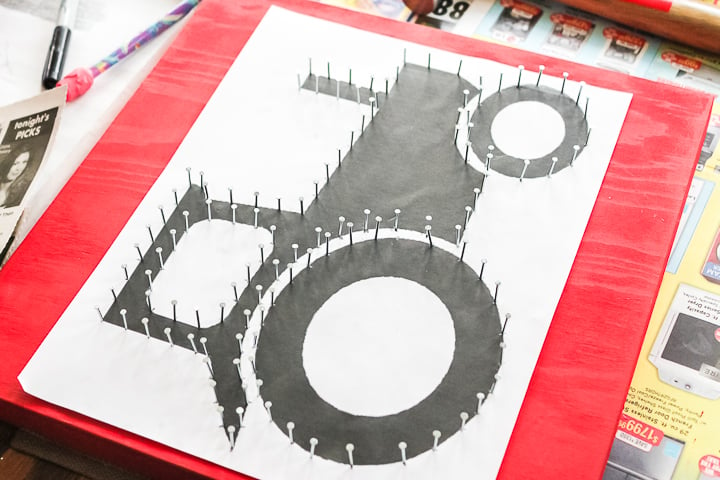
NOTE: We decided not to add nails to the inside of the tires on this image. My son did all of this, nailing himself, and was so proud. Yes, some nails look crooked. In the final product, it doesn't really matter, so go with it. Kids' crafts are full of imperfections, so resist your urge to correct them.
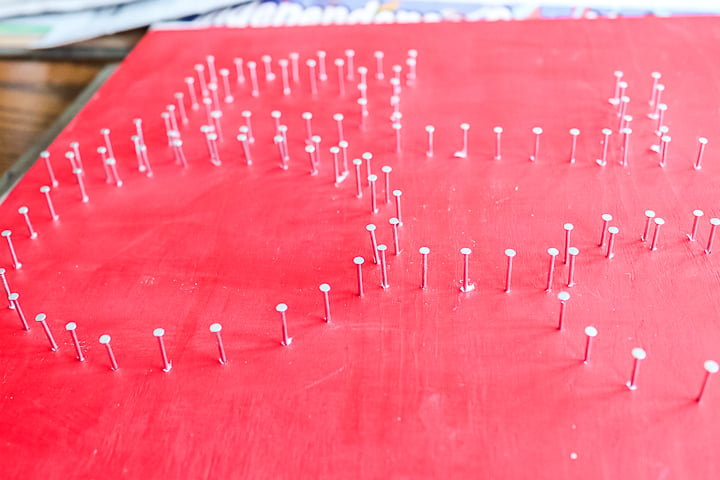
Step 3: Rip Paper Image Off Of Wood Board
You can now rip away the paper from the board. You are left with a sea of nails, and the kids are ready to wrap some string.
Step 4: Add String Around Nails To Create String Art Design
Young and old alike will love adding string around the nails. In and out, around, zig-zag, any combination they can come up with! Start on any nail and knot your string. Then work it around until you are happy and knot it off on your last nail as well. Make sure to keep the string taught in order to get the proper results.
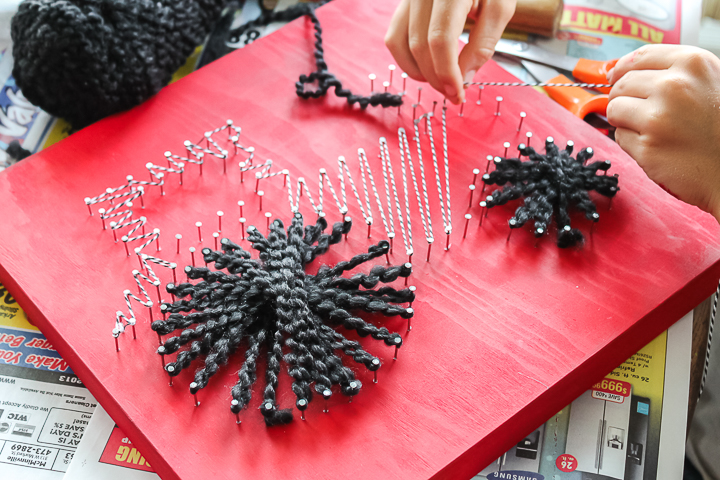
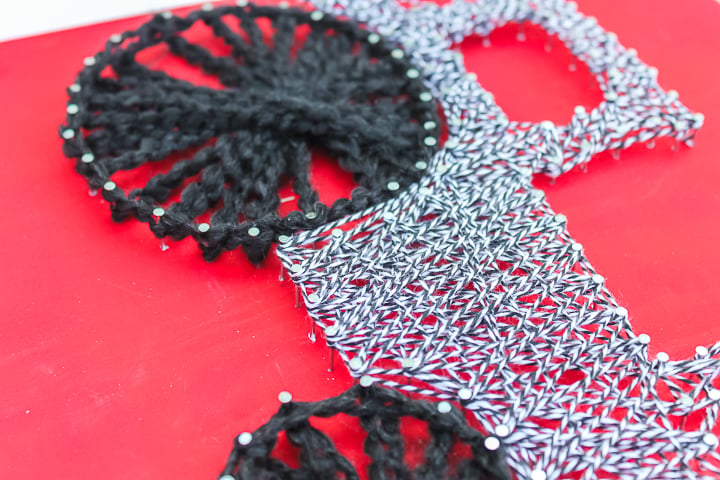
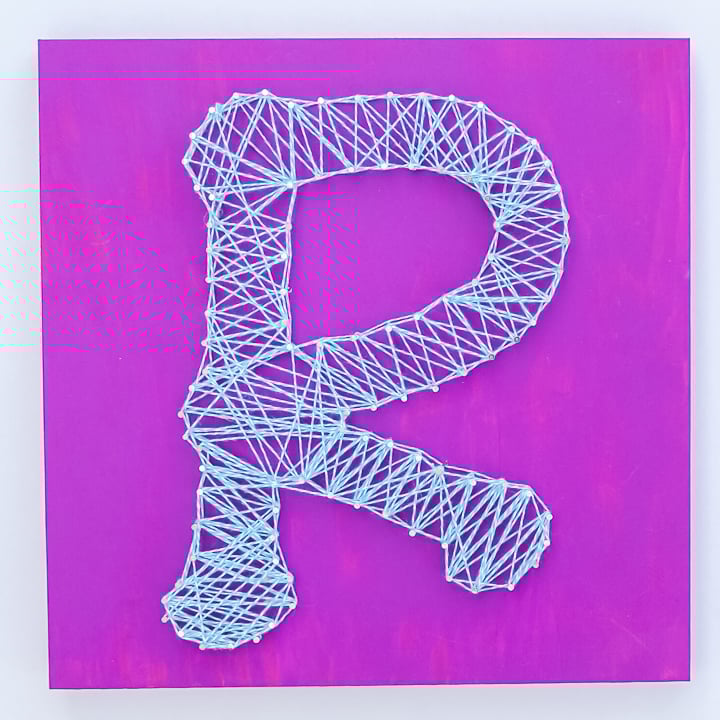
Be sure to add a string around the edge as well as in the center. See the tire above and below, and what a difference this makes. Your budding artist can use as much or as little string as they would like. The tractor got a healthy dose of baker's twine.
The initial my daughter completed got a little less string, but the results are amazing, just the same!
Each finished product is a reflection of the child and their personality. This is one kids' craft that you don't have to hide in the closet. These look great displayed in their rooms!
Grab some nails and string and get started on your own version with your kids! What a great project to complete during the summer months.
What design will your child decide to tackle? Let them choose the design and colors to make a creation that is all their own. This DIY string art is the perfect craft for children to be proud of!
Tips and Tricks for String Art For Kids
Now that you’ve seen this string art for kids, are you ready to make your own? Here are a few tips and tricks to help!
- Safety First – As I mentioned before, if you have younger children, please do the nailing for them and allow them to work on the string!
- Adjust The Size – For this project, we used a 12×12 unfinished wood board, but you can use a board that is smaller or bigger. However, if you do change the size of this project, you may need a smaller size nail (if you go smaller) or a larger amount of nails (if you go bigger).
- Pick a Simple Design – When choosing a design for your string art, ensure you select something simple and without too much detail. You can Google' string art designs for kids' to find more pattern options, or use the ideas below as a starting point for your project.
- Change Up The String – For this project, we used Baker's Twine and yarn, but you could also use string or embroidery floss!
5 More Kids' Crafts
Did you love this string art for kids and want more kids' crafts? Then check out the projects below!


awesome!!
Hi Angie, thanks for the wonderful instructions! I am going to feature this projects on the Lesson Plans blog on Craft Gossip. 🙂