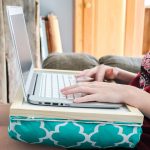
Make Your Own Lap Desk
A lap desk is easy to make for kids or even adults of all ages.
What You Will Need
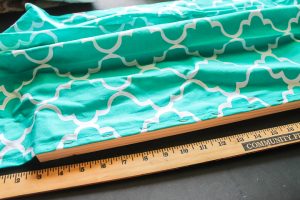
- Dry erase board in the size you want for your desktop
- Fabric to cover the back of the board and your pillows
- Pillows to fit size of dry erase board
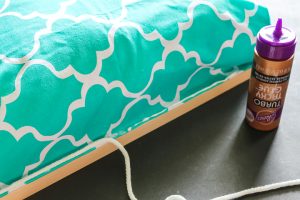
- Rope trim to go around the entire edge
- Staple gun and staples
- Glue
Instructions
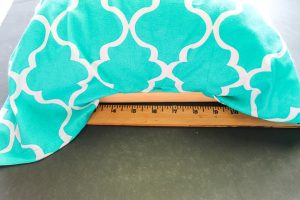
- Find the center of the side of the dry erase board as well as your fabric piece. Put staples into the towel and onto the back of the dry erase board starting in the center. Add the staples on both long sides every few inches leaving enough material in the middle so your pillows will fit inside snugly. NOTE: I am using a dish towel as my fabric. This means that the edges are finished. If you are using raw fabric, fold your fabric along the side so you don’t have a raw edge.
- Slip the pillows inside the pocket you just created.
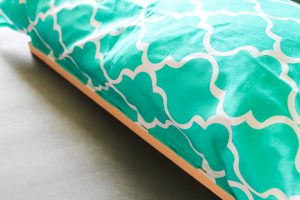
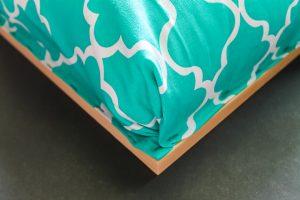
- Then go to one of the short sides and pull the fabric tight. Fold under to create a finished edge and add a staple in the center. Repeat on the opposite end.
- Continue using staples every few inches until you come to the corners. Work with the fabric to create a nice corner and add staples to secure.
- Go around the entire edge with some rope trim and glue to cover up the staples. Allow to dry completely before using your dry erase board lap desk.