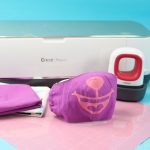
Sewing Masks Cut on a Cricut
With your fabric cut, it is time to sew those masks for family and friends.
Equipment
- Sewing machine
- EasyPress Mini
What You Will Need
- Pattern pieces cut on Cricut
- Elastic or any alternate listed
- Thread
- Iron-on of your choice
- Safety pin
- Straight pins
Instructions
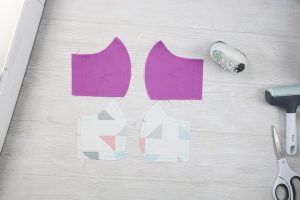
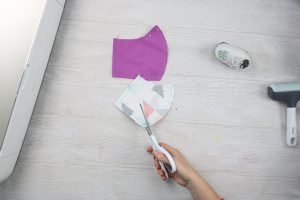
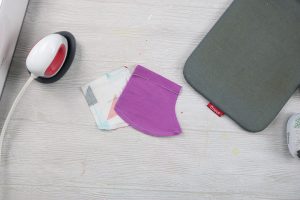
- Start with your cut pieces. You should have two larger pieces that are the outside and two smaller pieces that are the liner.
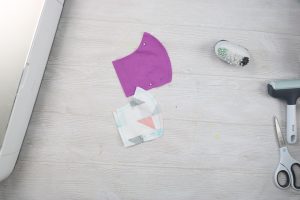
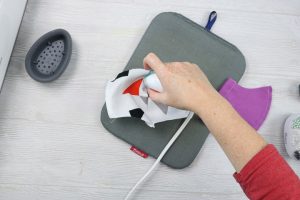
- First, put the right sides together of both pieces and sew along the curve. You can sew along the marked line or use a 1/4 inch seam allowance.
- Clip all along the curve on both pieces with a pair of scissors but be sure NOT to cut into the stitches.
- Iron down the sides on both the front and the liner. For the liner, turn over 1/4 inch and iron.
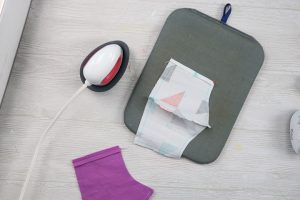
- For the outer piece, turn over 1/4 inch and iron.
- Then turn over 1/2 an inch and iron. This will make your casing later for the ties or elastic.
- Then sew the liner as close to the edge as possible. Sew the outer piece as far from the edge as possible along that 1/2 inch fold. This makes the casing as large as possible.
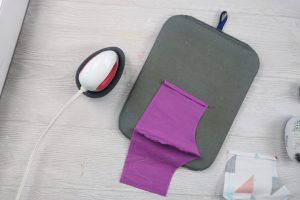
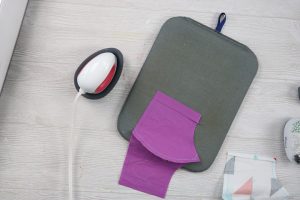
- Then press the seam down the middle to one side on both pieces. Top stitch this on that side as close to the seam in the middle as possible.
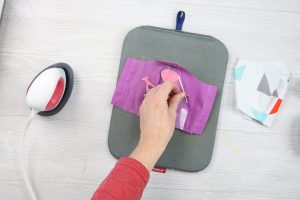
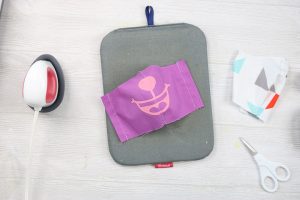
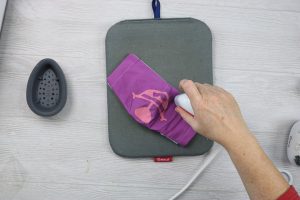
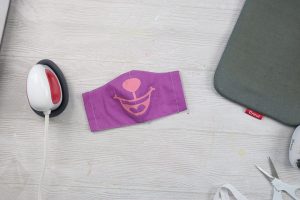
- If you want to add a cute face or mouth to your face mask, cut the design from iron-on then weed away all of the excess.
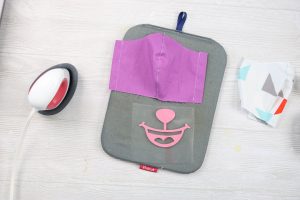
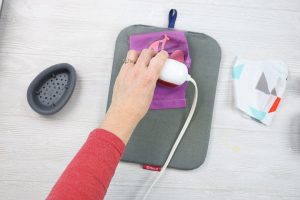
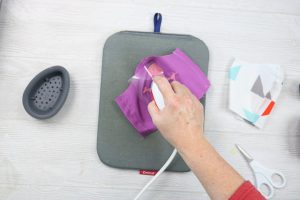
- Because the face mask is curved, I did one side at a time. So iron the first side to your mask.
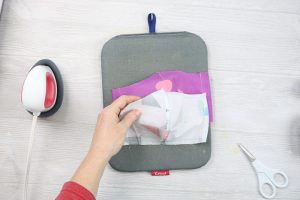
- Once it has adhered, peel back the liner and cut it off with scissors.
- Then position the opposite side and iron.
- Remove the liner once it has adhered.
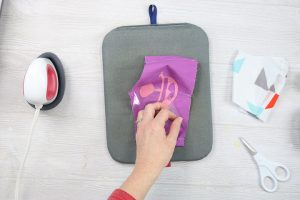
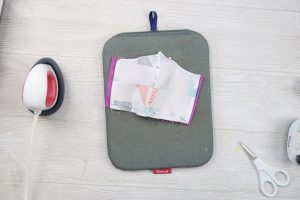
- Then turn over to the back and iron once more paying attention to the middle seam especially.
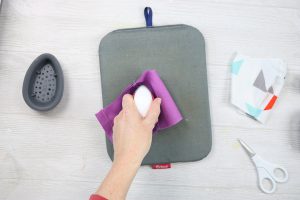
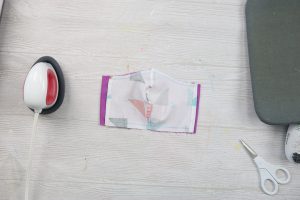
- Then your iron-on should be on your mask and you can continue with the sewing tutorial.
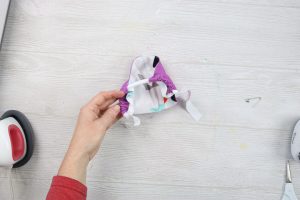
- Put the liner on the outer piece with the right sides together.
- Align the seams and pin them into place.
- Then sew along the top edge and bottom edge at a 1/4 inch seam allowance. DO NOT go over the casing on both sides.
- Turn right side out through one of the sides (both of these should be open). Then press the seams.
- Top stitch along the top and the bottom as close to the edge as you can. Once again you DO NOT want to sew closed your casings on the side.
- Then add a safety pin to one side of your elastic. You can substitute ribbon, string, t-shirt strips, ribbon, shoestrings, and more here
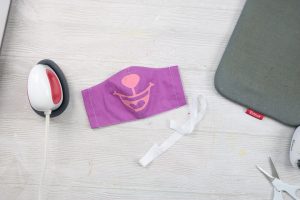
- Use the safety pin to feed the elastic through both casings. Then you can use a zig-zag stitch to secure the pieces together to complete your mask. If using an alternate, cut it longer and leave the ends handing to tie it around your neck.