How to Cut Wood Veneer with a Cricut Explore or Maker
You can easily cut wood veneer with your Cricut machine and the deep point blade.
What You Will Need
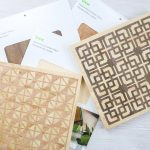
- Wood veneer I am using the Cricut brand
- Strong grip mat
- Brayer
- Tweezers
- Cricut Explore or Maker
- Deep point blade
- Cut file
- Painter's tape
- Wood glue and panel if making the art piece
Instructions
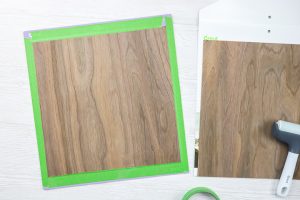
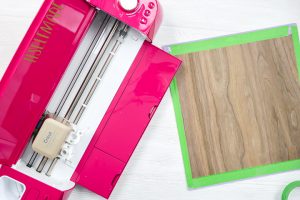
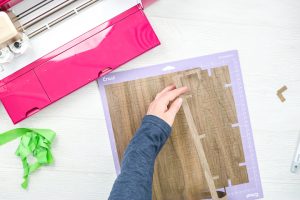
- Add your wood veneer sheet to a strong grip Cricut mat. This process is the same no matter if you are using the Explore or the Maker. Press the sheet down well with a brayer and add painter's tape all the way around the outside edge so that it is secure. The wood grain should go along the mat.
- Then add the deep point blade to whichever machine you are using. NOTE: You DO NOT have to move the white star wheels to cut this material.
- Pull up your cut file in Cricut Design Space and cut with your machine. Pick "natural wood veneer" from the custom materials list. This will run over the material four times to cut so it will take a while. I like to check my cut before removing it from the machine. To do this, pull up a corner of a cut piece with a weeding tool. If it lifts easily, eject the mat from your machine. If it does not, hit the "C" button to cut again.

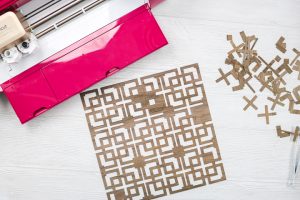
- Next, you will need to remove the material from your mat. I just pulled away the outer piece as it was scrap.
- Then flip the project over and remove the mat from your piece. Use the tweezers to gently pull the pieces away from the mat as you go.

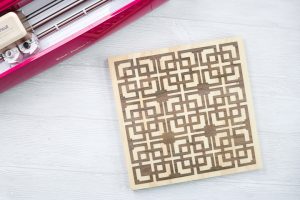
- Remove any small bits from the inside of your design. Then you have a wood veneer piece that can be used on a wide variety of craft projects.
- I used some wood glue to attach my piece to the front of a wood panel for a quick and easy wall art piece.