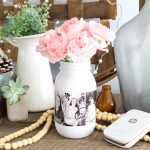
Mason Jar Centerpiece with Pictures
This photo mason jar is easy to make and will make a great gift as well.
What You Will Need
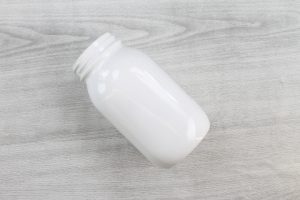
- Mason jar you will need one with smooth sides
- Spray paint I used white
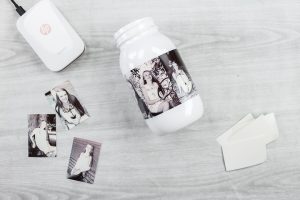
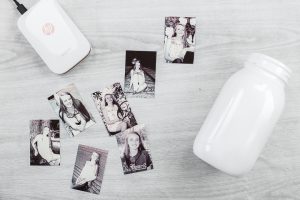
- Printed photos I am using an HP Sprocket to print self-adhesive prints but I will give you some options with regular prints and glue below
Instructions
- You will need to print enough pictures to go around the outside of your mason jar. I am using small prints from my HP Sprocket. You can also use 2x3 prints or even 4x6 prints that you cut down. It is really up to you which size you use. You will want to print enough to go all the way around the outside of your mason jar.
- You will also want to paint the mason jar. Be sure it is really clean then paint all sides well. Allow to cure completely before continuing with this project. I like to allow mine to dry for 72 hours so the paint does not lift off.
- Then you can start applying the pictures to the mason jar. The HP Sprocket prints are self-adhesive. So I just peeled back the liner and stuck mine right to the jar. Overlap each print slightly until you go all the way around the jar then overlap the last on the first. That is it! Your jar is complete once all of your pictures are in place. No Sprocket? Keep reading to see how to make this jar with regular prints.