Applying B-Flex HTV
How do you use the heat transfer vinyl from B-Flex? We are showing you with a few simple projects to get you started.
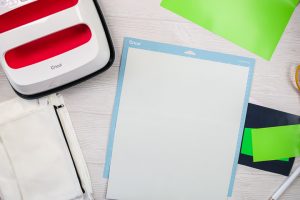
What You Will Need
- B-Flex heat transfer vinyl be sure to keep reading to see the bundle deal below
- EasyPress or heat press
- Weeding tools
- Cricut machine any will work for this
- SVG files you can see where to get the files I used below
- Parchment paper optional
Instructions
- First, upload your SVG files to your Cricut machine and cut your design from the HTV. The heat transfer vinyl should go face down on the mat and you will want to mirror your design before cutting. Use the Iron-on setting for your Cricut machine when cutting.
- You will then want to weed away all of the excess HTV. Weeding tools make this a bit easier. Weed and discard the excess around the outside as well as things like the centers of letters.

- Continue weeding all of the pieces for your design. We are using two different colors for each of our projects.

- Trim the carrier sheets close to the vinyl and put them together so they do not overlap. Then lay them on your blank in the correct location. NOTE: I like to pre-heat my material a bit to get out any moisture or wrinkles. Also, I am using an EasyPress mat under my project. Once your design is in place, you can then press for the full time at the correct temperature. Then remove the carrier sheet while the project is still hot to reveal your design. OPTIONAL: You can press a second time after the carrier sheet is removed to ensure your design is pressed well. You can cover with parchment paper or just press right on top of the B-flex as it can withstand the temperature.