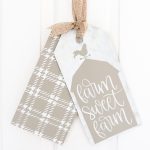
Farmhouse Style Stenciled Door Tags
Stencil a pair of door tags for your farmhouse style home.
What You Will Need
- Cricut Maker
- Knife blade
- 6 x 12 basswood from Cricut 4 sheets (one package)
- Stencil vinyl
- Transfer tape
- Chalk Paint white and brownish-gray
- Cut file for tags and stencils
- Wood glue
- Burlap ribbon
- Hot glue and glue gun
Instructions
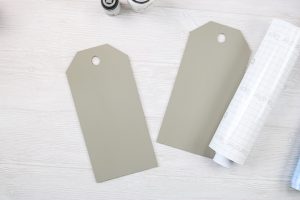
- Cut basswood on the Cricut maker. You'll need four tags total cut with the knife blade. Put them together in two sets with glue and paint one side. Let the paint and glue dry overnight so that they will be dry for stenciling.
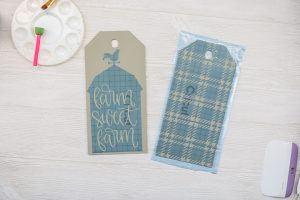
- Cut your stencil design using stencil vinyl. Weed away all of the excess.
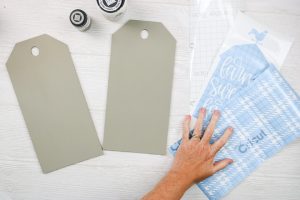
- Add transfer tape if needed to the top of your design and burnish well. Peel back and ensure your vinyl in on the transfer tap. Place the stencils on the wooden tags and burnish well. Peel back the transfer tape. Press the stencils down really well so that there is minimal seepage underneath the stencil.
- Repeat this same procedure with the other design. I actually didn't even use transfer tape with this version.
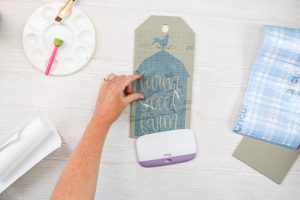
- I'm applying a light coat using a dry brush technique for a rustic look. Get as much paint off of your brush as possible. Start to the side and work your way towards the stencil. Some of the first layer of paint will show through the white and that's the look we want. This gives a rustic worn look to the paint without any sanding or anything like that. I like to gently brush over the top once the paint is in place to remove any brush strokes.
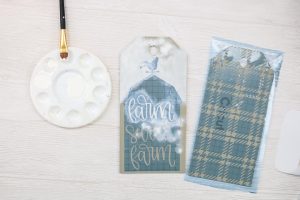
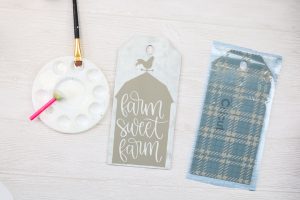
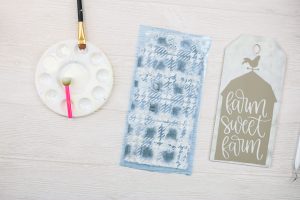
- Continue the same paint method over the entire surface. Then remove the stencil and reveal the finished piece.
- Repeat the same method for the plaid tag.
- Allow both tags to dry completely. This should not take long as the white coat of paint is really thin.

- You can finish it off however you would like. I'm going to add a little burlap ribbon, but you could definitely add some color on this portion if you would like.
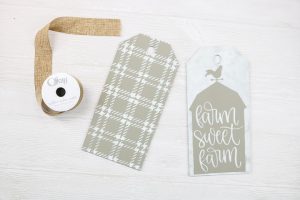
- Stack them together and place the bottom one at a 45-degree angle. Glue them together where they are touching using hot glue. Then make a tie from the burlap ribbon. This one is ready to hang on your door.
