How to Make Your Own Stamp with Hot Glue
Grab your hot glue gun and learn how to make your own stamp today. Yes, it is THAT easy -- adults and kids alike will have a blast making custom stamps with hot glue. My easy how-to stamp making guide will have you stamping up a storm in no time.
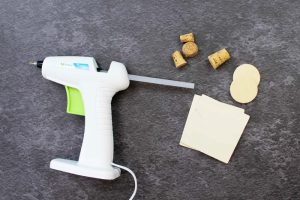
Equipment
- Hot glue gun
What You Will Need
- Hot glue sticks
- Flat wood pieces
- Corks
- Ink for stamping
Instructions
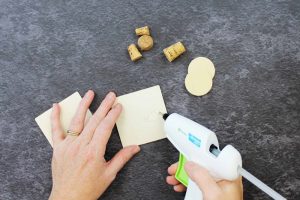
- Prep your materials: Start with a flat wood piece that is just a tad larger than the desired size of your stamp.
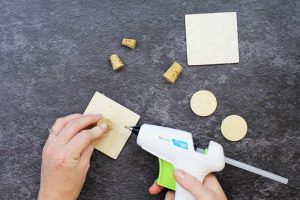
- Draw your design: I like to use a pencil or a piece of chalk to draw the design onto the wood before using the hot glue, that way if I mess up, I can just erase and try again!

- Begin your stamp: Use the glue gun to trace your design on the flat wood piece. Continue with the hot glue until your design is complete. Allow to cool completely before continuing.
- Add your stamp handle: Flip your wood piece over and hot glue a cork onto the center of the back. This will act as a handle for your stamp.
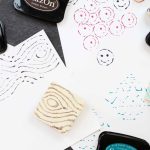
- Use your stamp: Just press the stamp onto an ink pad and stamp away! Please note that the lines will not be super crisp or perfect, as this is hot glue. This method definitely works great for certain designs better than others. My favorite design is a wood-grain like texture, pictured below. It is perfect with this stamp-making technique!
