Winter Snowman Art with Burlap | The Country Chic Cottage
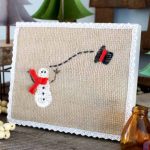
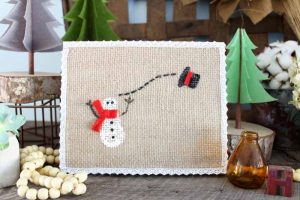
Add a little rustic charm to your home with this cute winter snowman burlap art you can make yourself in just a few minutes.
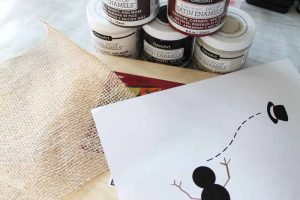
What You Will Need
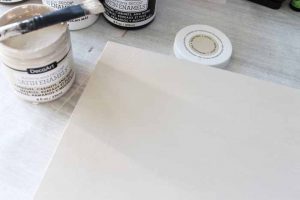
- Americana Decor Satin Enamels Use neutral color like warm white, natural beige, classic black or rich chestnut
- Wooden panel 8x10 (size can vary)
- Burlap square Just enough to cover the wooden panel
- Red felt scraps
- Hot glue and glue gun
- Tacky glue
- Scissors
- Lace ribbon Optional border
- Paint brushes
- Printable snowman template Free download
Instructions
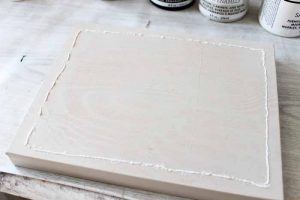
- First, start by painting your wooden panel with a few coats of the beige paint (really any good neutral color works well for this step). When you're finished painting, set the panel aside and allow to dry completely.
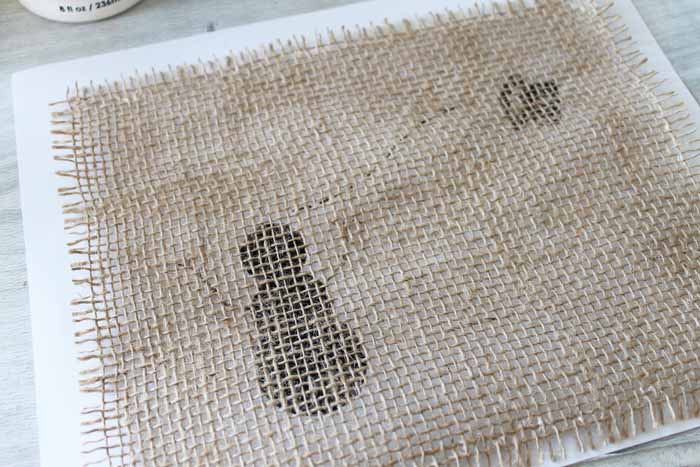
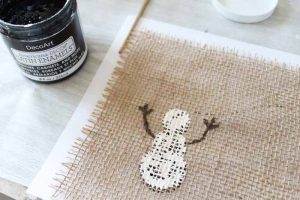
- Next, cut your burlap to just a tad smaller the size of the front of your wooden panel. Then lay the piece of burlap over the printed winter snowman template.
- It's finally time to paint your snowman! I always start by tracing the template, focusing on the arms, hat, and the dotted line that leads from the snowman to the hat.
- Once I have my basic snowman painted on the burlap, I remove the paper print-out template and prepare to attach the burlap to the wooden panel. It's important to make sure your wooden panel is fully dry before this step, but when it is, you'll simply add tacky glue all the way around the edges.
- Then simply lay your burlap on top! I always move my burlap around a bit to get it centered just right on the wooden panel.
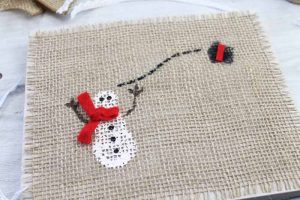
- Now it's time to continue the painting fun! Continue to decorate and customize your winter snowman to your heart's desire.
- Finish by adding a lace border around the edges of the wooden panel to hide the frayed burlap edges.
Notes
- The perfect snowman. I used the "wrong end" of the paint brush to add eyes and buttons to the snowman. Then, I cut a scrap piece of felt into a scarf piece and hat band and hot glued it to my burlap art.
- Plan ahead. When I want to do this craft, I usually paint my panel (or panels for some group crafting fun) the night before so it can fully dry overnight.
- Print the template. Print your snowman and hat image with black ink on white copy paper so you can easily see where to paint your snowman. Be sure to center your design before adding paint!
- Change it up. This winter snowman burlap art is definitely more well suited for the holiday months, but you can easily do this same craft with different designs and themes, like a spring flower garden or pet family photo! Find your favorite image or character, print it out, and follow the rest of the directions.