
Pom Pom Keychains
Learn how to make a pom pom keychains with my super simple yarn wrapping method. This kid-friendly craft makes for a fun weekend project!
What You Will Need
- Yarn any color
- Pom Pom Maker
- Keychain
- Scissors
Instructions
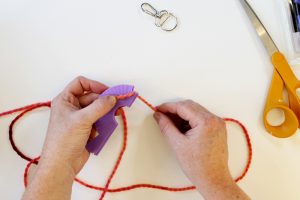
- Choose the size of pom pom maker that you prefer and hold it in your left hand (if you are right-handed). Start the yarn in the right notch and leave about a 1-inch tail.

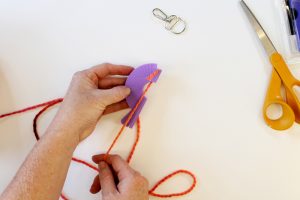
- Wrap around the back of the tool and come through the center hole.
- Go through the left notch, then go through the center again and start wrapping around your pom pom maker.
- Start in the center and wrap towards the right.
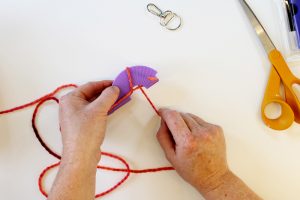
- Wrap back to the left.

- When you are happy with the amount of yarn, trim the yarn near the top then flip the pom pom maker and trim the yarn that is wrapped in the notch on the back. Pull each piece of yarn out of both notches.
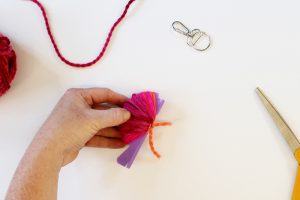
- Tie the two ends that were in the notches as tightly as possible.
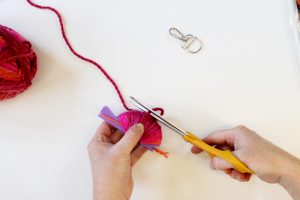
- Run your scissors through the groove in the pom pom maker and cut the yarn strands. Continue all the way around the pom pom maker to remove the pom pom.

- Now you just need to trim your pom pom. You can trim as much or as little as you would like. I like to trim mine quite a bit to make it appear fuller.

- Now if you did NOT tie on your keyring above, you can now tie it on. I would recommend trying to find those original ends to make it as secure as possible. See above for an easier way to tie this on.