DIY Garden Yard Tool Organizer Storage Rack
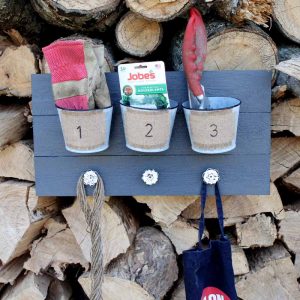
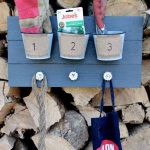
Learn how to make your very own DIY garden and yard tool organizer rack! You can store all of your favorite heavy-duty metal digging tools with this easy tool storage rack. This garden tool organizer wall mount is perfect for your outdoor shed or workshop where you store all of your garden and lawn tools.
Makes 1 storage tool rack
Equipment
- 1 metal hole punch
- 1 drill
- Drill bits
- drill bolts
- 1 metal saw
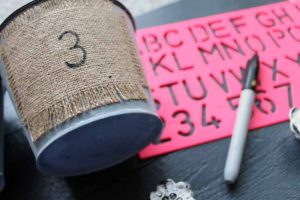
- 1 number stenic or any kind of stencil
What You Will Need
- 1 wooden pallet sign
- chalk paint any color; I used Relic
- outdoor varnish I used light satin
- 3 galvanized buckets with burlap labels
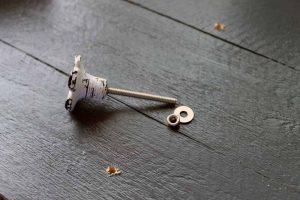
- 3 knobs
- 1 paint brush medium
- 1 sawtooth hanger
- 1 marker dark colored
Instructions
- Add 3 coats of paint to the wooden sign to start and allow the layers to dry. I painted all surfaces (front and back) to protect the entire thing from the elements. After the paint has dried, add a few coats of the varnish to all surfaces as well. Allow it to fully dry.

- Add a hole to the back of each bucket with a metal hole punch like the Crop-a-Dile. Add holes to your pallet sign for the knobs as well. Measure for location and equal distance then drill holes all the way through that are large enough for the threaded portion of the knob.
- Stencil your design or numbers onto the burlap labels.
- Use the bolts and nuts to secure the buckets to the top and add the knobs to the bottom of your garden tool organizer. Add one or two sawtooth hangers to the back of the wall mount.
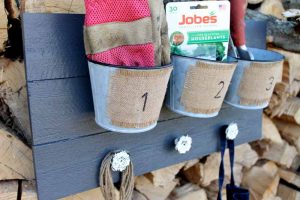
- Use a metal saw to trim any excess from the bolts in the back. The threaded portion of the knobs is long and will stick out too far so they will need to be trimmed.
- Hang up the DIY tool rack as a wall mount onto your wall.