Making Easter Jars
Making your own mason jar Easter Baskets is so easy to do! Give them a try following the instructions below.
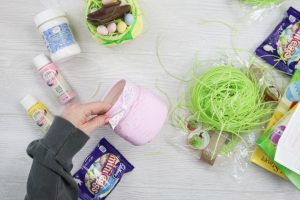
What You Will Need
- Testors Craft Dimensional Craft Paste
- Testors Craft Paint
- Palette knife or Craft stick
- Mason jars I find that this size works best.
- Old comb
- Paintbrush
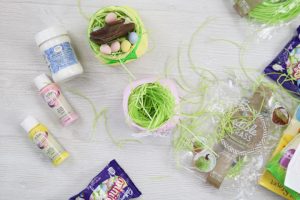
- Ribbon
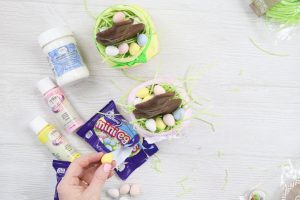
- Edible Easter grass
- Chocolate Easter bunny
- Easter egg candies
- Scissors
Instructions
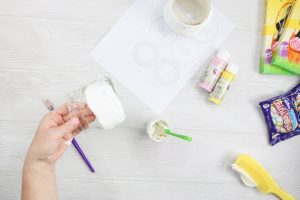
- Start by making sure your jars are clean and dry. Then apply the dimensional craft paste to the outside of the jar. Use a medium to heavy coat making sure to cover the entire jar. You can use a pallet knife or craft stick for this.
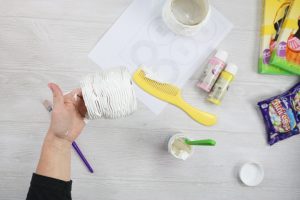
- Once your entire jar is covered you can start pulling the comb through the craft paste to create a basket-like effect. Use an old comb for this that you are going to keep in your craft room as you don’t want to use it for anything else after using it for crafting. Do this over the entire jar so that your entire jar has a texture.
- Once your jar is completely covered as well as texturized with the comb then you’ll want to set it aside to dry completely overnight. Once dry, you are ready to paint the jar in any color that you like.
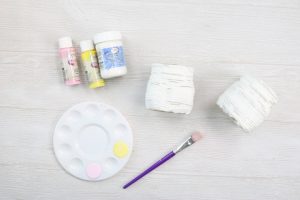
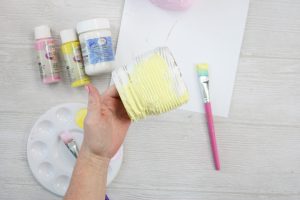
- Just add the paint with a paintbrush all over the jar. I found that one coat was fine but you can add two if you feel it needs it. Then allow the paint to dry completely.
- Once everything is dry, add a ribbon around the top. Tie into place and trim any excess with scissors.
- Fill the jar with edible Easter grass.
- Then put in a chocolate Easter bunny. Finally, add in a few chocolate Easter eggs around the bunny.
- Now your Easter jars are complete and ready to give to anyone on your Easter list. Everyone will love these cute jars and receiving them for Easter.