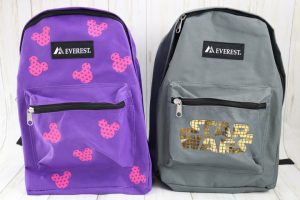
How to Make DIY Backpacks
Personalized a backpack has never been easier! Use your Cricut to make these two cute backpacks in minutes.
Equipment
- Iron-on protective sheet
- EasyPress Mini
What You Will Need
- Backpack this is the recommended one from Amazon
- Cricut cut file you can find the cut files here
- Mosaic iron-on
- Mickey mesh iron-on
- Other supplies to add to the backpack see below for the links to the suggested lists
Instructions
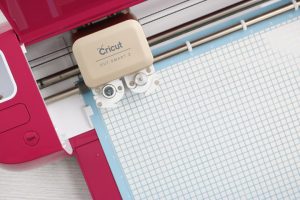
- Start by cutting your design with your Cricut machine. You can cut either the Star Wars design or the Mickey Mouse heads or come up with a different idea that is all your own. If you have not worked with mosaic iron-on before, you may want to start with my post here.
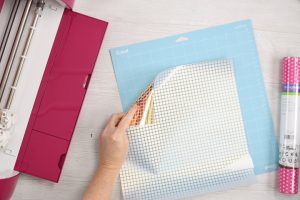
- Be sure to put your material face down on the mat and mirror the cut. Then load the material with the mat into your Cricut machine. Please note that ANY of the Cricut machines will make this project. I am using a Cricut Explore Air 2 but you can use a Maker or a Joy for these DIY backpacks.
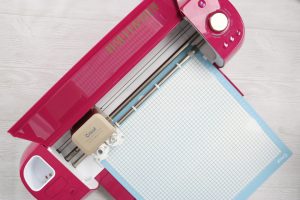
- Then cut your design from iron-on.
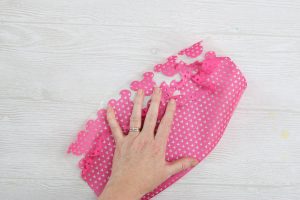
- Weed away all of the excess iron-on around your design. The double liner of the mosaic iron-on is a bit different so either watch the video above or see my post here on how to use it.

- Weeding tools make weeding a bit easier but they are not required. You will want to weed around the outside as well as the centers of any letters. You need to be left with only what you want to be transferred to your backpack.
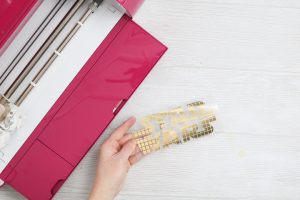
- The mesh iron-on that has the Mickey heads weeds in the same manner as Everyday iron-on. Just remove the excess by pulling it up.
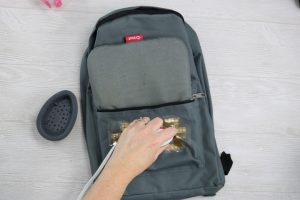
- Then you can add your designs to the DIY backpacks. Start by adding the EasyPress mat to the inside of the surface if possible. Then press the material for a few seconds to remove any wrinkles as well as any moisture.
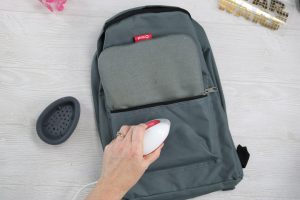
- Be sure to check the Cricut Heat Guide for the time and temperature to use with your iron-on. Then add your design in place and start pressing. Be sure to keep the EasyPress Mini moving while pressing.
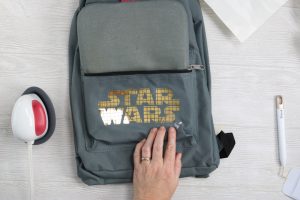
- Press for the full time then allow to cool. Remove the carrier sheet from your iron-on. In the case of the mosaic, the first liner may come off and leave the second behind.

- Just remove the second liner after you remove the first. If any of the squares start to pull up, just press again then try to remove.
- After removing both liners, I like to add the protective sheet over the top and press once more to ensure it is in place.
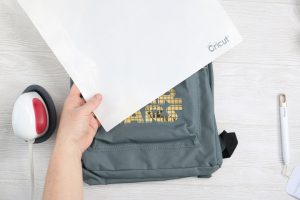
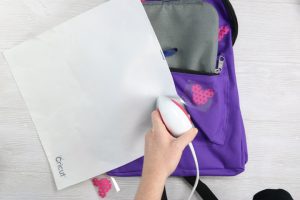
- For the Mickey heads, the EasyPress Mini is actually larger than the heads. So, I used the protective sheet to help shield the backpack material from the heat while I pressed. I also would press one head, then press the second, then go back to remove the liner of the first. This gives the first adequate time to cool.
- Once your DIY backpacks are complete, they are ready to give to the Blue Ribbon Project or to your child for school.