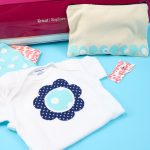
Using Scrap Fabric on a Cricut
Don't throw away those scrap pieces! Use your scrap fabric on your Cricut to create something new.
Equipment
- Cricut machine (any will work)
- Iron or EasyPress
What You Will Need
- scrap fabric
- interfacing this will depend on the machine you are using as well as the project you are making
- fine point or rotary blade
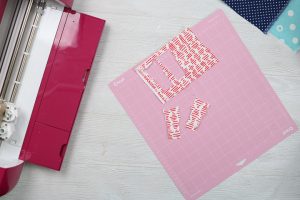
- fabric or light grip mat
Instructions
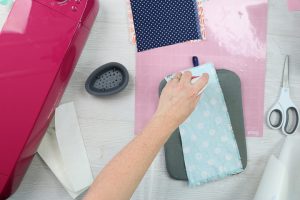
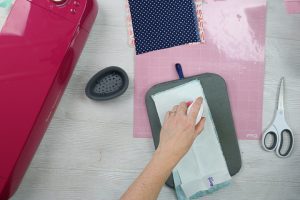
- If your fabric scraps are really wrinkled, you may want to iron them first.
- Then add interfacing if needed. When is it needed? If you are using a Cricut Explore or Cricut Joy, you will need this in order to cut the fabric. If your project uses something like Heat and Bond as an adhesive, you will also need to add that at this step. If you want to use your Cricut Maker with no adhesive or stabilizer, you can skip this step.
- You will want to add your interfacing as per the instructions on whatever brand you are working with.
- You will want to remove the backing from your interfacing before continuing with cutting on your Cricut machine. NOTE: Backing is only present on double-sided adhesive products.
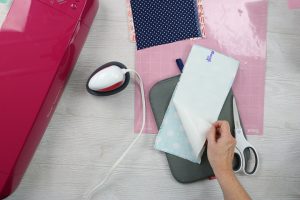
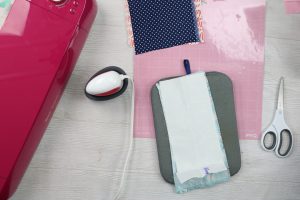
- Place your fabric on the fabric grip Cricut mat. This needs to be interfacing side down if you are using it. If you are not using interfacing, you can put either side down but be sure to mirror your cut if the good side is down on the mat. If you don't have the fabric grip mat, a light grip mat will work for bonded fabric.
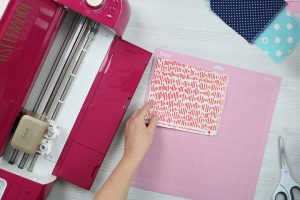
- Then you can cut your design from your fabric using your Cricut machine. For the Cricut Maker, pick the fabric you are cutting. For the Cricut Explore, pick a bonded fabric setting. For the Cricut Joy, use the medium card stock setting. Remember that ONLY the Cricut Maker can cut fabric that is not bonded.

- Then you can remove your cut pieces from the Cricut mat and continue on with your project.