
Red, White, and Blue Wreath Idea
Your guests will love this touch of patriotism on your front door this summer.
What You Will Need
- Boxwood wreath
- USA wood cutout I used the 12-inch version
- Resin
- Resin pigment in red, white, and blue
- Stir sticks
- Measuring cups
- Mixing cups
- Hot glue and a glue gun
- Wood skewers
- Gloves and other protective equipment
Instructions
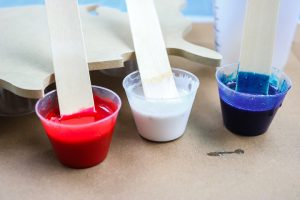
- Start by measuring and mixing your resin according to the package directions. Be sure to use proper safety equipment when working with resin. Mixing properly is vital to your success with resin so be sure to read and measure carefully. Then divide up your mixed resin into three small cups. Add the pigments to each one to get your desired colors.
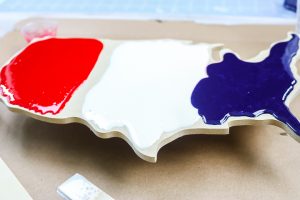
- Prop your wood cutout up on a few spare cups and put it over some cardboard to protect your work surface. Then start pouring the resin into three different areas to create the red, white, and blue effect. You will want to push the resin around a bit to get it close to all of your edges.
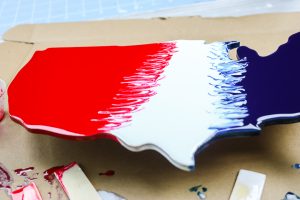
- Then use wooden skewers to marble the lines between your colors. You can do this as much or as little as you would like. Allow to sit a few minutes then pop any bubbles that rise to the top. You can do this with a flame that you get close to the project or by blowing on the project gently. Then allow to cure overnight. Check on your project a few times and wipe away any drips that you may get over the edges.
- Then use hot glue to secure the wood piece inside of your summer wreath.