
Sublimation Stamped Ink Coaster with Words
Add sublimation ink to a coaster with a stamp pad and this method.
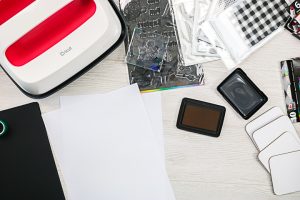
What You Will Need
- Sublimation ink pad These are currently only available in black. You can get just the ink pad or there is also a refill bottle to refill the sublimation ink inside.
- Artesprix Stamps
- Acrylic block
- Protective mat
- Protective paper
- Sublimation coasters
- Heat tape
- Artesprix sublimation markers
- Cricut EasyPress or a heat press
- Copy paper
- Pencil
Instructions
- To begin, remove the cover just like any ink pad. It does have a protective plastic piece which I leave in place to offer up additional protection.
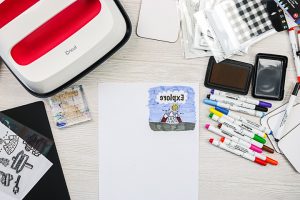
- Take one of the coasters and, using a pencil, trace around it onto the copy paper. The pencil gives you a guideline for adding your stamps. If you want a background color, now's a great time to do that. Or you can stamp and then color around the outside, either way. Use an acrylic block almost the same size as your coaster and add whatever stamps you are going to use. Ink up your stamps just as if you were stamping regular paper with a regular ink pad.
- Center the design on the outline of the coaster and press down really well. Make sure you get all the areas. If you have text in your design, the words will be backwards, but when we turn it over onto the coaster to press, it will be the correct way.
- If there is something that isn't as dark as you want it to be or you want to add more colors, you can color things in and go over the top. It's a lot like a coloring book at this point! Use as many colors as you like. The colors are pretty vibrant when coloring with them but I do want to note that it will be even more vibrant once you press it. You can color outside of the pencil line you made earlier, but the design that goes on your coaster will be just to the edge of the pencil line.
- Please note that you will need to clean your stamps with a damp cloth when you're finished with your design.
- Now it's time to press your design onto the coaster! Cut around the design, but not on the line to give a little extra space around the outside. Center the paper onto the coaster. Apply the heat resistant tape. Put the coaster face up and place another piece of protective paper over the top. Heat the EasyPress to 400 degrees and press for 90 seconds. Allow to cool and pull back the paper to reveal the design!