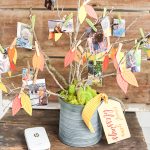
DIY Thankful Tree
Learn how to make this tree to show what you are thankful for this Thanksgiving!
What You Will Need
- Container
- Styrofoam
- Moss
- Clothespins
- Ribbon
- Sticks
- Printable tag and leaves
- Printed pictures
- Scissors
- Hole punch
- Cardstock
Instructions
- Print out the leaves and cut them with scissors. Alternately, you can use the print then cut function on your Cricut for this.
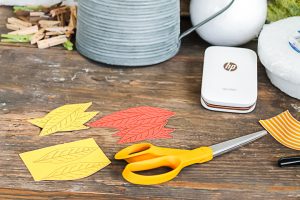
- You will also need to print out the tag and cut around it as well. Use a hole punch to add a hole.

- Fill your container with styrofoam.

- Add in branches from your yard. Make sure these are clean and dry.
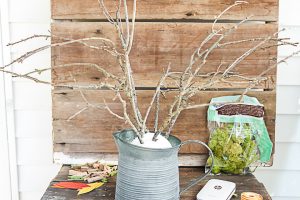
- Cover the styrofoam with moss. You can use glue to secure this into place or just set it on top.

- Tie the tag onto your container with a ribbon.
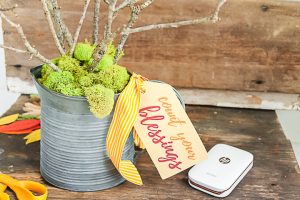
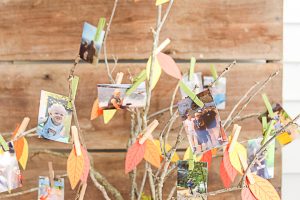
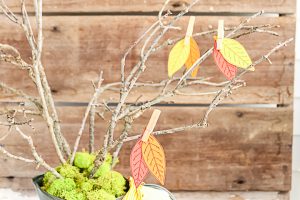
- Use small clothespins to add as many leaves as you would like to your tree. You can actually have your family write what they are thankful for on the back of each leaf before adding it to the tree.
- Then print pictures of the people and things you are thankful for and start adding them to your tree with additional clothespins. Keep adding to the tree all season long!
