
Foiling Christmas Ornaments on Photo Paper
Learn how to foil on photo paper and make some photo ornaments for your Christmas tree.
What You Will Need
- Cricut machine the Explore or the Maker will work
- Cricut foil tool
- Foil transfer sheets
- HP Photo paper
- Printer
- Kraft board
- Adhesive
- Twine
- Scissors
Instructions
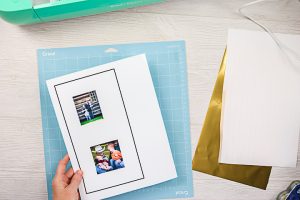
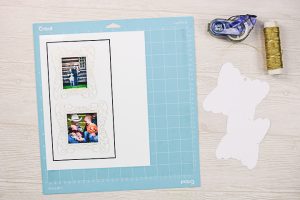
- Set up your design in Cricut Design Space. You can see more about how to do that in the video above. Then print your photos onto the photo paper. Be sure to turn off auto bleed and use the printer dialogue box for printing. You want to use the best setting on your printer to get the best images.
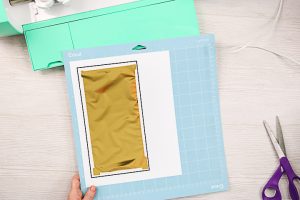
- Add the printed paper to your mat and put foil on top. You will need to tape the foil down well with the tape included with the foil. Please note that you cannot put the tape over the black box. I like to cut the tape in half lengthwise before using.
- Then use your Cricut to foil and cut your design. Cricut Design Space will prompt you when to add each tool and remove the foil.
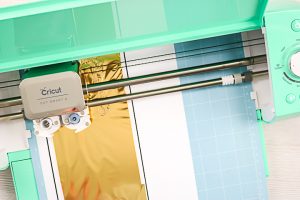
- The machine will cut the design after it foils. You will also need to cut the kraft board pieces as explained in the video.
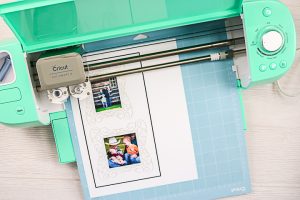
- Once you have all of your pieces cut, you can assemble the ornament.
- Put the kraft board piece on the back and the printed photo piece on the top with adhesive in between. Then tie on a piece of twine for hanging.