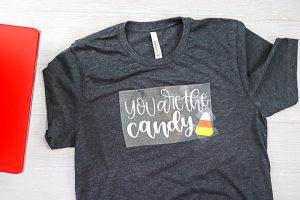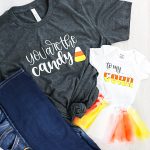
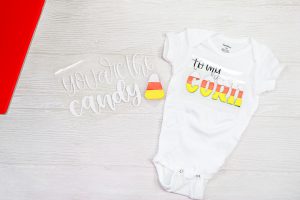
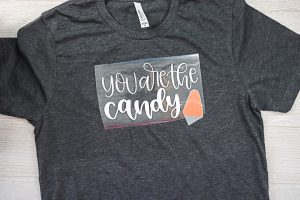
Matching Shirts for Mommy and Baby
Celebrate fall and Halloween with these cute matching mommy and me shirts that anyone would love!
What You Will Need
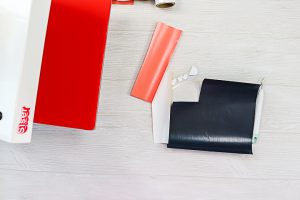
- Siser heat press
- Siser HTV
- Onesie
- Shirt
- Weeding tool
- Cricut machine
- Cut file for shirt designs
Instructions
- Cut all of your heat transfer vinyl pieces using your Cricut machine. Be sure to place the material shiny side down on the mat and mirror your image before cutting. You can see more about how to use HTV here.
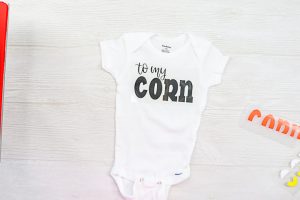
- Weed away all of the excess around the outside of your design as well as things like the centers of letters.
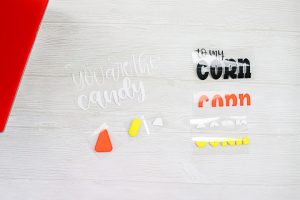
- I like to stack my pieces and make sure everything looks okay before pressing to my shirts.
- Start by pressing the bottom most layer onto your shirt. Be sure to follow all time and temperature recommendations from the manufacturer. I printed a guide from the Siser website.
- Peel back the carrier sheet from the first color and add the second. Be sure to cover the first with a carrier sheet before pressing to protect it from the heat. The press a second time to adhere your second color.
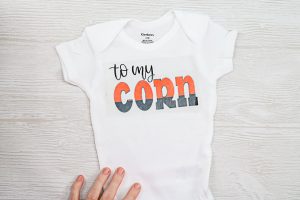
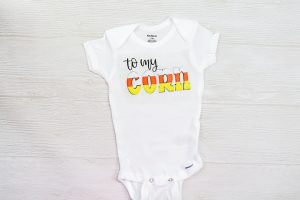
- Repeat the same steps for any additional colors. In this case, this onesie has four colors and all three were pressed in the same way.
- You will then need to repeat the same procedure for the adult-sized shirt.
- Remember that if a design is too large for the press you are using, you can always press once, move over, and press a second time to cover the entire design. Once you remove your final carrier sheet, your shirts are done and ready to wear!