

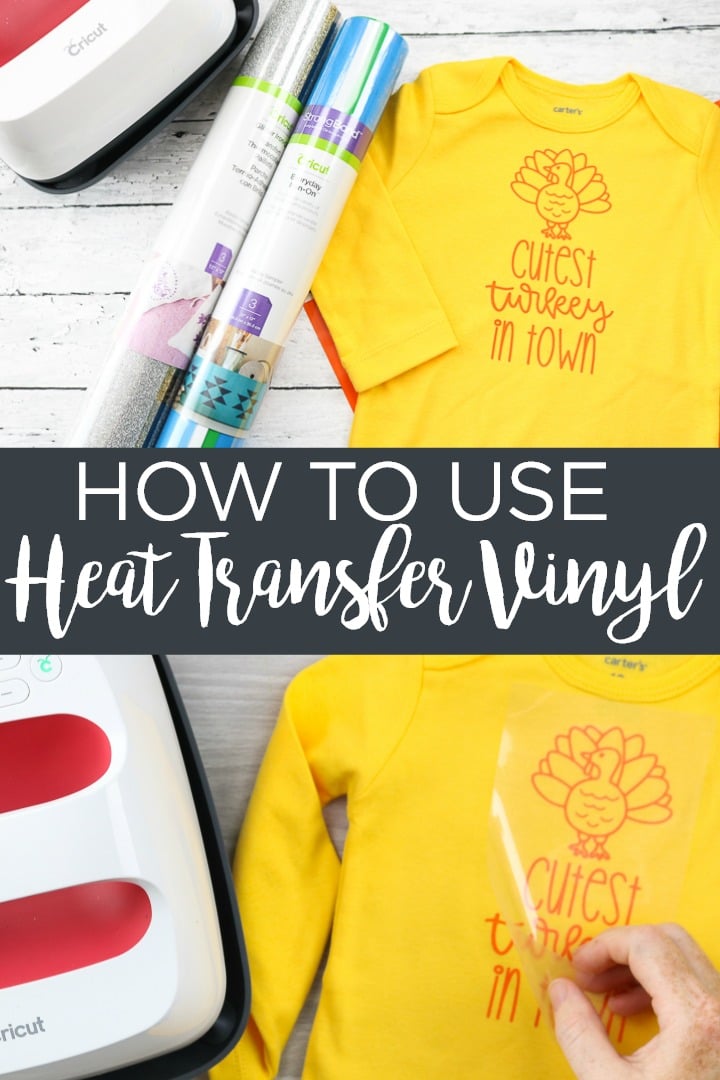
Knowing how to use Heat Transfer Vinyl (also called Iron On Vinyl) opens a huge world of possibilities with crafting! Learn all you need to know about how to use iron on vinyl with your Cricut in this tutorial.
I know there's a belief that many beginner crafters and some intermediate crafters hold. It's the idea that working with vinyl is too hard (or too messy, or too risky, etc.).
But it's also very appealing because you can do things with vinyl that you can't do any other way.
Believe it or not, I get asked how to use iron-on vinyl (also called heat transfer vinyl, or HTV) probably more than any other question.
My most basic answer: it isn't hard to use HTV, I promise! And to show you just how easy it is, I thought I would share the basics of this material with you as a reference guide to using it.
Welcome to Iron On Vinyl 101. Here's everything you need to know about using HTV on your craft projects. If you're ready to get started but need something to press your heat transfer vinyl, check out more about the EasyPress.
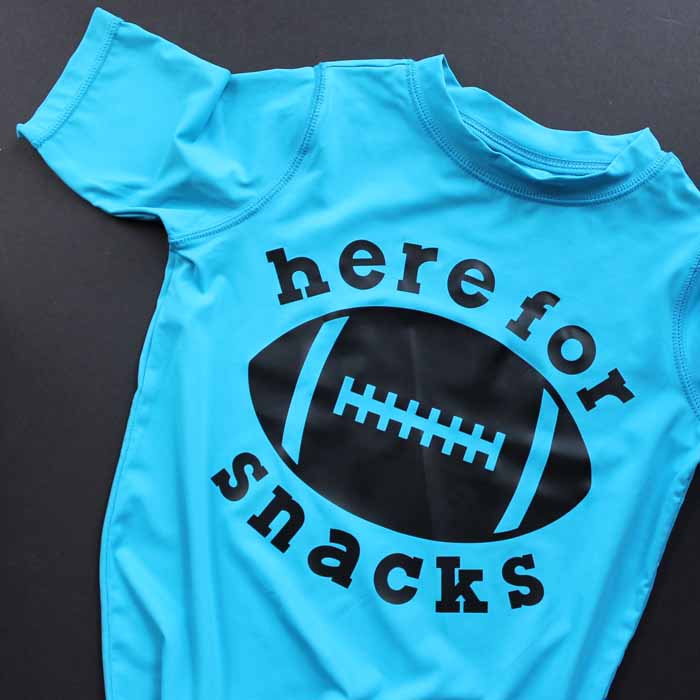
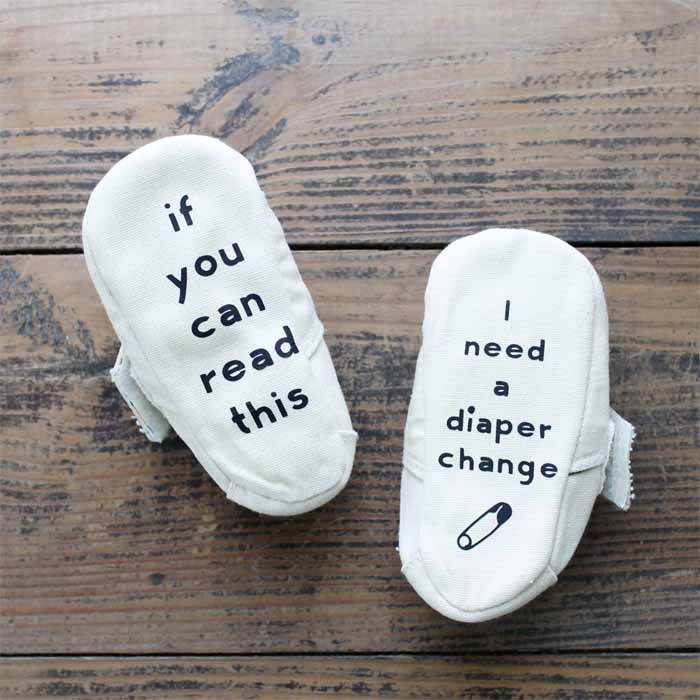
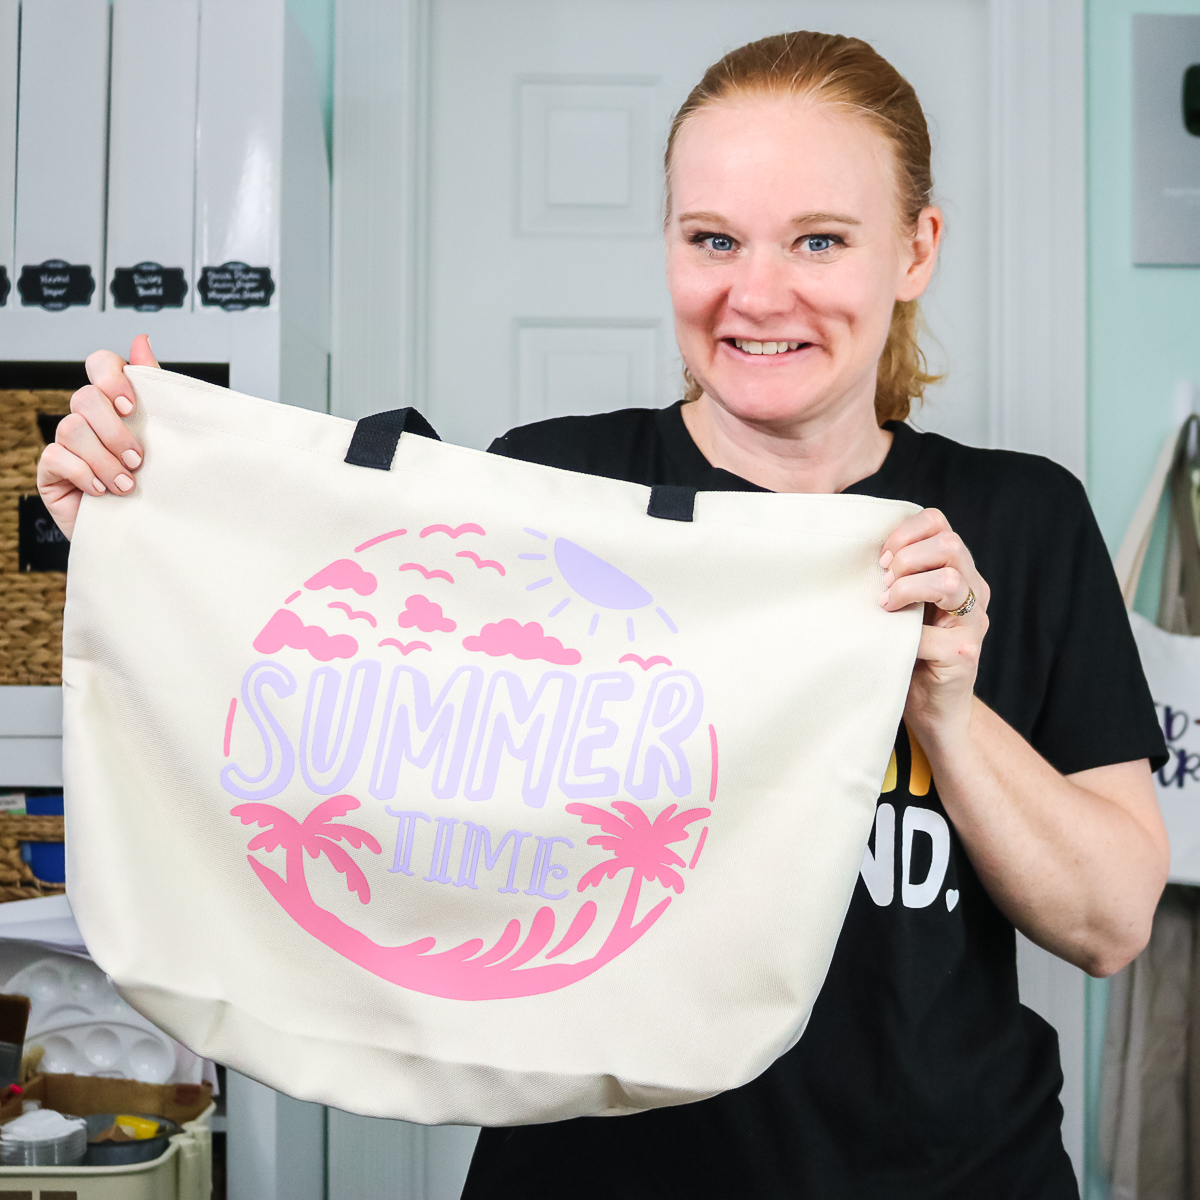
Note: Do you want to see some of the amazing things you can create with heat transfer vinyl and your Cricut? Check out How To Make Custom Napkins, How To Use Heat Transfer Vinyl On Silk Scarf, and Adding Heat Transfer Vinyl to Hats for just a few ideas.
Heat Transfer Vinyl Versus Iron-on
So far, I have referred to this product as heat transfer vinyl AND iron on vinyl. Which is right? They both are because heat transfer vinyl (or HTV) and iron-on vinyl are the same things.
Both use heat to activate an adhesive on the back of the vinyl so that it will stick to shirts, hats, and so much more.
Video Tutorial
Calling all video-watchers: Do you want to see all of this information in an easy-to-follow video? You can watch that below! And if you love videos like this, I have many more Cricut how-to videos where this one came from.
How To Use Iron On Vinyl
If you're not “into” watching videos or you missed some of the steps, I've got you covered with detailed written instructions too! Just follow along below as we go through the process step-by-step!
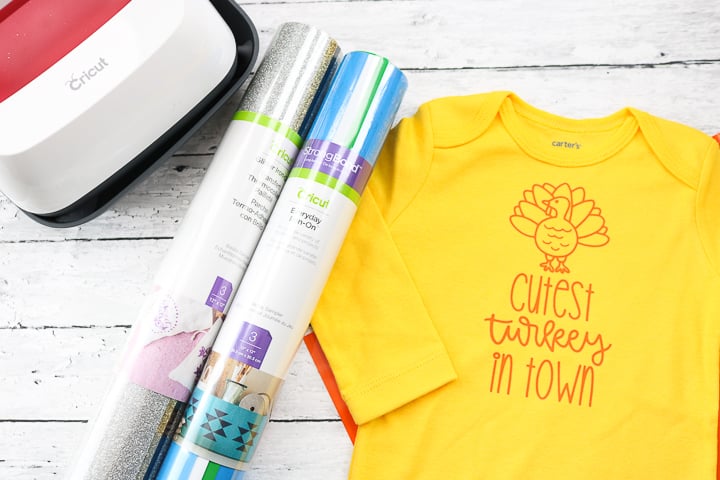
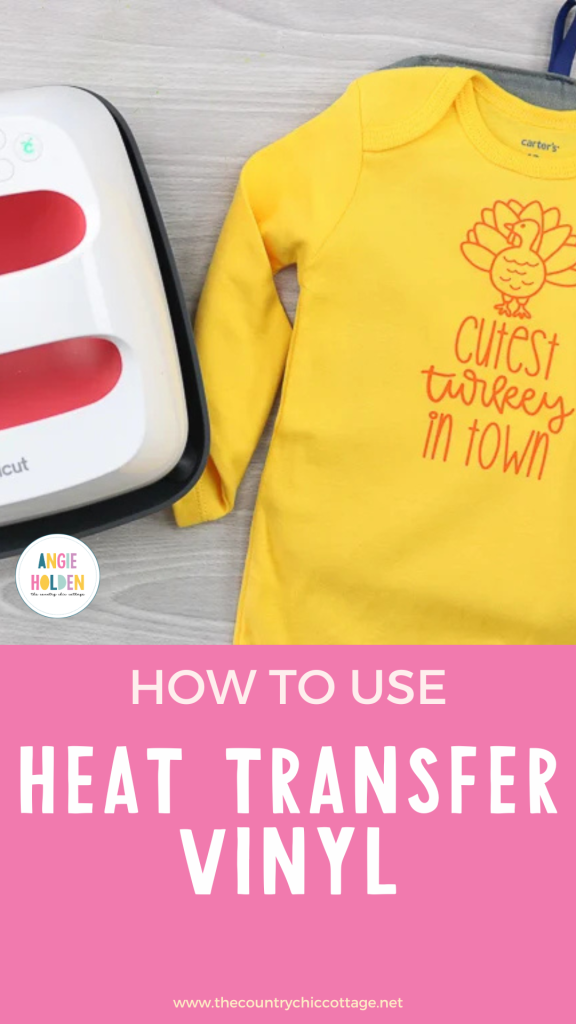
Get the Cutest Turkey in Town design in Design Space here.
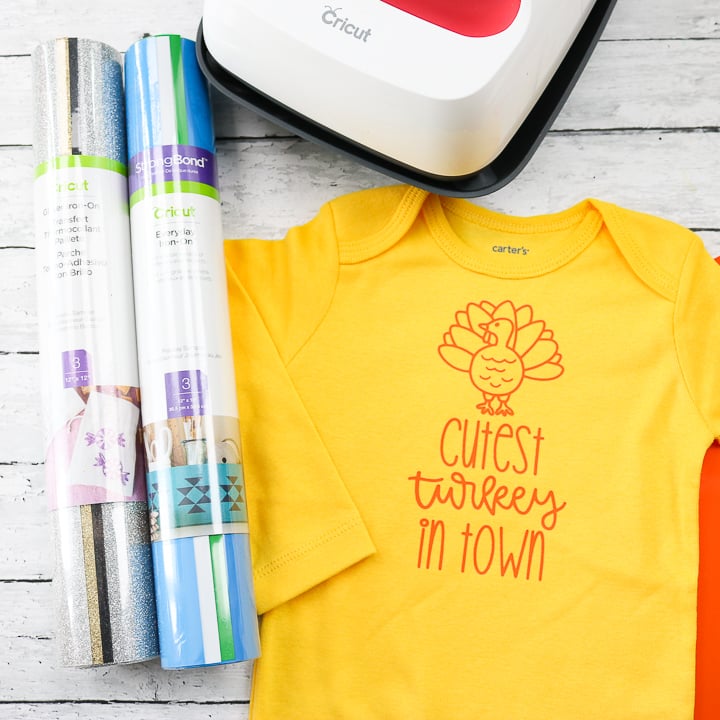
Types Of Heat Transfer Vinyl
There are several types of heat transfer vinyl. A few that you're likely to see often include:
- Plain (in a rainbow of colors)
- Metallic
- Glitter
- Foil
- Patterns
- Mosaic
- Holographic
- And so much more!
Which type of vinyl and brand you choose to use is completely up to you. I would say, however, that every single one of these is different as far as the time and temperature for pressing. Be sure to follow all directions completely when working with any iron-on product.
Which is kind of vinyl my favorite? Readers ask me this all of the time! My answer is the Cricut Iron-on.
There are a ton of other brands on the market, and I encourage you to try a few different types to see which you love. I feel that it is more of a personal preference since they all work well.
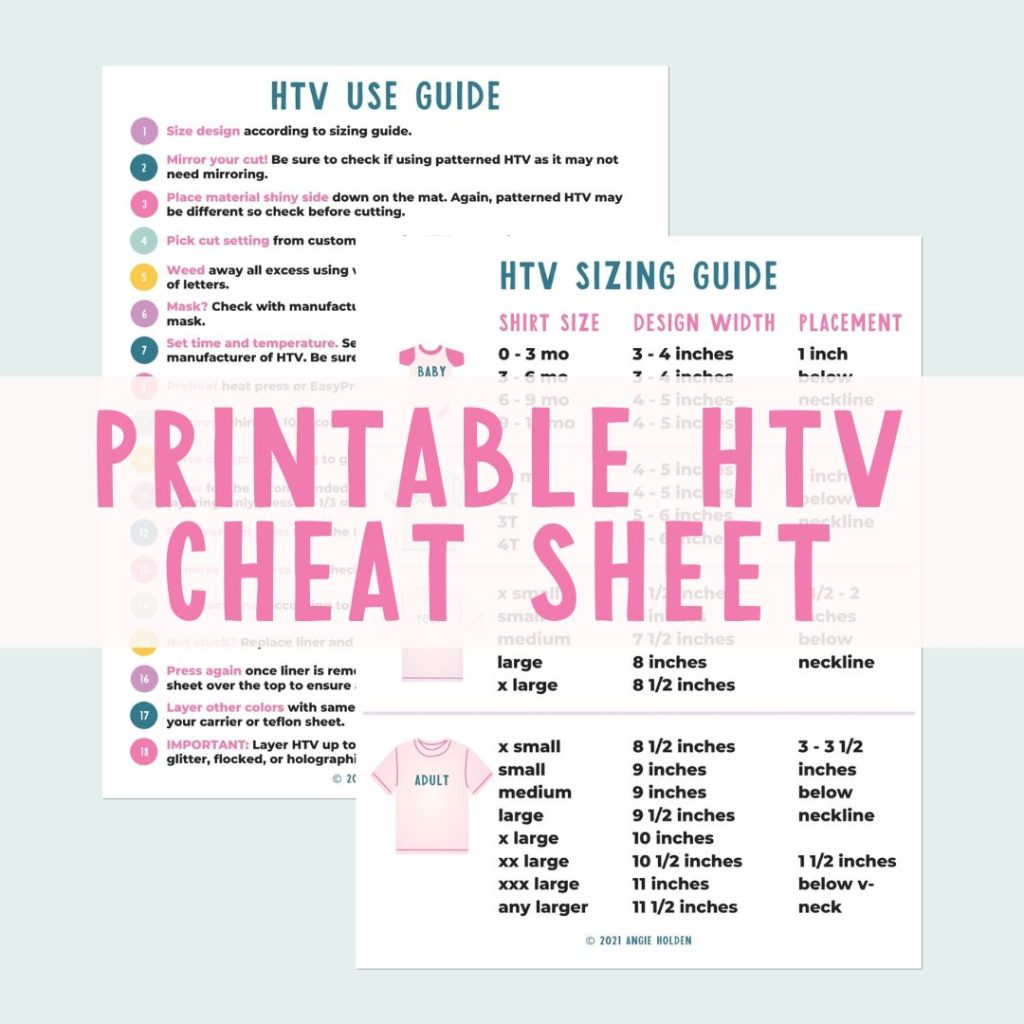
Free HTV Cheat Sheet
Get your FREE Printable HTV Cheat Sheet now! This guide has sizing and position recommendations for infant through adult shirts as well as a handy HTV use guide. Print this double sided guide and put it by any heat press you own!
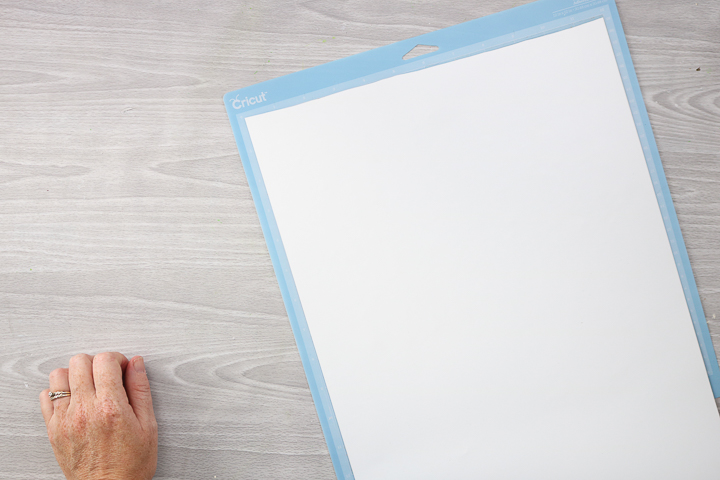
How To Put Iron-On Vinyl On The Mat
Before you can think about cutting your vinyl, you will need to add it to your cutting mat. I prefer the blue mat for my Cricut machine.
Note: some heat transfer vinyl is the same color on both sides, while other versions are white on the back. The safest method is to look for the shiny side because that is the side that has the liner.
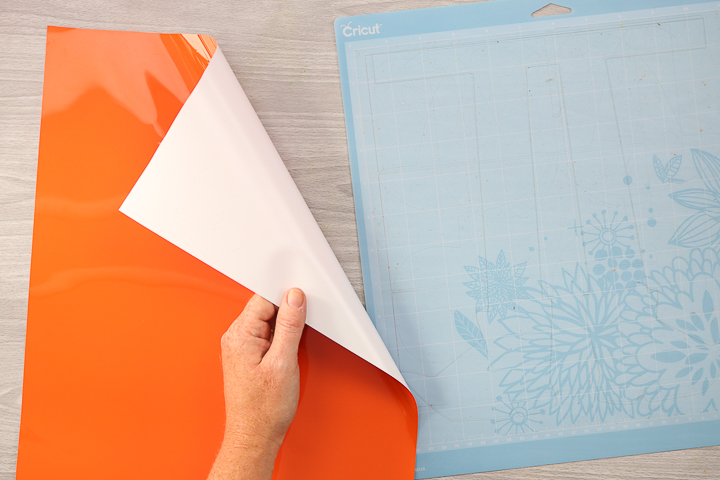
Place the shiny side down on your mat. When the good side is down, the adhesive side will be up.
Note: It is also worth mentioning that heat transfer vinyl is not sticky to the touch. The adhesive is heat activated, so you will not feel anything on the surface.
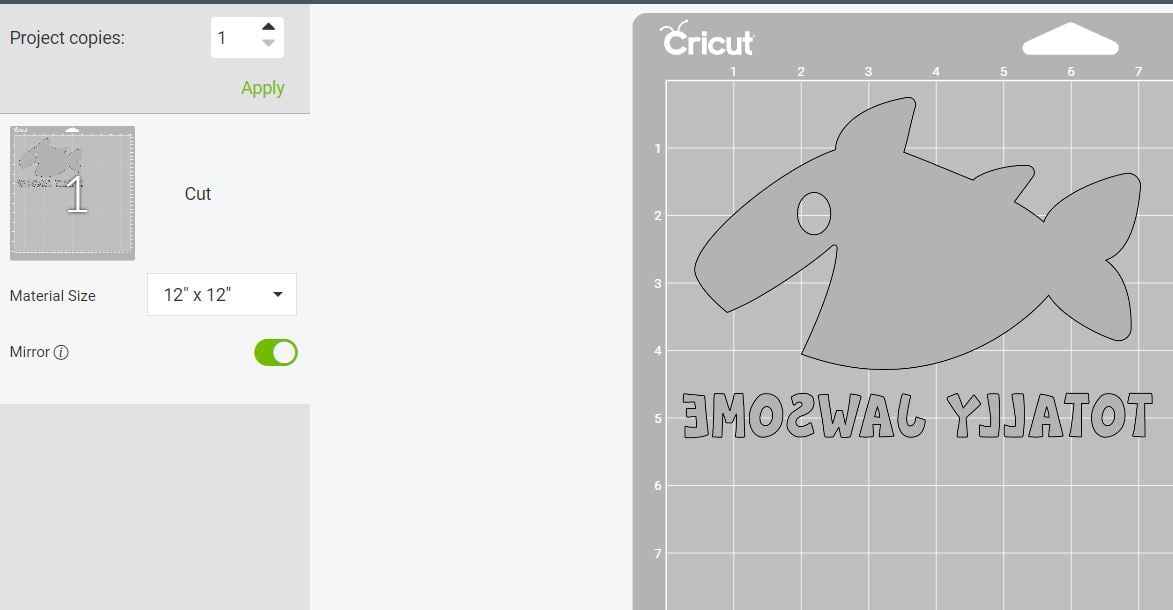
Mirroring Your Design
So, with our material face down on the mat, how do we cut it correctly? The answer is the mirror function! Click “mirror” right in Cricut Design Space before cutting to flip your design.
Note: You ALWAYS need to mirror your design when cutting iron-on. See more about mirroring in our post here.
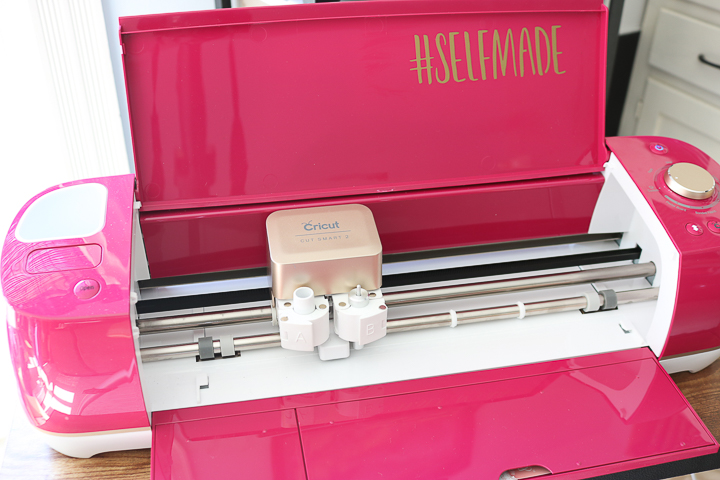
How To Cut Heat Transfer Vinyl On A Cricut
Now you have your material on your mat and your design mirrored, it is time to cut! You can use iron on vinyl with any of the Cricut machines.
Note: To cut, you will use the fine point blade that comes with all machines.
On the Explore series, you can set your dial to iron-on for cutting or on custom and pick from the list in Cricut Design Space.
For the Maker machine, you will pick from the list automatically. Just pick the type of heat transfer vinyl you are using and follow the prompts to cut your mat.
How To Weed Iron-On Vinyl
Now that your design is cut, it's time to get it ready to add to your projects.
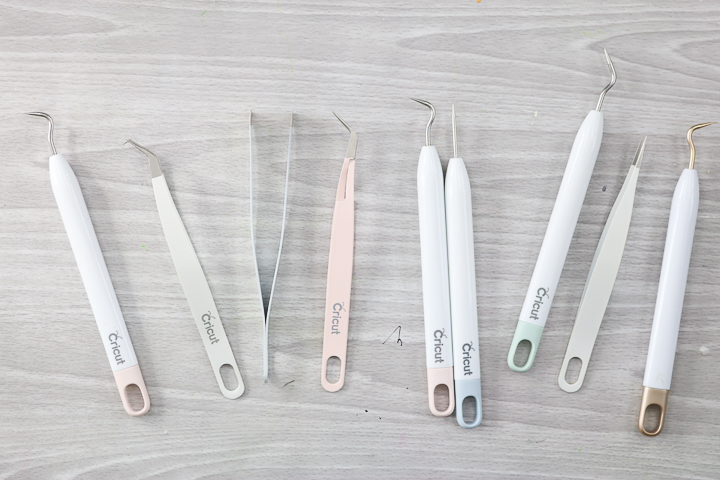
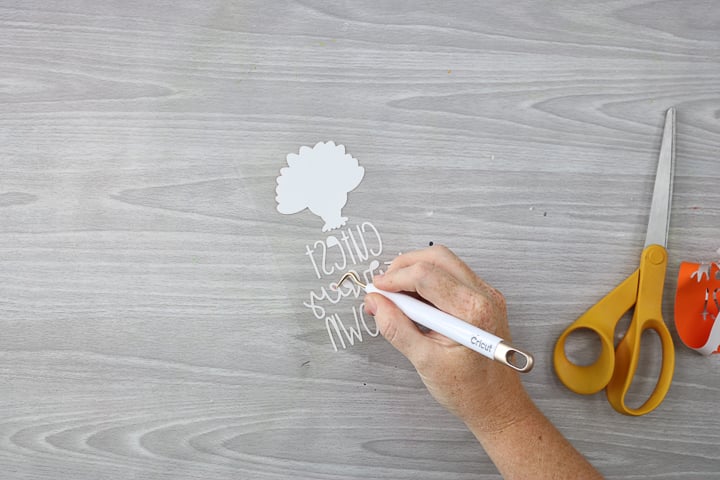
First, you weed away all of the excess vinyl from around your design.
For this task, there are a wide variety of hooks and tweezers available. There is no right or wrong with this part. In time (and with practice), you'll figure out which tools are your favorite. This weeding kit is a great one to get you started.
Start by trimming the iron on vinyl around your design. You can save the remainder of the sheet for another project. Trim with either a trimmer or just scissors.
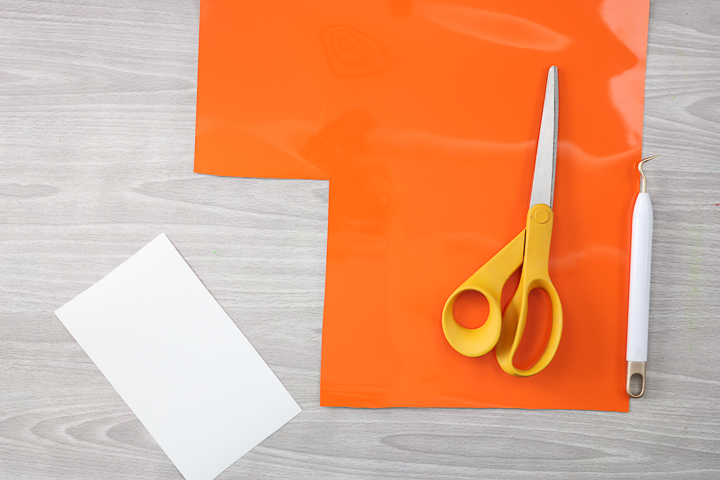
Then use your weeding tools to get rid of anything that is not part of your design. This includes everything around the outer edge as well as things like the centers of letters.
Discard everything you weed away.
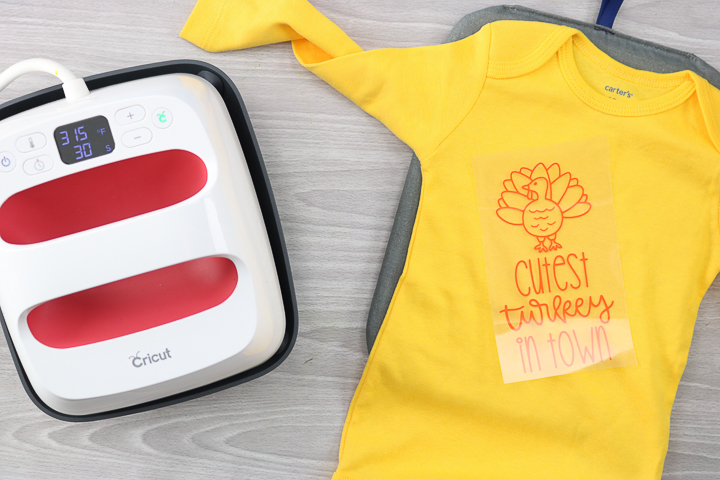
How To Press Heat Transfer Vinyl
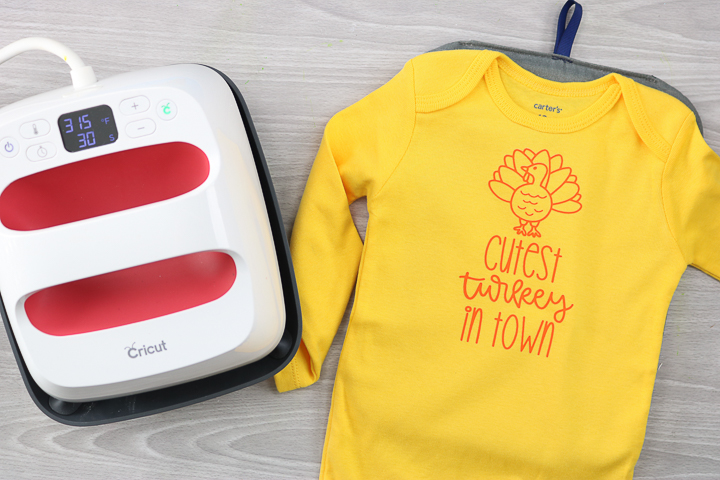
Now we have a design that is ready to press. I am going to add this one to a shirt. You will want to look up the time and temperature for the brand of HTV that you are using. I highly recommend using the Cricut Heat Guide!
Once you figure out how hot your need your press to be, set your EasyPress temperature or adjust your iron and allow it to heat up.
Tips And Tricks For Success When Working With Iron On Vinyl
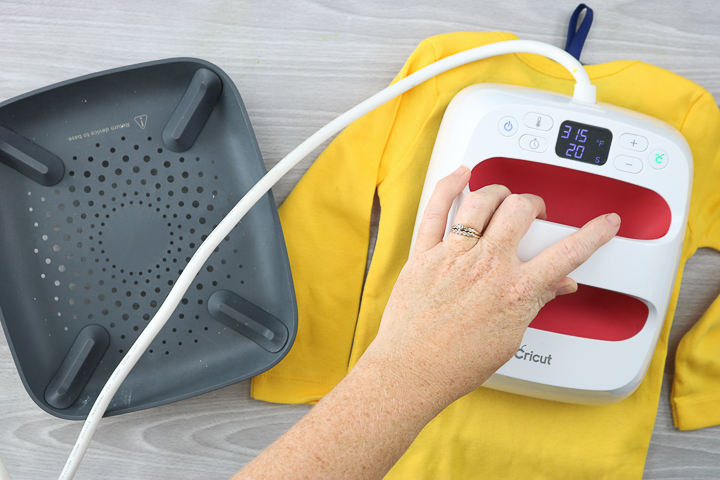
- Put your shirt on a folded-up towel or EasyPress mat to press.
- Preheat your shirt for about 10 seconds. This will remove any wrinkles and moisture from your fabric before pressing.
- Correctly place and straighten your design before pressing.
- Follow all instructions, including the amount of pressure and whether your material can be peeled warm or needs to cool.
- Press from the front and back (if your instructions ask for it).
- The instructions will vary depending on the type and brand of heat transfer vinyl you use but also for the material. For example, the pressing time for cotton will vary from polyester. Be sure to look it up before starting any project so you get it right!
- Most materials will call for your shirts to be pre-washed. This is critical in some cases because the shirts have a coating when in the store.
For the little onesie in these images, I pressed with light pressure for the recommended time and temperature. I also pressed from the back as per the instructions.
The product I used is a warm peel, but I always let it cool for just a few seconds because I don't want to burn my fingers! Once it has cooled enough for your project, just start peeling back the liner material. If the iron-on vinyl isn't securely stuck to your shirt, put the liner back on top and press again!
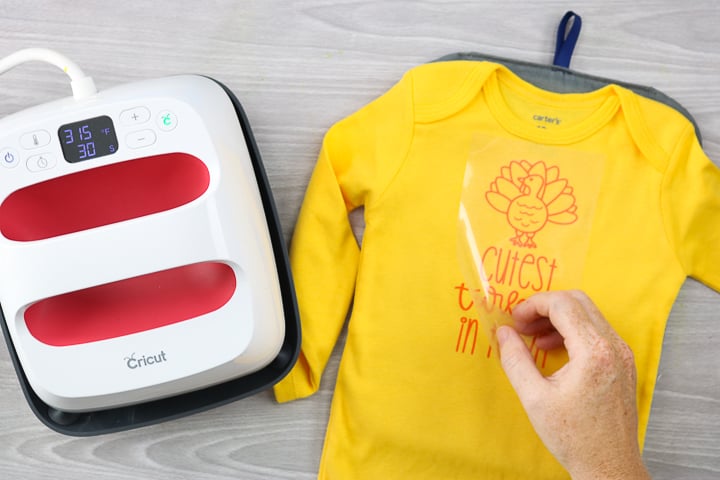
Once the liner is peeled, your shirt is complete! You have just learned how to use heat transfer vinyl and have a cute shirt to show for it. I told you it was easy to use!
FAQs
Here are a couple of questions that I see readers ask about using heat transfer vinyl. If you have a question, please check to see if I’ve already answered it below. Don’t see your question? Leave it for me in the comments!
Which is better, the Cricut EasyPress or an Iron?
The great debate! Which one should you use? When learning how to use iron-on vinyl, which is the best option? This is a little tough to answer concisely because people can have different opinions.
To try to give a detailed answer, check out my full comparison, which will help you weigh your options and make the right choice for you.
How do you care for shirts after adding heat transfer vinyl to them?
You will want to check on the packaging for the material you are using for any care instructions. Sometimes you need to line dry or turn the garment inside out when washing. Unfortunately, it isn't a “one size fits all” situation because it can vary by material and brand.
Since I'm sure you want your creation to last a long time, be sure to take a look at the instructions before laundering.
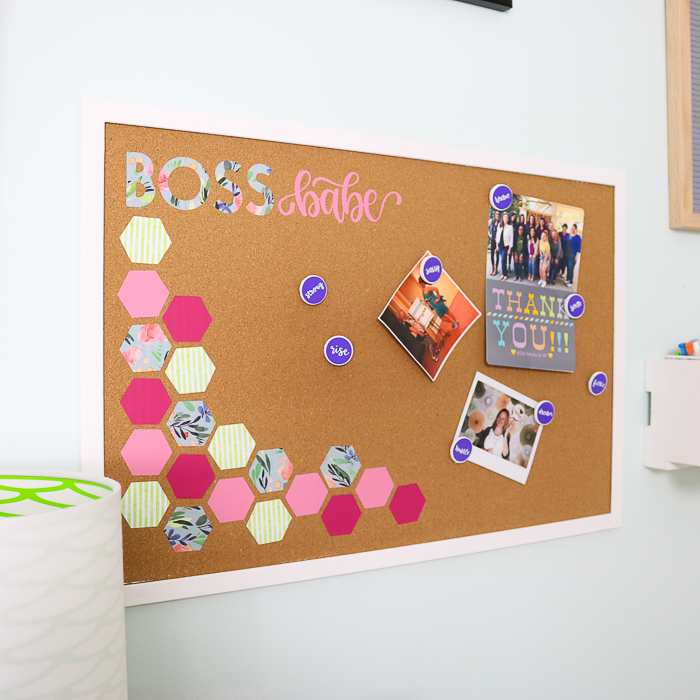
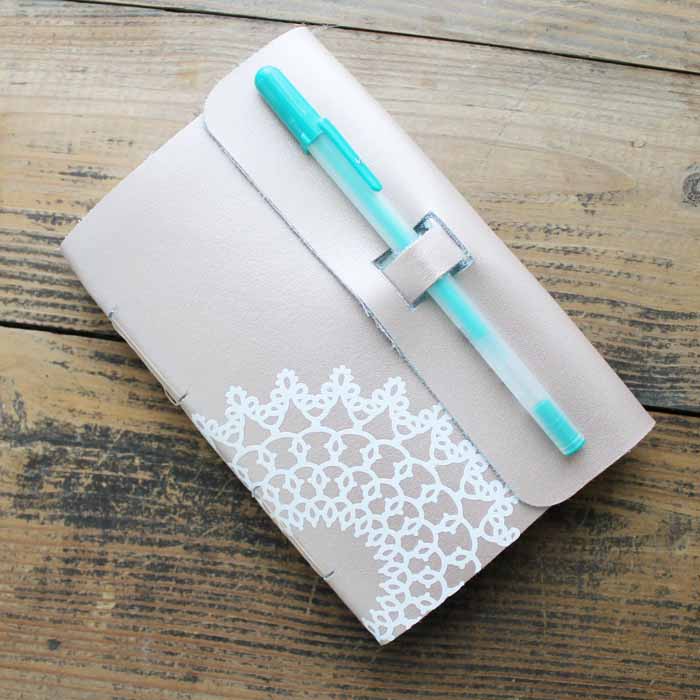
More Iron On Vinyl Crafting Inspiration
So, now that you know how to use heat transfer vinyl, do you want to take your projects even further? We have a ton of ideas that you can try! Check out 60+ Cricut Iron-on Crafts plus a few specific ideas below.


Video very informative. Thank you.
Hi where can i get on of the heat press machine
You can get a heat press on Amazon usually. I have heard there are supply issues right now.
What do you mean when you say replace the carrier sheet? How does one do that and what is it?
The carrier sheet that you peel off you can put that back down to repress.
Great tutorial! I just tried using heat transfer vinyl for the first time, following your step-by-step guide, and it worked like a charm. However, I’m curious about how to ensure the longevity of the design after washing. Do you have any additional tips for maintaining the quality of the plastisol heat transfer vinyl on fabric over time?
I’m so glad you found it helpful!
The best recommendations I can give are to either air dry or dry inside out on a low temperature and refrain from using fabric softeners. Making sure to follow proper pressing setting and making sure to layer only materials that are approved for layering are also necessary steps 🙂
Is the SVG available for the turkey?
Thank you,
Pam
That is a design in Design Space. I updated the blog post with the link (I can’t share links in the comments 🙂
I just used HTV on wood and have a glue residue around my lettering. How can you remove that?
That can happen if you’re using too much pressure or the temperature is too high or if the design moved while it was hot. I don’t know of a way to remove it.