How to Add Iron-on to Baby Socks
Make these funny baby socks in minutes with this quick and easy idea for personalizing.
Makes 3
What You Will Need
Instructions
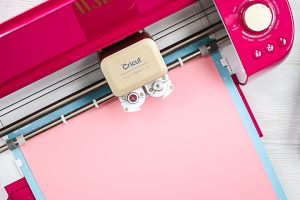
- Cut your iron-on into the design of your choice. Be sure to put the material shiny side down on the mat and mirror your design before cutting. You can see the basics of working with this material here.
- Weed away all of the excess from your design including around the outer edge as well as the centers of any letters.
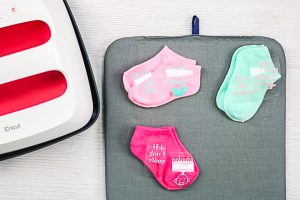
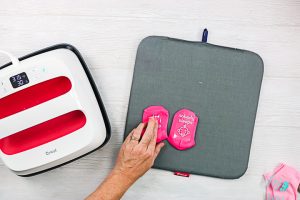
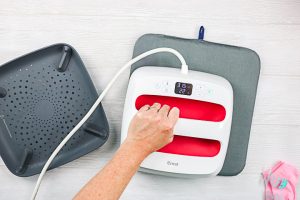
- Lay the socks where the bottom is flat and face up. Press for a few seconds with your EasyPress then add your design to the right location.
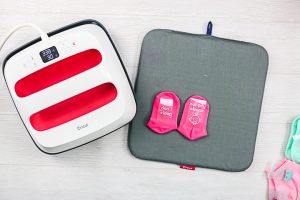
- Then press at the recommended temperature for the time indicated. You will want to press from the front and the back if your iron-on product calls for that.
- Allow the socks to cool and remove the carrier sheet. Please note that the product I am using is a cool peel. You will want to look at the instructions for the product you are using. I like to press once more on baby gifts after the carrier sheet is removed. Cover your area with a teflon sheet or parchment paper then press for about 1/2 the time at the same temperature. This makes sure your design is stuck before giving to a child.