DIY Thanksgiving Serving Platter and Tray Decorations
This craft tray decoration idea is perfect for Thanksgiving messages. You can make this fall serving dish or platter in minutes and display it around your home or use it to serve up your favorite Thanksgiving dishes.
Makes 1 tray
Equipment
- Cricut Cutting Machine: Want to see the difference between the machines? I compared the Cricut Maker and Explore here.
- Weeding Tools: This will make your life much easier! These little tools allow you to carefully remove any leftover adhesive to display your wonderful design and text.
What You Will Need
- 1 White Metal Tray or Round Tray Try Amazon for a few options here.
- Vinyl Use whatever color you would like. I used a dusty metallic bronze shade because it is a great color for fall and goes with a lot of colors.
- Transfer Tape You can find this at your local craft store or online by clicking the link.
- Free Downloadable File Click here to download.
Instructions
- Start by downloading the file here and importing it into Design Space. Just click upload when you are on your canvas in Design Space.
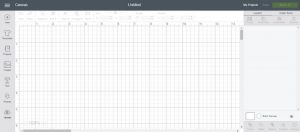
- Click upload image and then find the image in a folder on your computer.

- You then have three options for what type of image you are uploading. In this case, simple works perfectly. If you are uploading other images and having issues, try changing up the type here.

- Then you come to a screen where you will need to erase all of the excess parts that you do not want. Just click on all of that "excess" and it will turn checked like the below image.
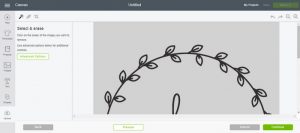
- NOTE: You will have to click the center of each leaf as well as the center of each letter.
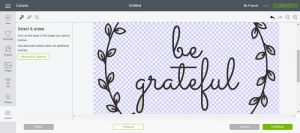
- Click continue when you are done and you can preview on the next page. Click the back button if there is more you need to erase. Otherwise, in this case, we want to save it as a cut image only. Click the cut image and then click continue.
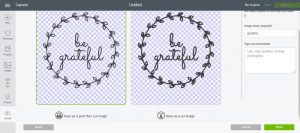
- Now the image is in your uploads and you can click it then click insert images.

- Resize the image here to the size desired for your tray.
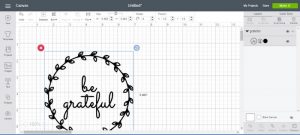
- Then cut the entire thing from vinyl using your Cricut. Remove any excess using weeding tools or just by hand. I find that the use of weeding tools is much faster and easier, however.

- Add transfer tape to the front, burnish well, and peel to remove.

- Carefully, place in position on your tray. Rub down well and peel back transfer tape to reveal your design now on your tray. Use this same method for tray decoration ideas any time of the year.

