Grill Tool Organizer
Make this DIY grill storage with just a few supplies and some simple steps!
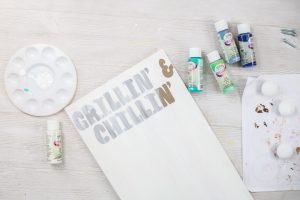
What You Will Need
- Board or sign any size that will work for your grill tools
- Testors craft paints you will need white and four or more coordinating colors
- Paintbrush
- Stencil Download the file to trace onto your board or cut vinyl with a Cricut machine
- Knobs
Instructions
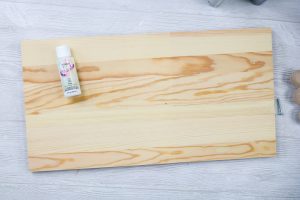
- You will want to start with a board that works for your grilling tools. Be sure to account for the words we are going to put at the top as well as the knobs. You can make this project any size that you would like.
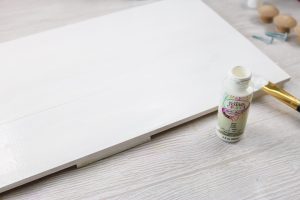
- Then coat both the top and sides with white paint. Please note that if you are using this outdoors it is best to coat all surfaces.
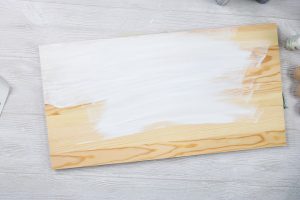
- I found that I needed two coats of paint on my board but you may only need one. To make multiple coats, be sure to allow in between coats.
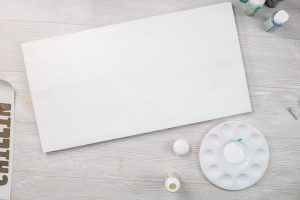
- You will also want to give the wood knobs a few coats of white paint. NOTE: If you are not using unfinished wood knobs, you can skip this step.
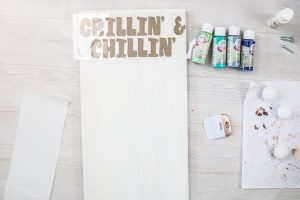
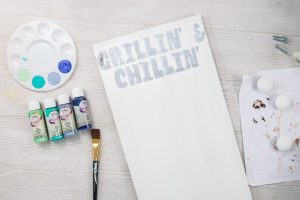
- While your knobs are drying, you can start adding your masking to the board. Cut the design with your Cricut machine on any color vinyl then transfer it to your design using transfer tape. You can see more about the basics of doing this here. Be sure to size the design to fit your board.
- If you don't want to use vinyl, continue to the painting portion of the tutorial here and you can add your letters by tracing at the end.
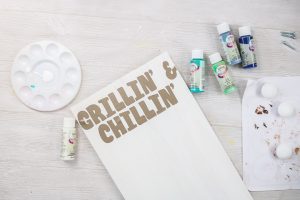
- Add a thin coat of white paint over the top of your letters. This will help with any bleeding and keep it to a minimum. Allow this to dry.
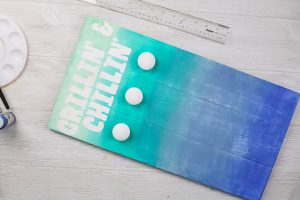
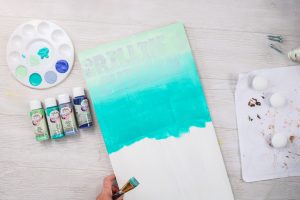
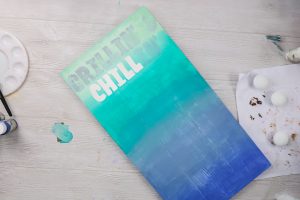
- Now it is time for that ombre paint technique! Pour out each of your colors as you will want to work fast. I am using two shades of green and two shades of blue. You can use whatever colors and as many or as few as you would like.
- I have four colors so I mentally divided my board into four sections. Paint the first section. Then paint a small strip just below that of another color WHILE THE FIRST IS STILL WET. Go between the two with an up and down motion to blend the first into the second. Then go over the area with horizontal strokes to finish blending. You can add more of the first or second color if you find this too dark or too light.
- Continue this all the way down your board with all of your colors.
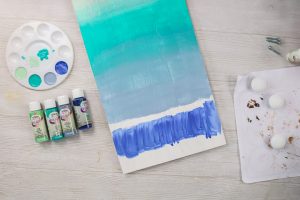
- Blend each one into the previous one until you are happy with the look. I used one paintbrush for this entire project. There is no need to wash your brush or switch brushes.

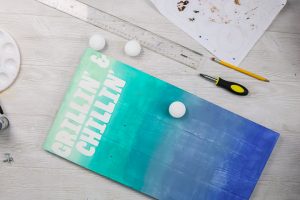
- While the paint is still wet, you can lift up the vinyl letters and discard them. I like using something pointy for this. You can do any touch up to the paint for any bleed through that happened while painting as well. Then let your entire sign dry.
- No cutting machine? Just print the picture of the letters and trace them onto your dry and painted sign. Fill in your pencil lines with the white paint then allow to dry. Once everything is dry, measure and mark for the location of your knobs.
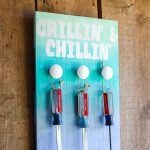
- Drill your holes then add the knobs with your screws. All that is left is to add some sort of hanger to the back and hang up your tool organizer.