

When many crafters get their first Cricut machine, they feel a little confused about how to work with Cricut vinyl—and that’s totally normal. There is a small learning curve, but after you read this post on how to use Cricut vinyl, you’ll have a solid understanding of everything you need to get started with confidence.
Did you recently get a new Cricut machine? Congratulations! If you’d like extra help learning how to use what will quickly become your favorite crafting tool, be sure to check out my Cricut Beginner’s Guide. It walks you through everything you need to go from newbie to confident Cricut crafter.

I have many other Cricut guides and crafts on this site, too, that you can find with a quick search. Go grab a cup of coffee (or your favorite hot drink) and get comfortable while you poke around!
Today, we're taking a deep dive into the basics of using Cricut vinyl. This tutorial covers how to use adhesive vinyl with your Cricut machine. If you are looking for instructions on using heat transfer vinyl or iron-on, you can head here for those directions.
Even if you've never used your machine before, we have you covered with step-by-step instructions and a video tutorial. Just keep reading to see how to use vinyl with your Cricut machine.
Note: If you want more Cricut tutorials, check out my Beginner's Guide To Design Space, Complete Cricut Machine Handbook Supply List, and 10 Cricut Tools You Need.
Using Cricut Vinyl: Video Tutorial
I know a lot of you love your Cricut how-to videos! Well, if you are “Team Video”, I have everything you need to know about using vinyl below.
How To Use Cricut Vinyl
And if you're “Team Written Instructions,” we have the details and step-by-step instructions below for you, too!
Types Of Adhesive Vinyl For Cricut Projects
There are so many types and brands of adhesive vinyl that it is hard to keep them all straight! You can find these types of Cricut vinyl:
- Plain colors
- Holographic
- Glitter
- Patterned
- Foil
- Mosaic
- Metallic
- Printable
- Color change
- And so much more!
When choosing adhesive vinyl, you also want to consider whether you need permanent or temporary adhesive.
Why are there two versions? They're useful for different types of products!
Use permanent Cricut vinyl anywhere you don't want your design to come off, or on outdoor projects where they will be subject to extreme conditions. A good example would be an outdoor sign.
Temporary vinyl is good for indoor applications where you might want to change your decor later. A great place to use temporary vinyl could be a wall decal in a bedroom.
With so many brands out there, choosing one might seem overwhelming. I generally use and recommend the Cricut brand. Check out the entire line from Cricut.
Note: I have had the best results with the Cricut brand, but that may not be the case for everyone. I do recommend shopping around and finding the brand you like best. Try a few different ones, compare the quality and the price, and I am sure you will come away with a winner.
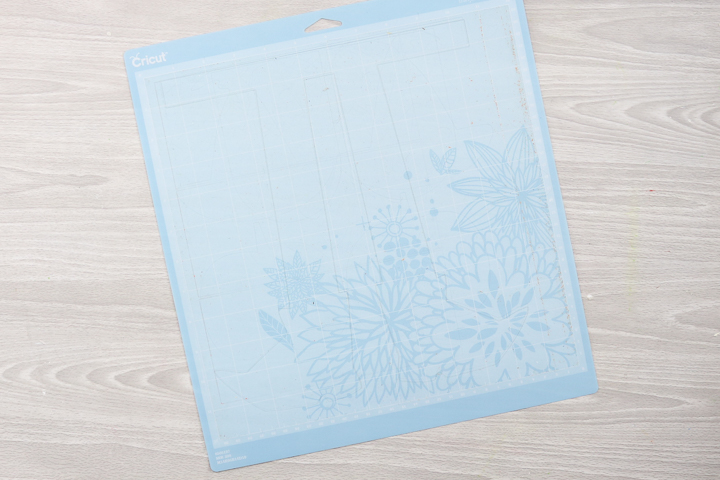
Recommended Mat To Use With Vinyl
In addition to your vinyl, depending on your machine and vinyl type, you will need a mat to cut it with your Cricut.
I like to use the blue mat as a general rule, but a green mat will work as well. If you have any issues getting your vinyl to stick to the mat, try a stronger grip. You can also use a brayer to roll the material onto the mat for more adhesion.
Cricut also offers Smart Materials that allow certain machines to cut materials without a mat. I have some additional information about matless cutting that you may want to check out.
Note: Try our mat washing instructions if your mat has seen better days (it'll help improve its grip).
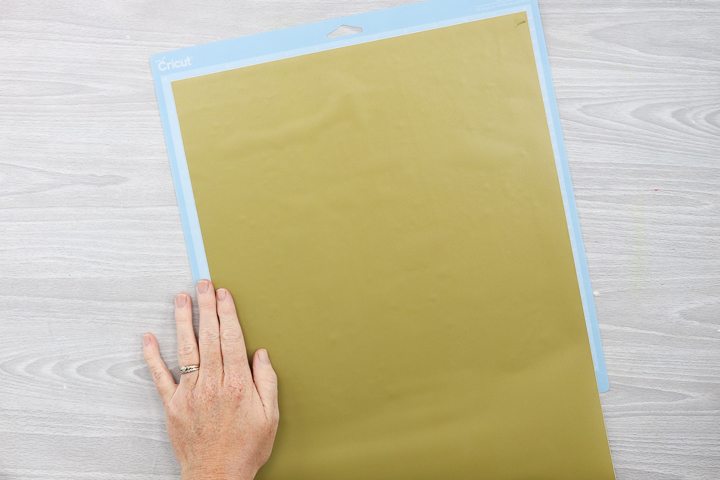
How To Put Adhesive Vinyl On The Mat
Place the vinyl face up on your mat and press it down firmly.
In the image below, I am using a 12 x 24 piece with a 12 x 12 mat. If you have a roll of vinyl, it's okay to adhere only to the 12×12 area and leave the rest hanging off the edge of your mat.
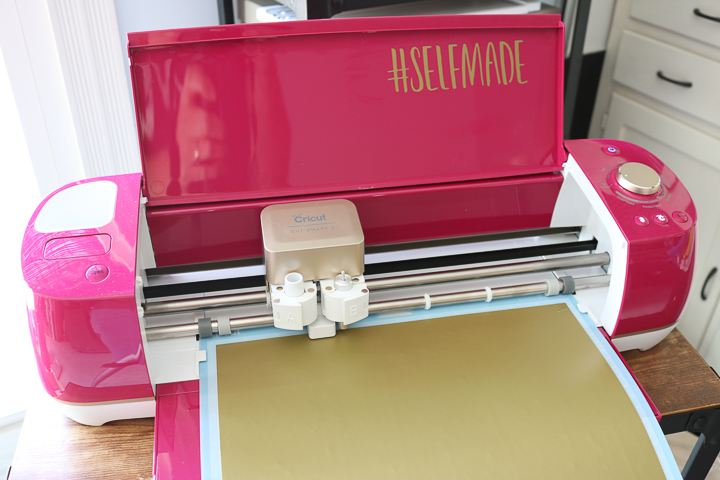
Cutting Cricut Vinyl
You can cut vinyl with any of the Cricut machines.
The fine-point blade is ideal for cutting. There's just a small difference in how to use the different machine series when cutting vinyl.
In the Explore Air series, you can set your dial to “Vinyl” for cutting or to “Custom,” then pick from the list in Cricut Design Space.
For the Explore 3, Maker, Joy, or Venture machines, you will pick from the list in Design Space. Just pick the type of adhesive vinyl you are using and follow the prompts to cut your mat.
Note: Always use the “Custom” setting on the Explore Air series for specialty vinyl, such as glitter, because the “Vinyl” setting will not cut all the way through.
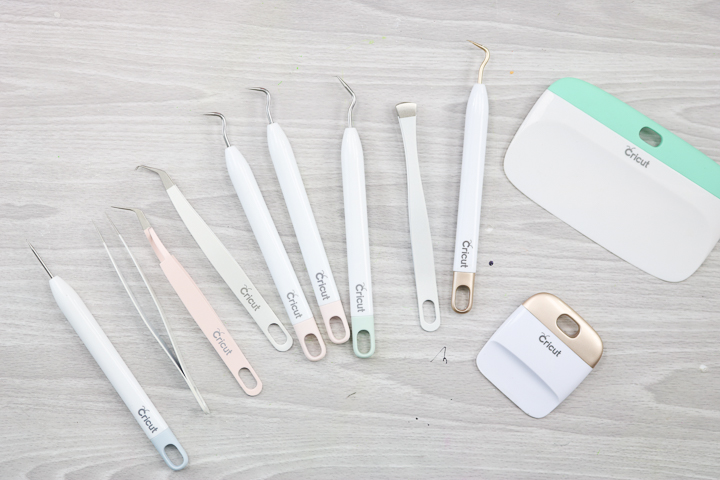
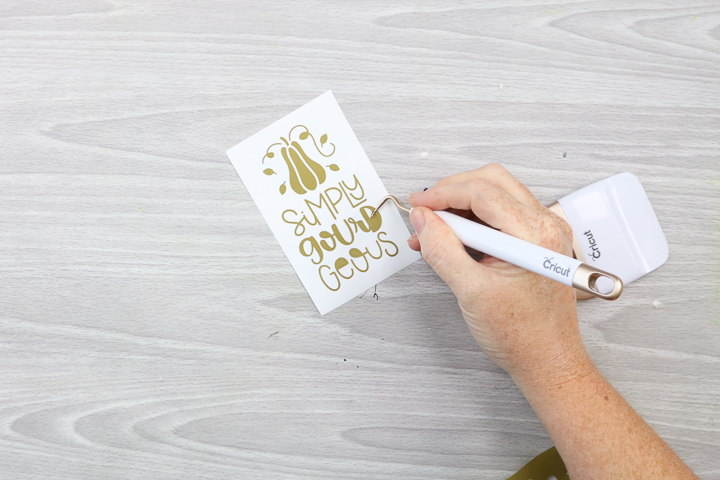
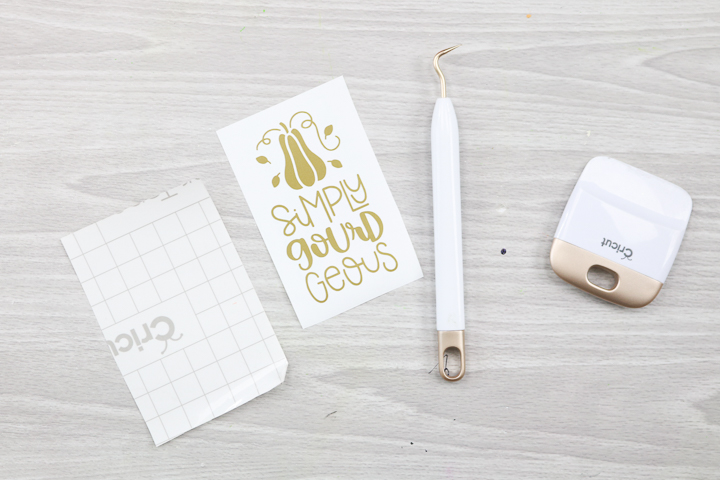
How To Weed Cricut Vinyl
Now that you have cut your vinyl, it is time to learn how to apply Cricut vinyl.
Use your tools to start weeding away the parts you do not want from your design. Pull away the outside pieces as well as the centers of letters.
I recommend this weeding kit to get you started. They really help you pick and lift all of those small bits!
There is a wide variety of hooks and tweezers available for this task. You just need to find your favorite tools and work with them; there is no right or wrong way to do it.
Have trouble with weeding and seeing those lines? Our post on the Cricut BrightPad will help!
Note: I also like to use a scraper when working with all types of vinyl. This helps the vinyl adhere to your surface and to the transfer tape. What is transfer tape? We'll cover that next.
What is Transfer Tape?
Transfer tape will help you lift your design from the backing paper and apply it exactly as it is laid out to your surface. You might also hear it referred to as transfer paper. There are actually two different types:
- Regular – use this for most applications
- Strong grip – use this type for glitter vinyl and any other vinyl that is hard to lift
Ok, those are the types, but which brand is best? This is a tough question to answer because there are so many opinions available.
I generally default to Cricut transfer tape because it works well for me, but some people do not like it at all. Again, I recommend playing around with a few brands to find the one that works well for you. I personally think this is one of those things where every crafter will have a different opinion.
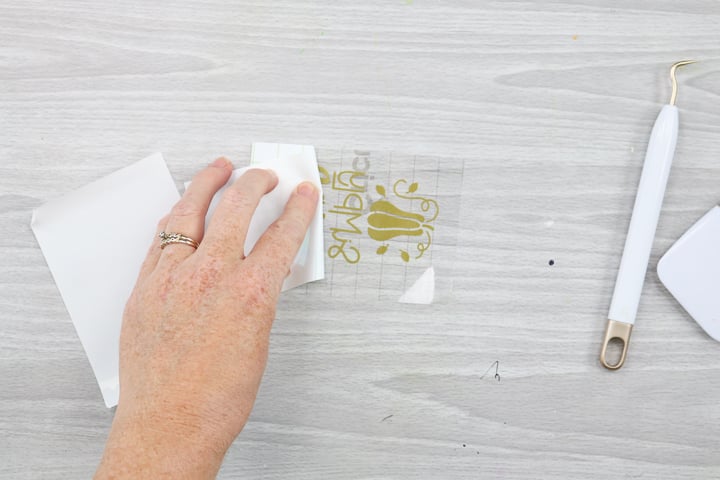
How To Use Transfer Tape
You can't really learn how to use Cricut vinyl without learning how to use transfer tape. Now that you have your design weeded and your transfer tape ready, it is time to make the magic happen! Here's how.
Step 1
Cut a piece of transfer tape a little larger than your design.
Step 2
Peel the tape back from the backing paper.
Note: Transfer tape is reusable, so save this backing paper and apply the tape to it when you're done. Keep the tape for a few more uses before discarding it.
Step 3
Press the transfer tape to the front of your design. Use the scraper to go over this a few times and make sure it adheres well.
Pro Tip: I like to turn my piece over and remove the backing paper, but you can lift the transfer tape if you would like. You want your design to stay on the tape cleanly. If it's not, press down again and run it over with the scraper. Then try to lift again.
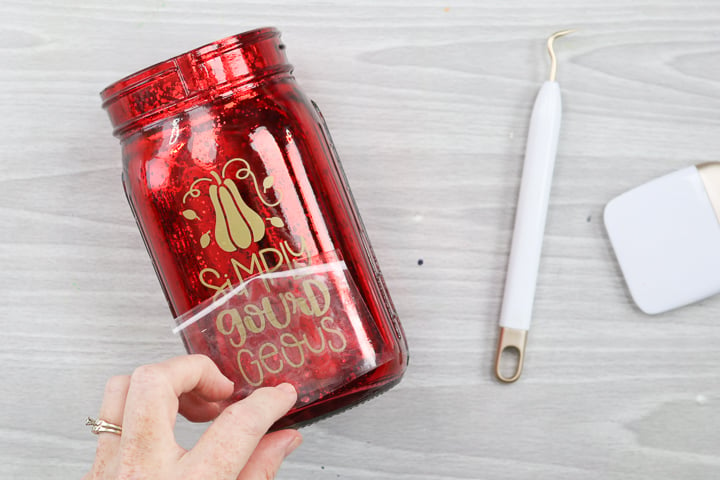
Step 4
Take the tape (with the vinyl adhered) to your project and position it as desired. Take your time with this part (especially if it's permanent vinyl!).
Step 5
Then press the vinyl down well. Once again, go over it with your scraper to make sure it adheres well.
Step 6
Peel back the transfer tape, and your design should stay on your surface. If it does not stay, replace the tape and use the scraper again. Then peel back once more to reveal your finished creation.
The Next Level Of Using Cricut Vinyl: How To Layer Vinyl
So, now that you have mastered the process when working with one color, what about more? Once you are ready to take your projects to the next level, you will want to start layering and adding more colors to your designs.
I have a post about how to layer vinyl with a super-easy trick that you don't want to miss!
Surfaces You Can Use When Working With Adhesive Vinyl
You have to put your vinyl on something, right? But which surfaces work with vinyl?
The good news is that there are so many! You can find a few of those listed below, and I am linking to posts that share tips and tricks for working with each of them.
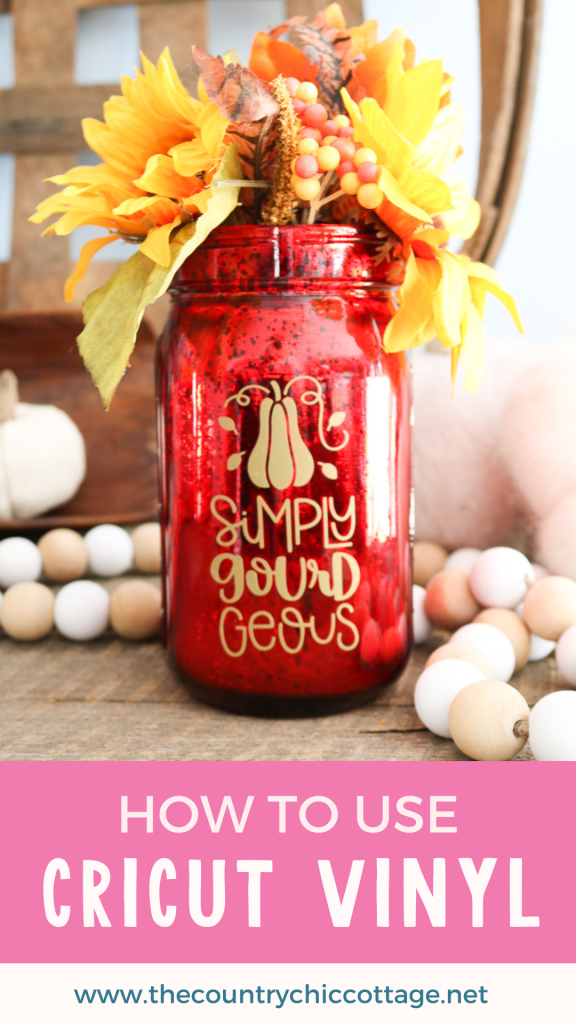
- Glass
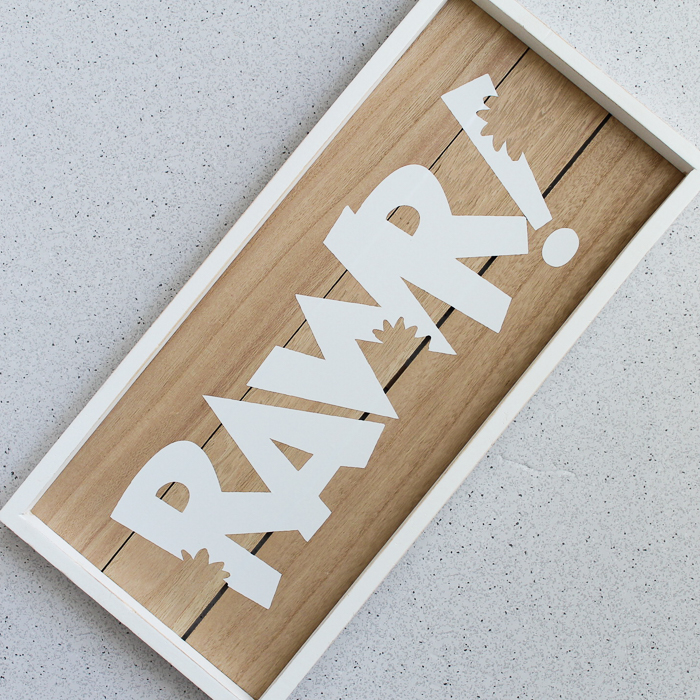
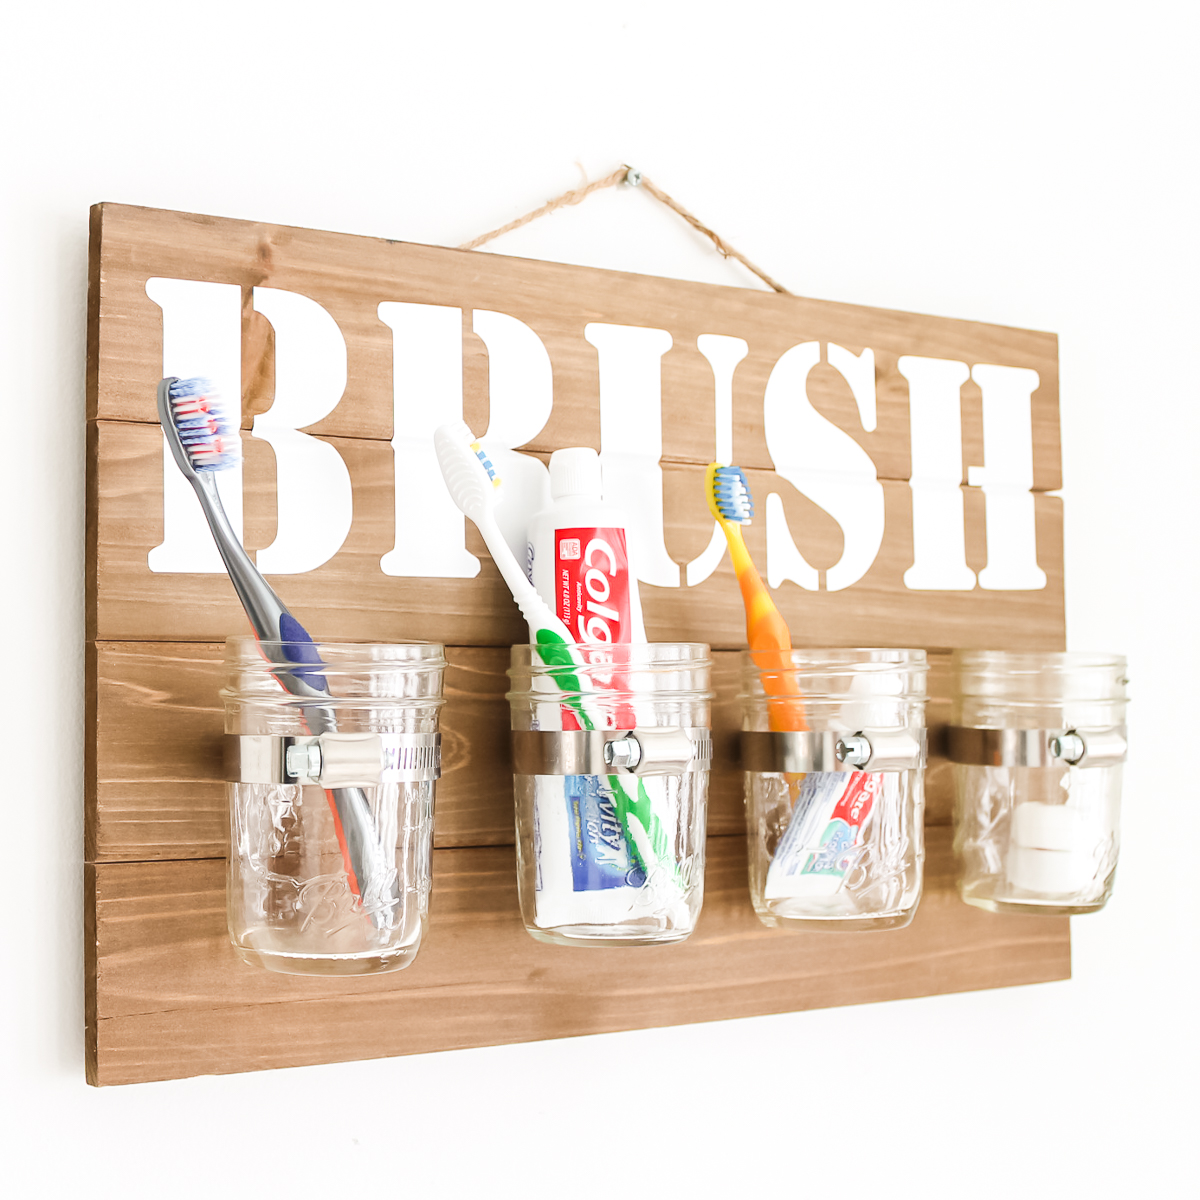
- Wood
- Mugs
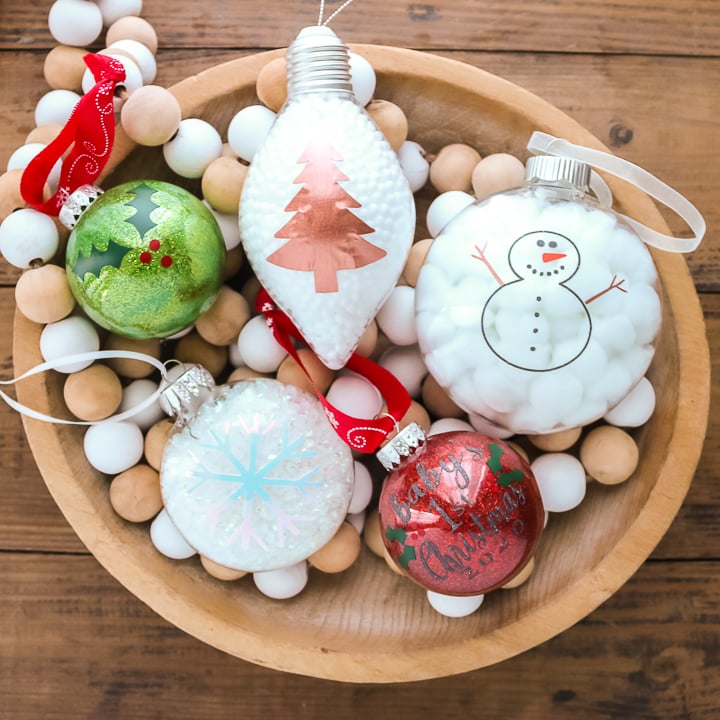
- Ornaments
- Plastic
- Paper
- Metal
- Basically, anything that is not fabric or texture will work!
FAQs
Here are answers to some of the most frequently asked questions I receive about using vinyl with their Cricut machine. If your question isn’t listed, feel free to drop it in the comments, and I’ll be happy to help!
Is a mat required with a Cricut?
All Cricut machines use cutting mats for most materials. Some machines (such as the Cricut Joy, Joy Xtra, Cricut Explore 3, Venture and Maker 3) have the ability to cut matless material.
What can Cricut vinyl be used for?
You can do so many projects with this material!
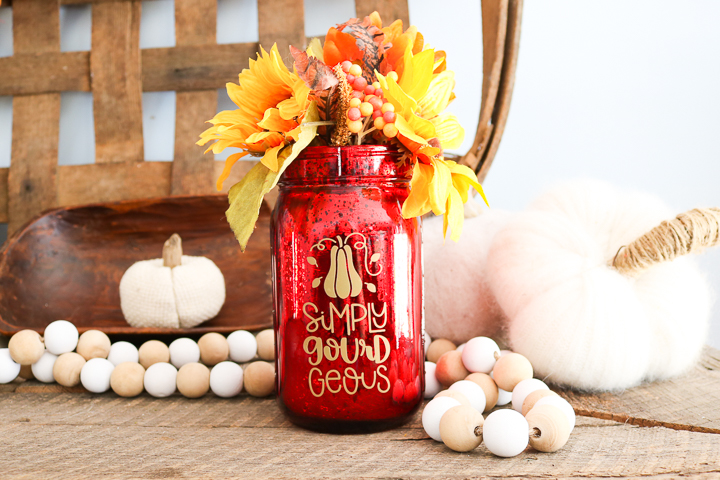
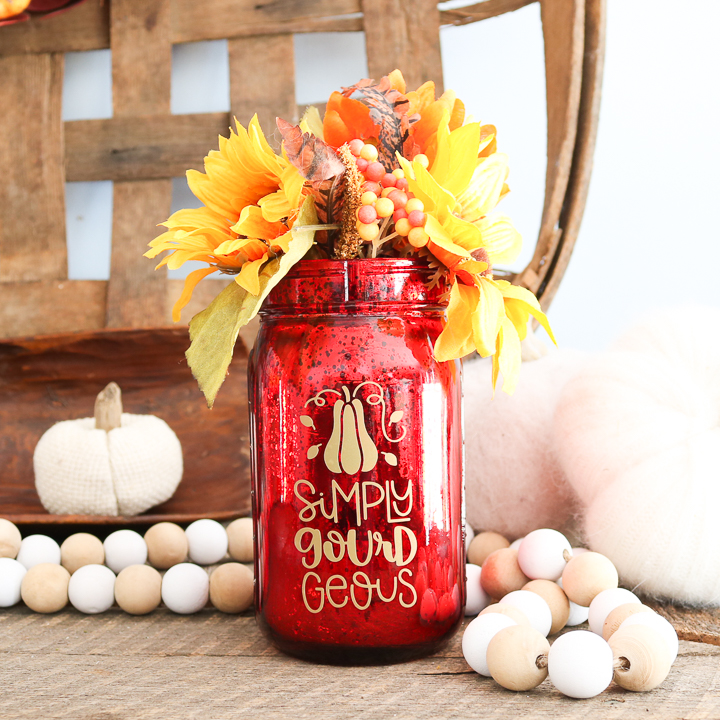
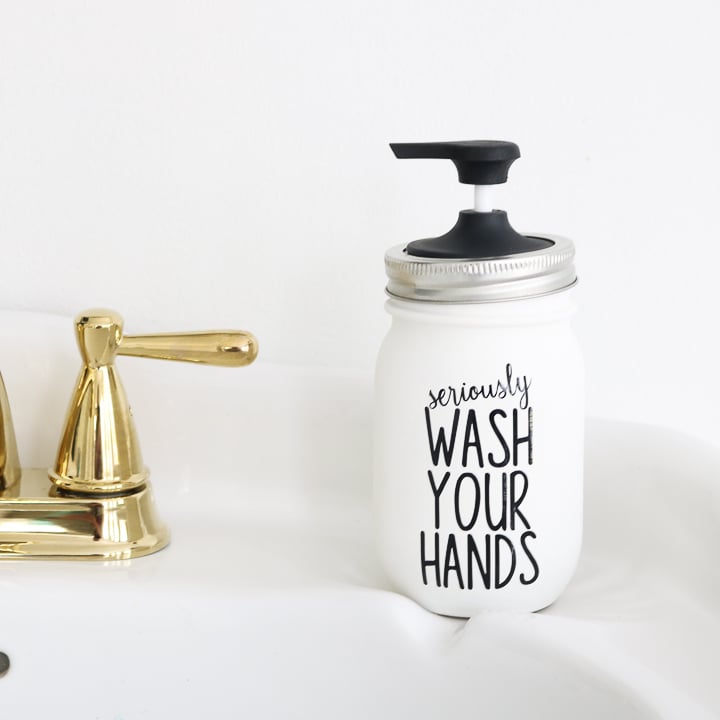
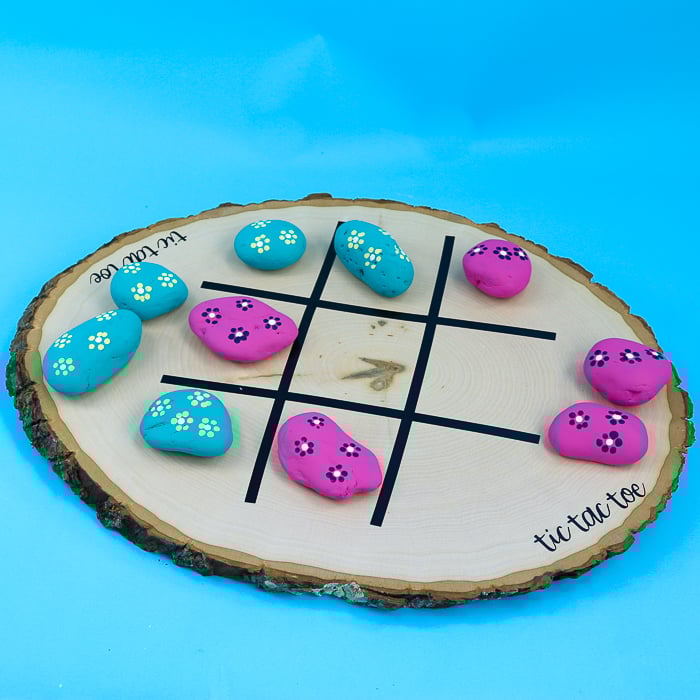
Cricut vinyl lets you create easily removable labels, decals, personalized gifts, storage containers, home decor, games, and much more. With tons of colors available, you're sure to find the perfect one for every project you want to make.
Where do I purchase Cricut vinyl?
Cricut vinyl is available at many different retailers, both online and in stores. Here are a few places where you can order it online:
- Cricut website (they often have great bundle deals!)
- Amazon (look for machines and bundles)
- Michaels
- Walmart
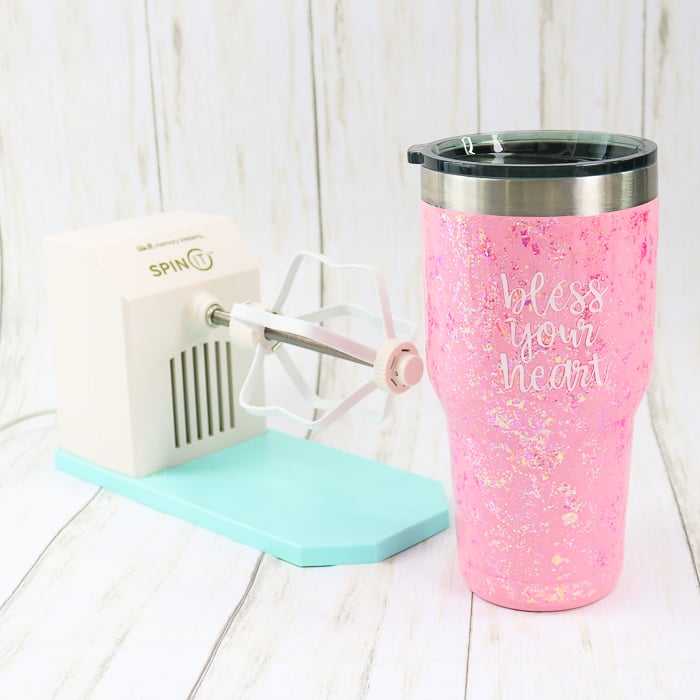
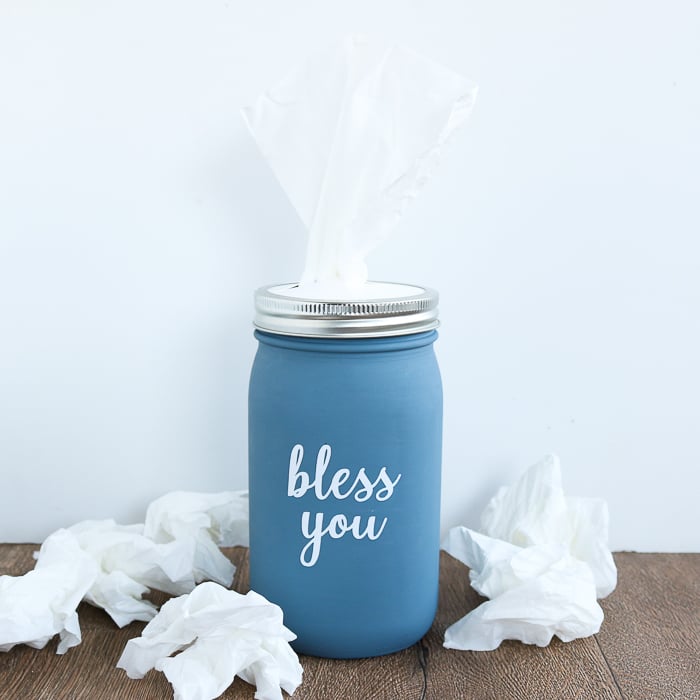
Projects Using Cricut Vinyl
Now that you know how to use Cricut vinyl, it is time to get started on some projects. I have a few ideas that you can start with!


that is so cool. thank you so much for sharing the idea.